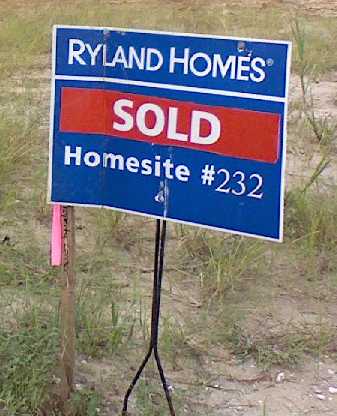
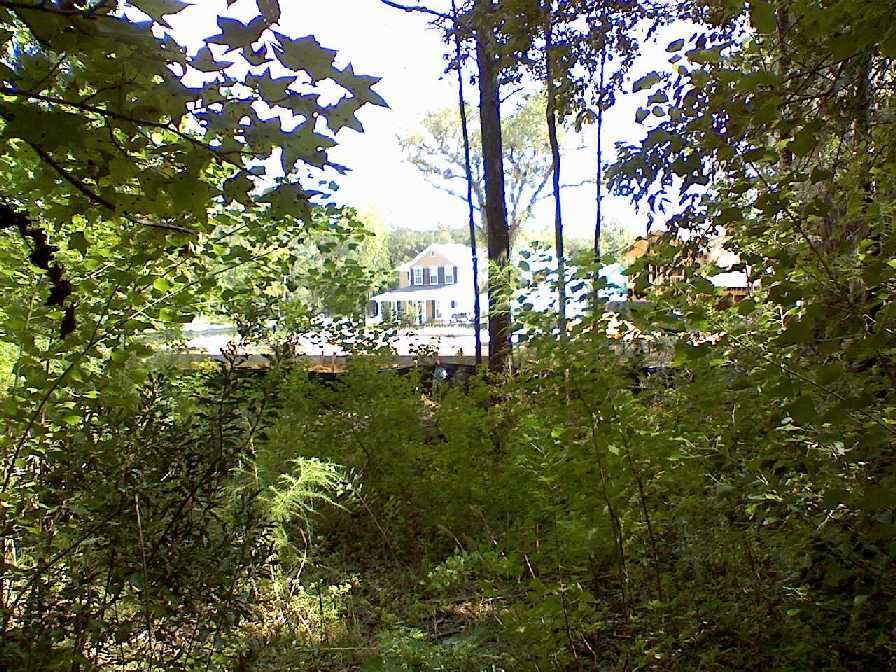
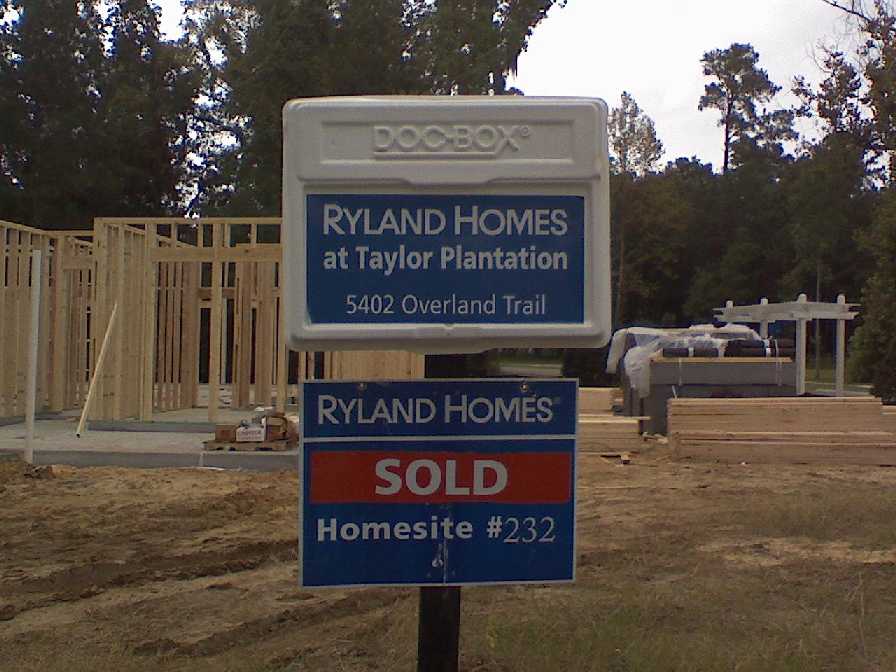
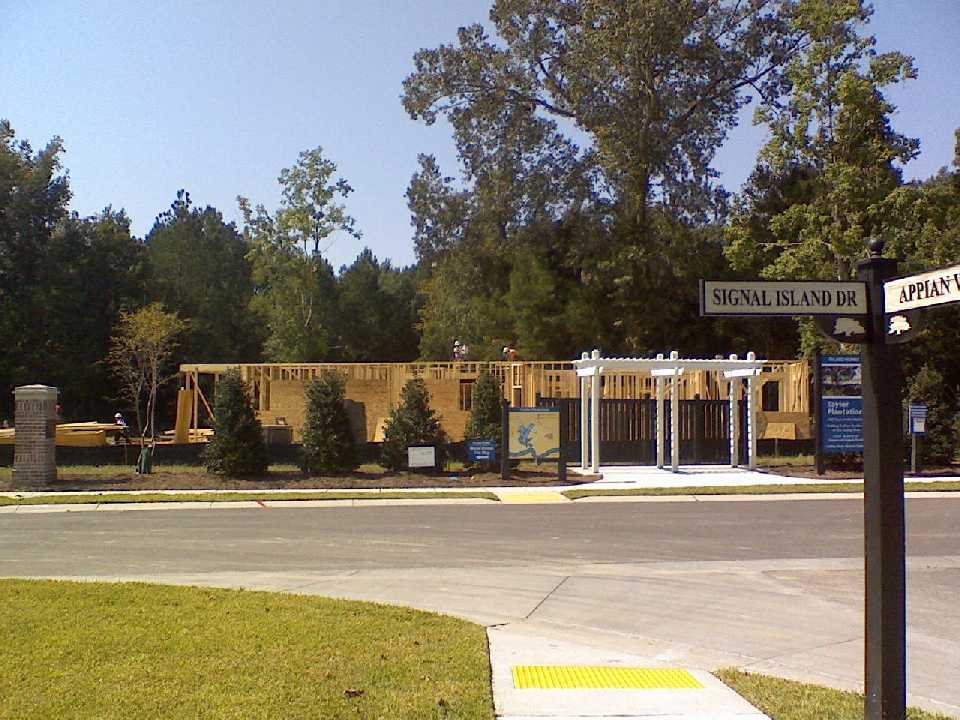
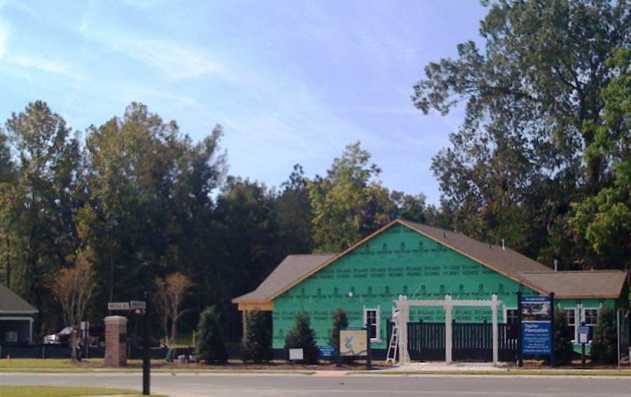
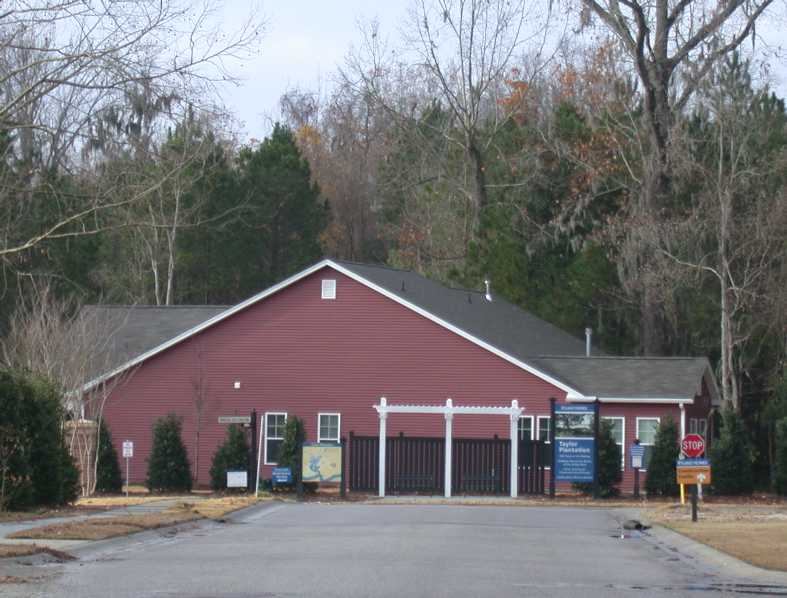
View of the property from Overland Trail
(looking at back of lot from the "front yard," and also towards Signal Island Drive);
View from the "front door"
(looking at Overland Trail);
Views from Overland Trail
(looking at community property strip along Signal Island Drive).
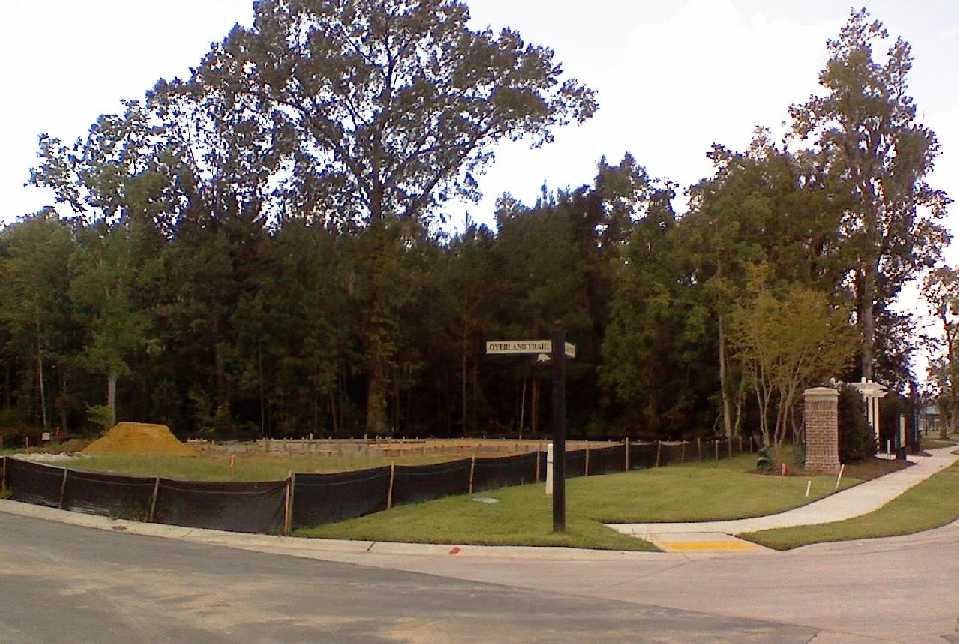
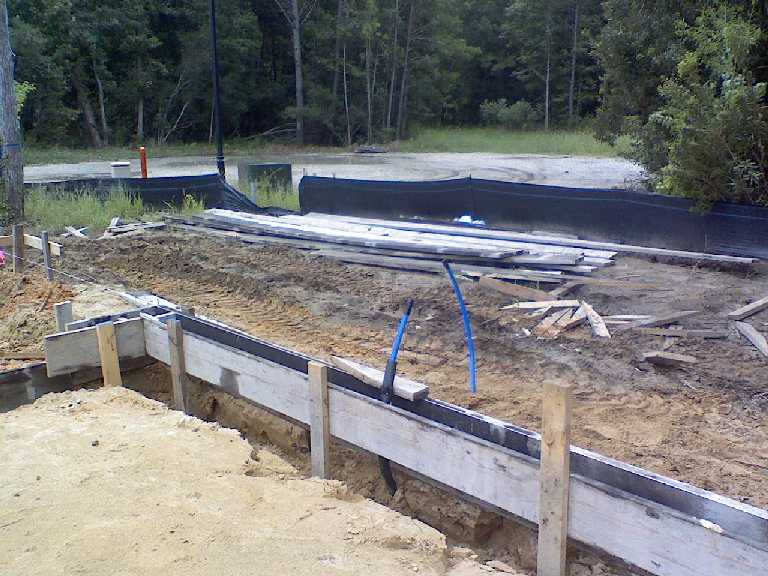
Photos taken September 12, 2008:
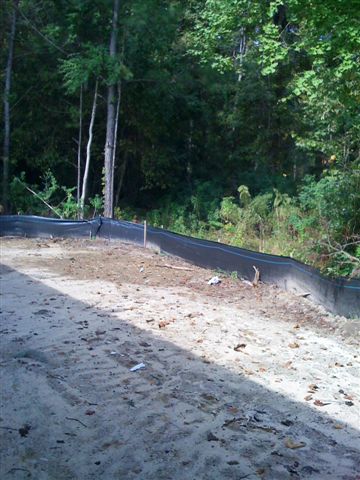
The foundation preparation begins:
1 - 2;
as viewed from our neighbors' home across the street on Overland Trail.
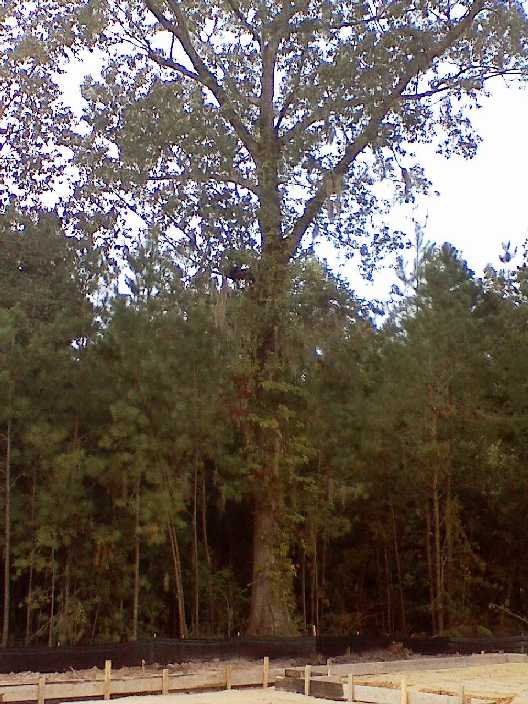
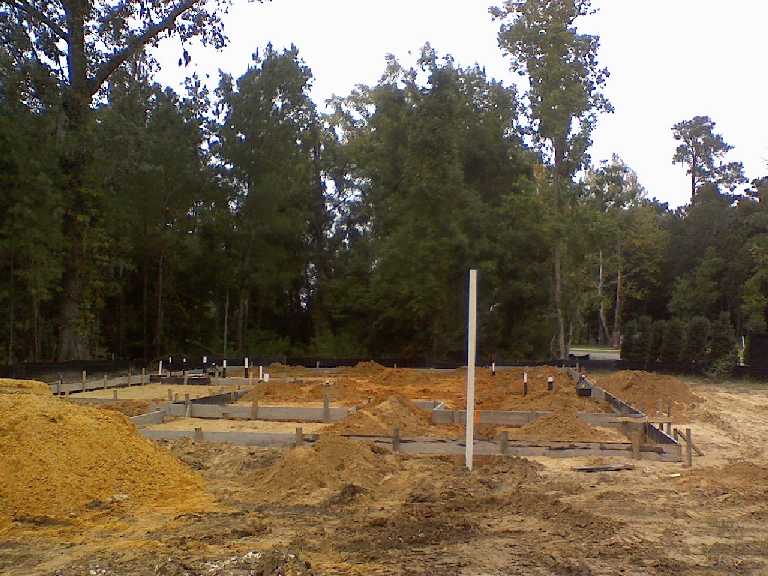
Photos taken September 17, 2008:
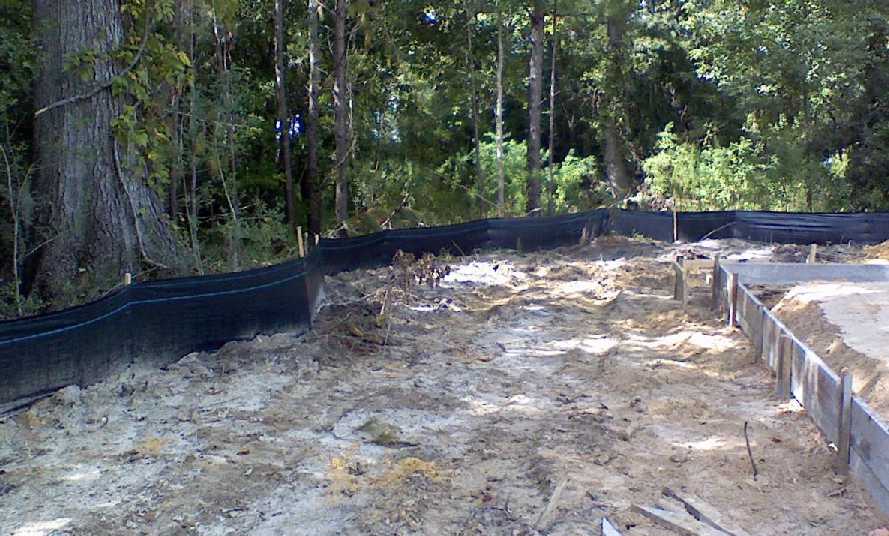
Showing foundation preparation from multiple directions, and our big oak tree:
View of Signal Island Drive side of property;
View from Overland Trail / SID intersection;
Our Grand Old Tree;
Tree on left side of home;
Front of lot;
Front left corner;
Back right corner;
Back left corner
Photos taken September 18, 2008:
The plumbing starts going in.
1 - 2
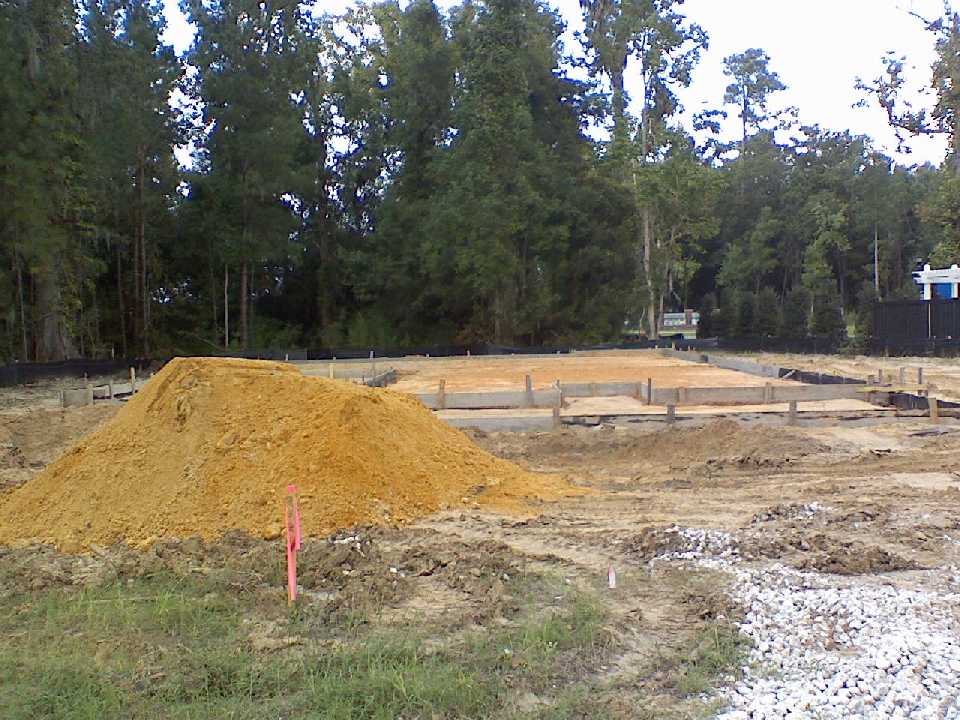
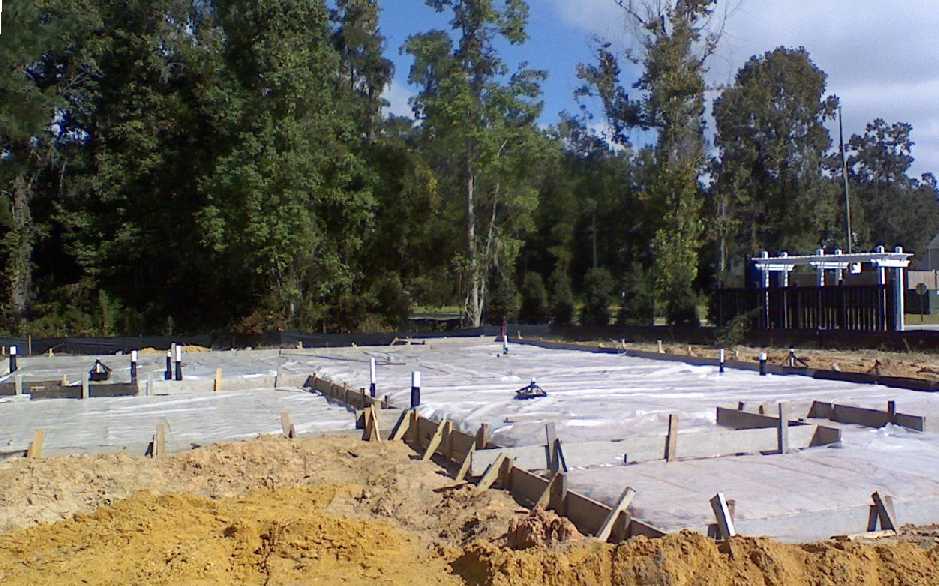
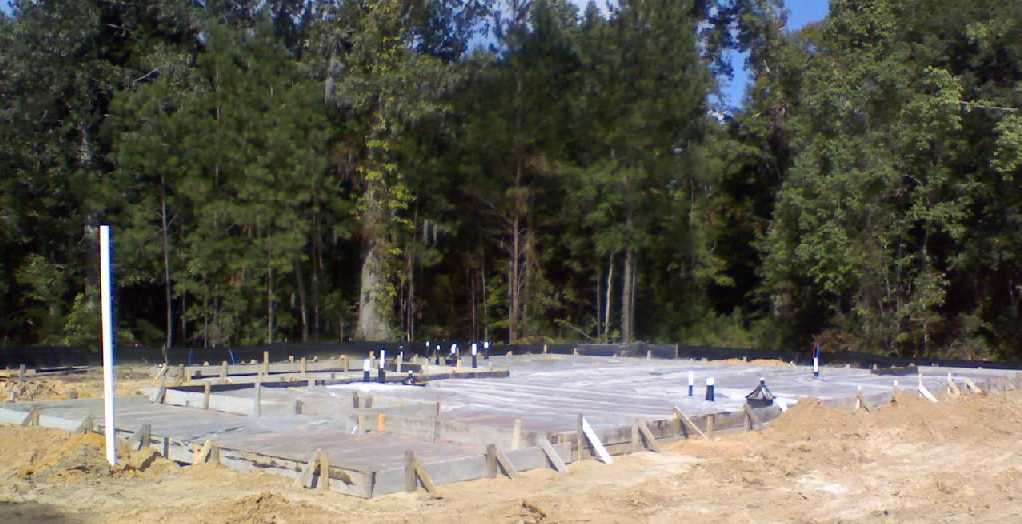
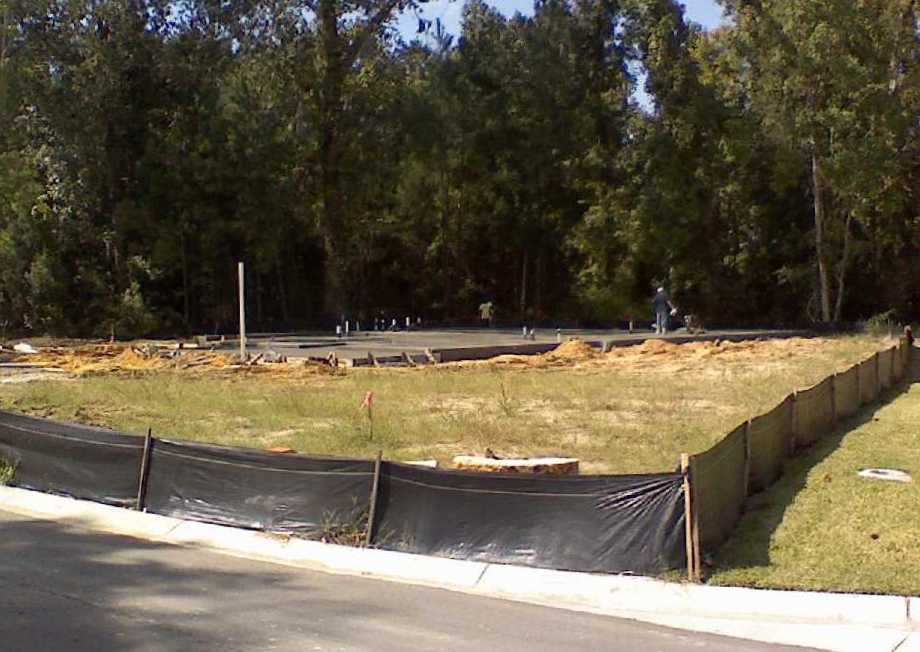
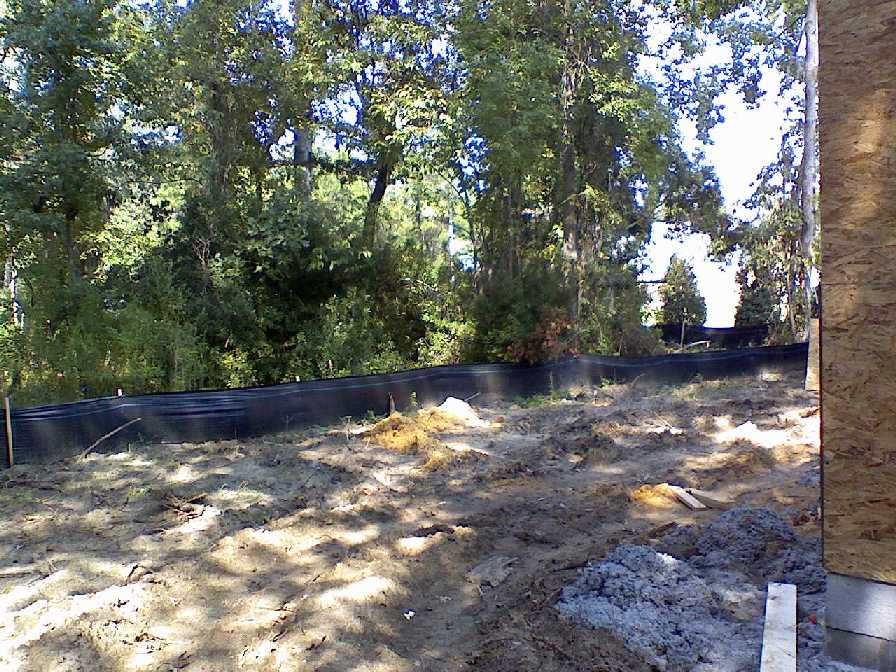
Photos taken September 23, 2008:
Preparing to pour the slab (what you see is 10mm plastic sheeting that acts as a moisture barrier for the concrete).
1 -
2
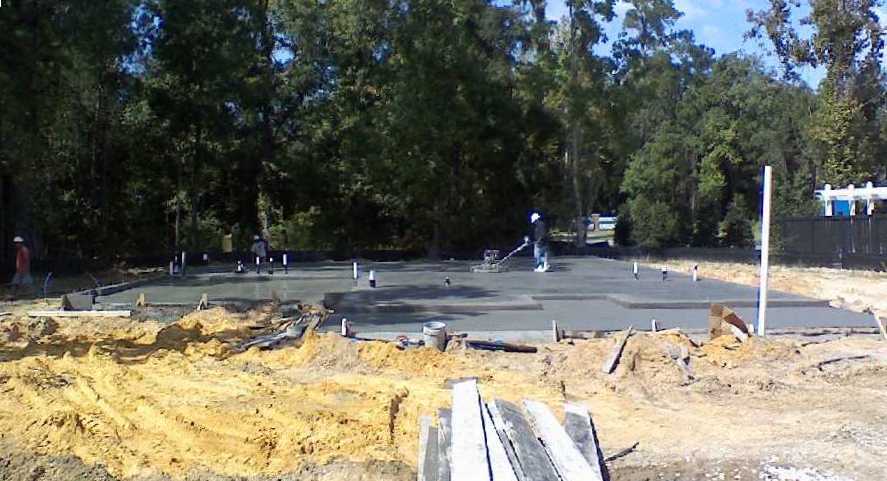
Photos taken September 24, 2008:
The concrete is poured!
1 -
2
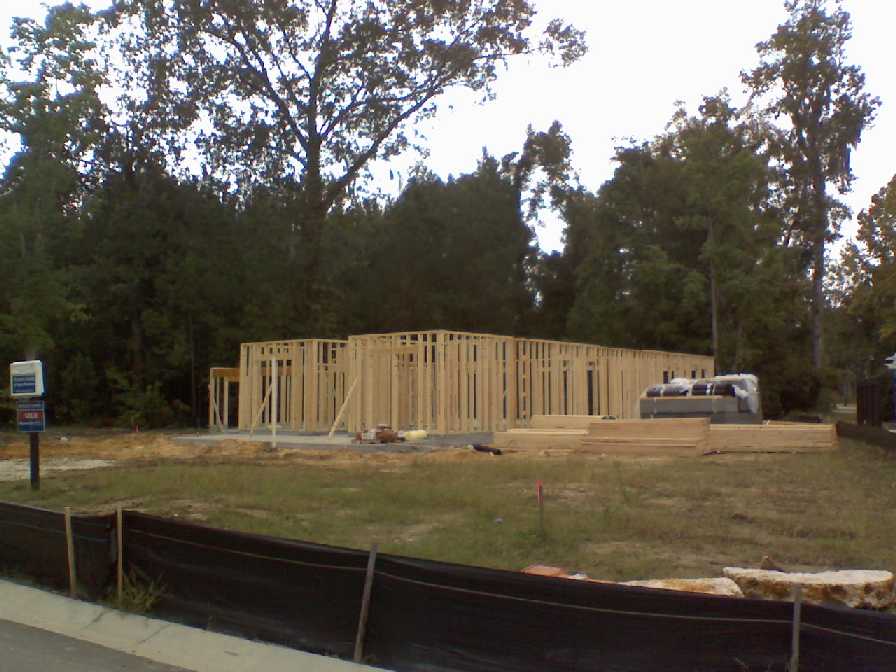
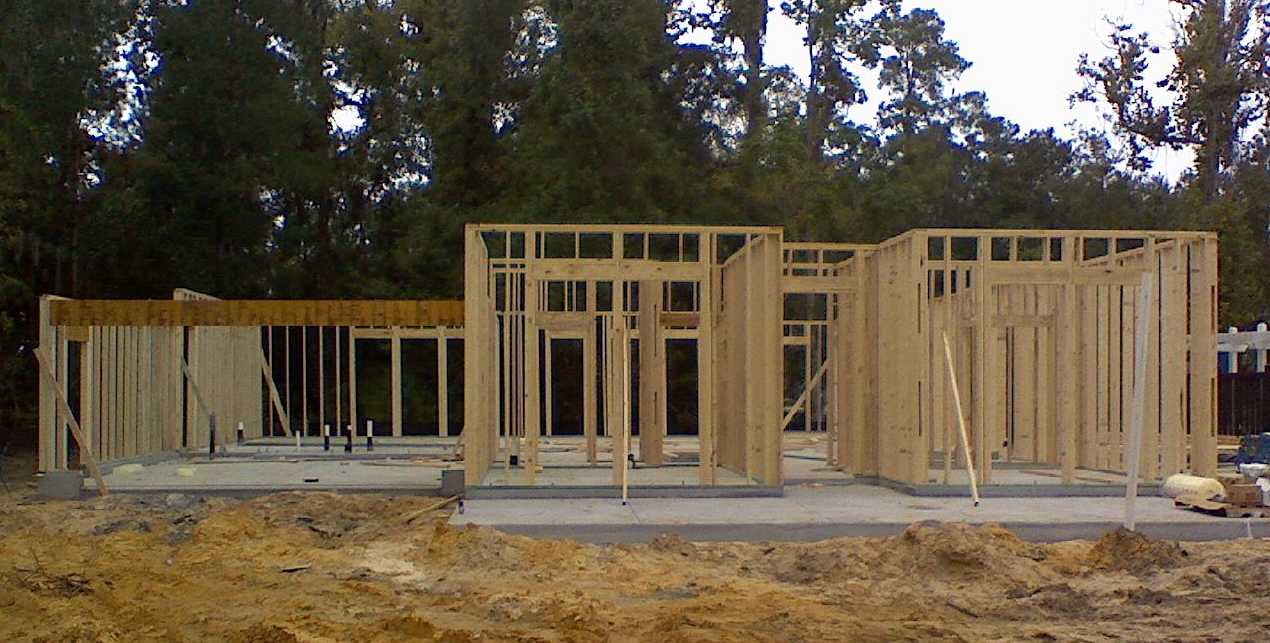
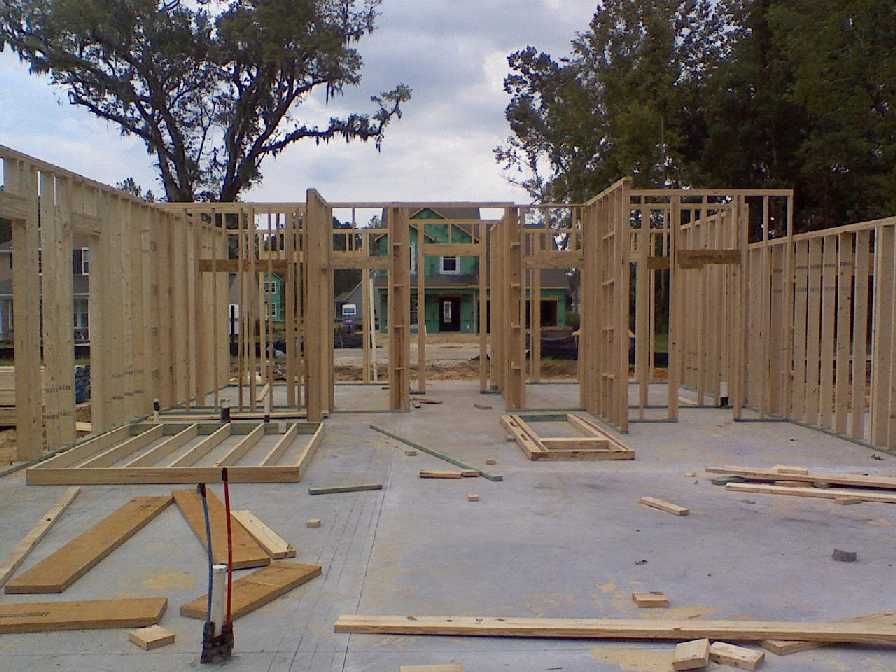
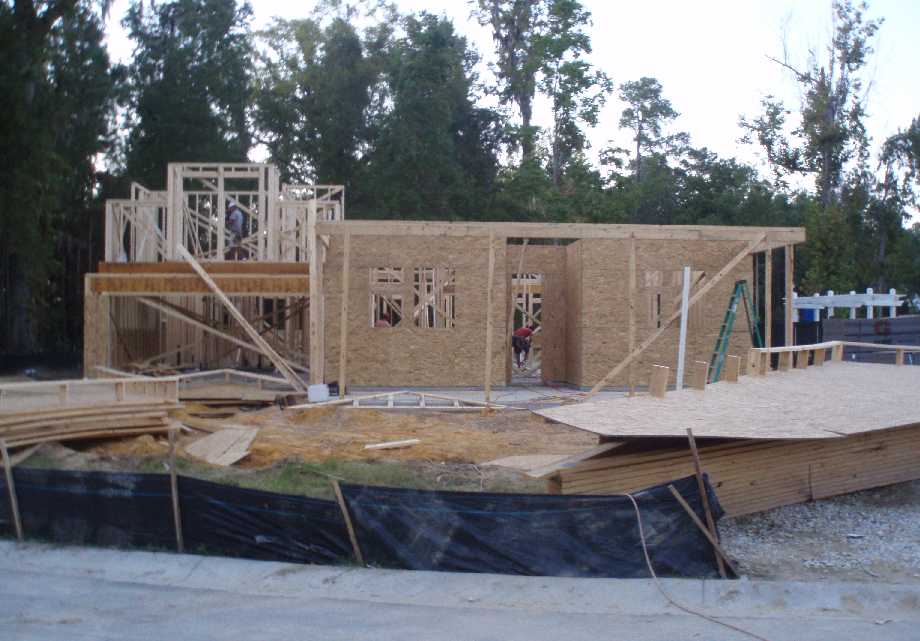
Photos taken September 28, 2008:
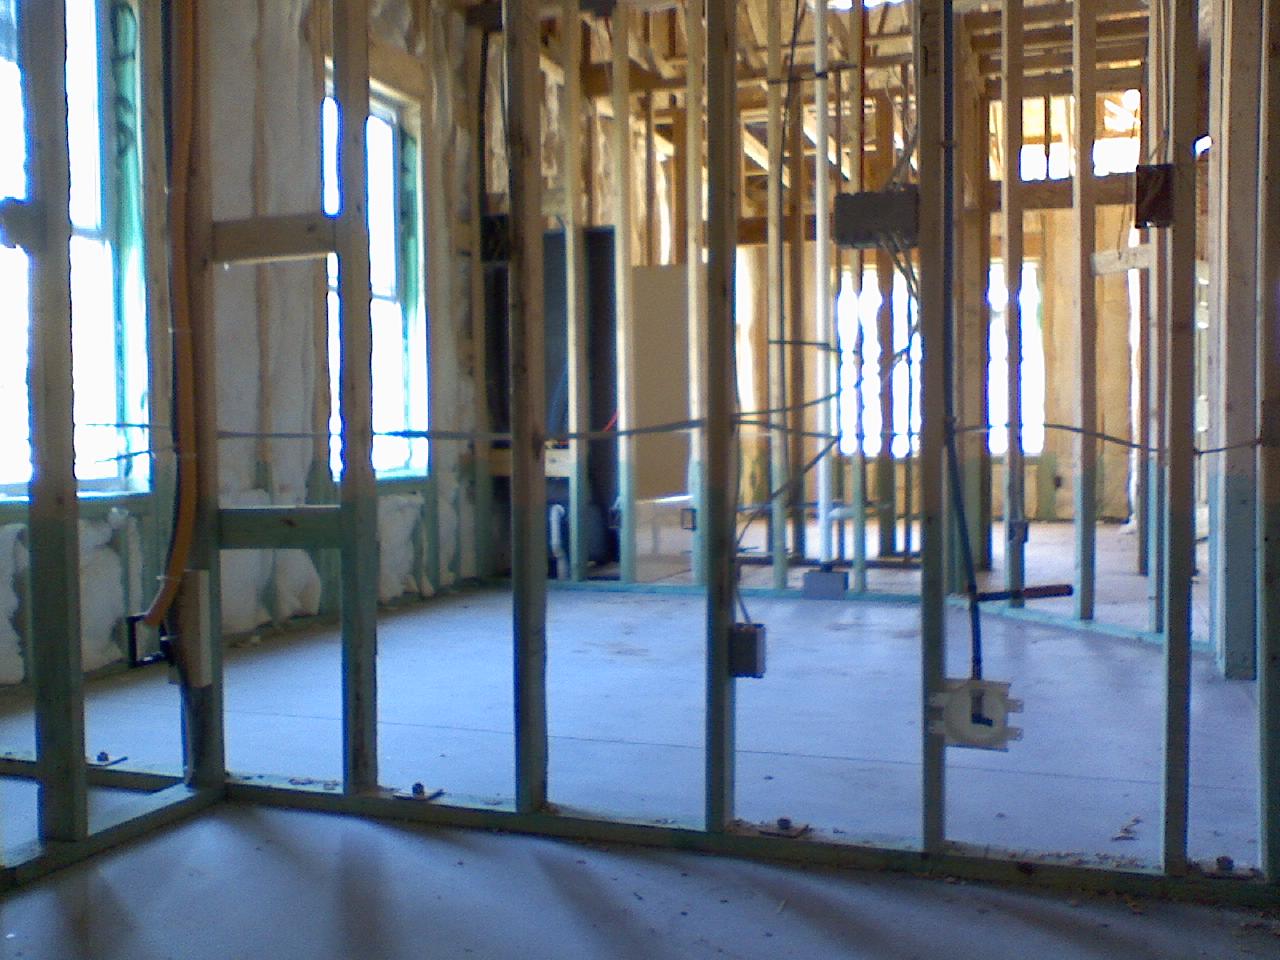
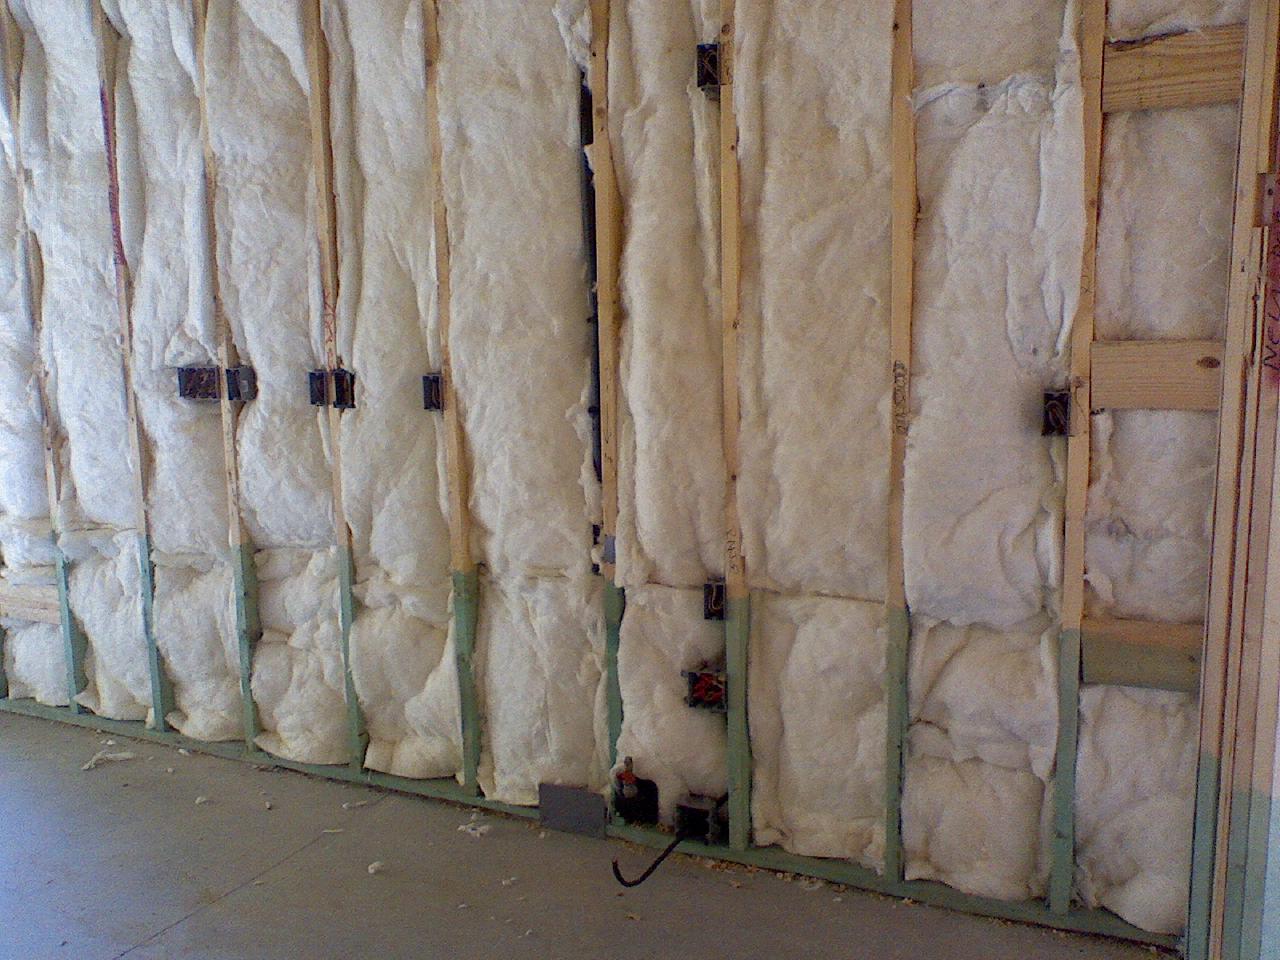
Framing begins.
1 -
2 -
3 -
4 -
5 -
6
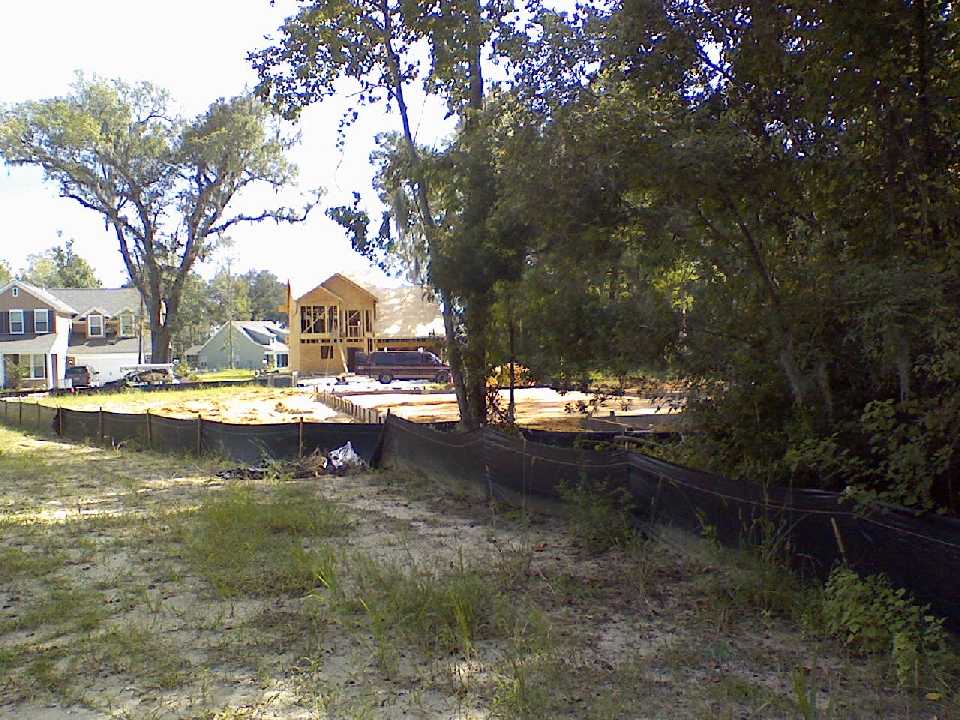
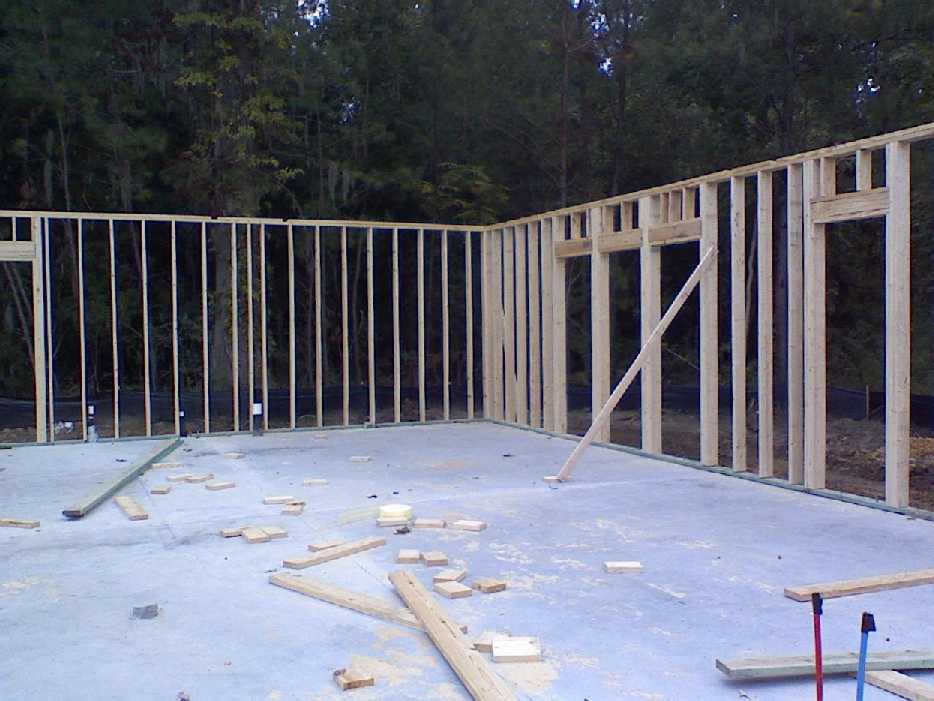
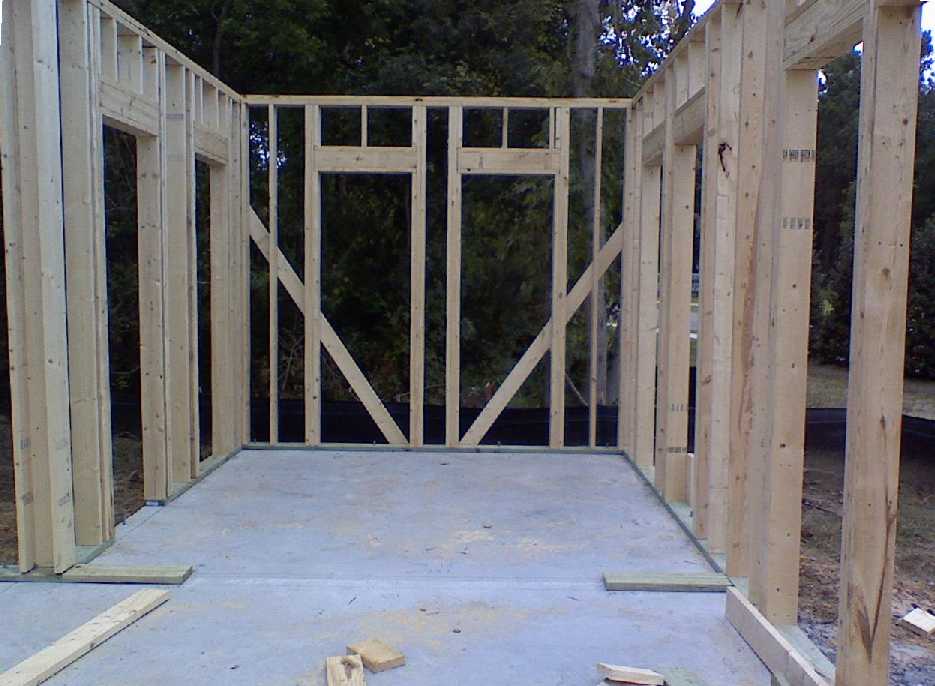
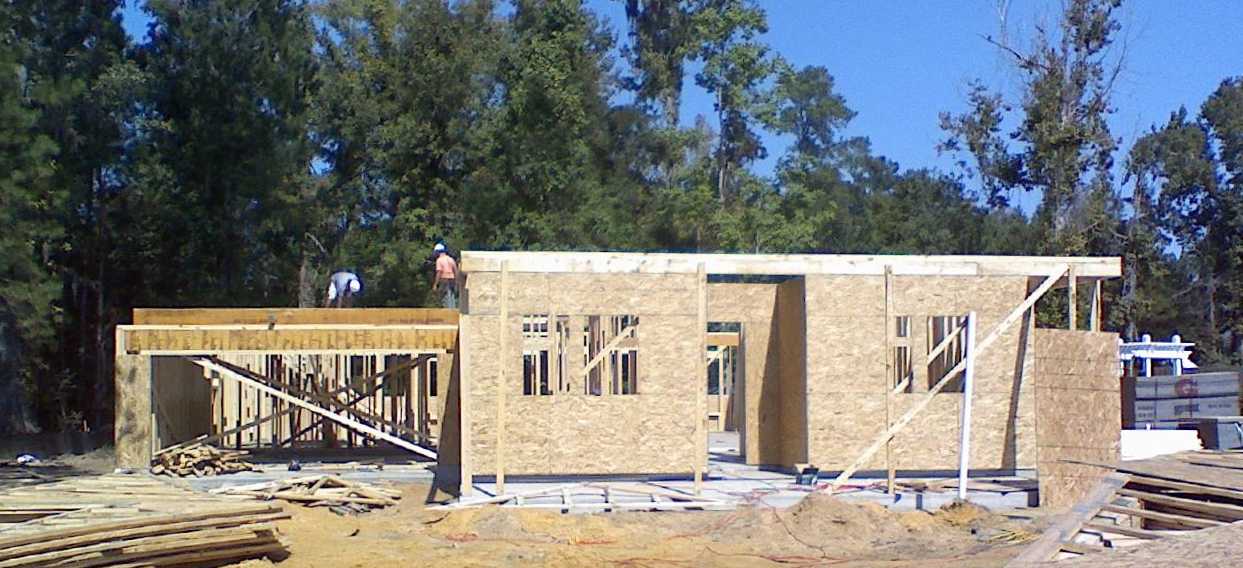
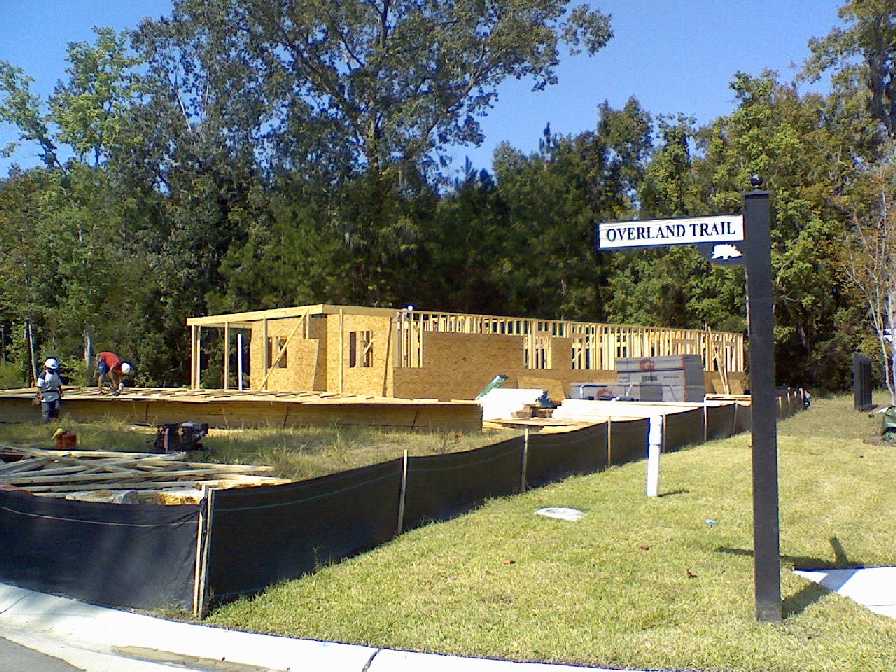
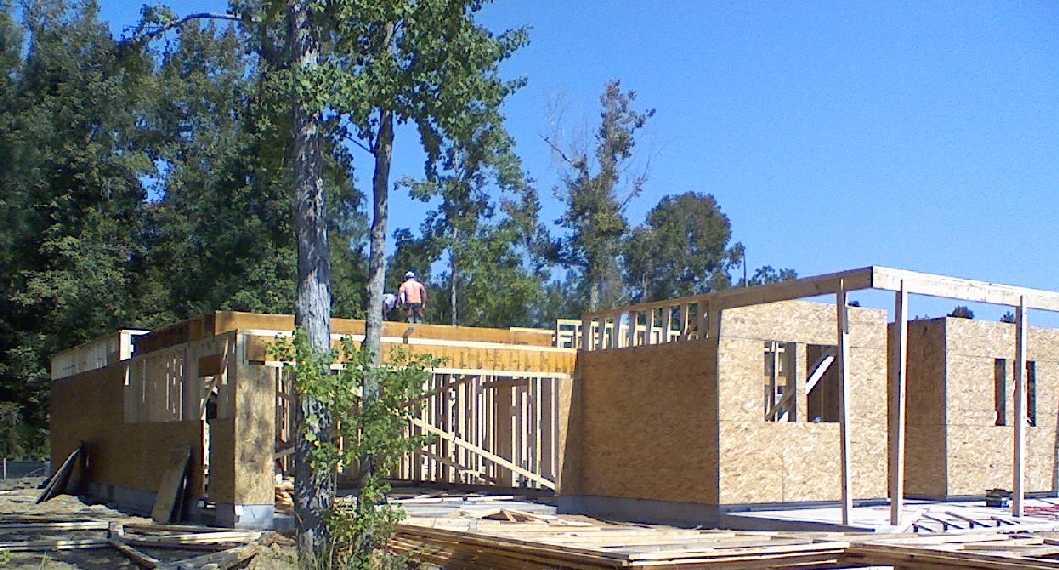
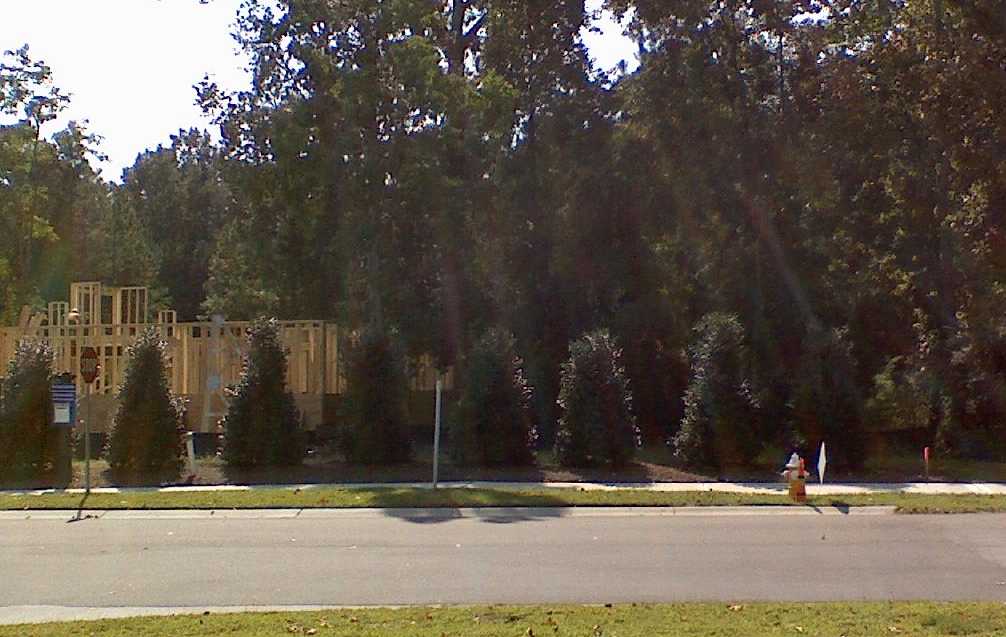
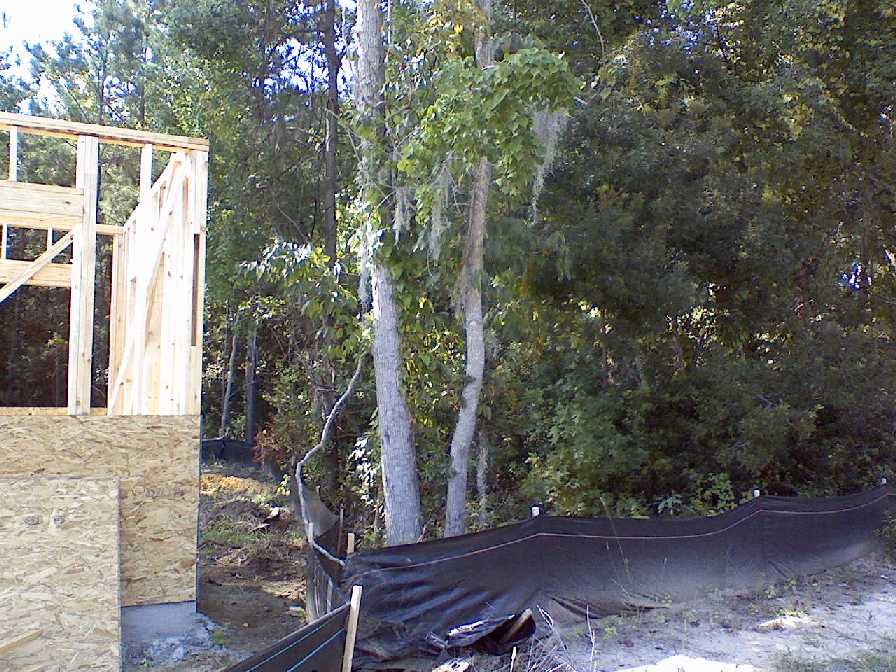
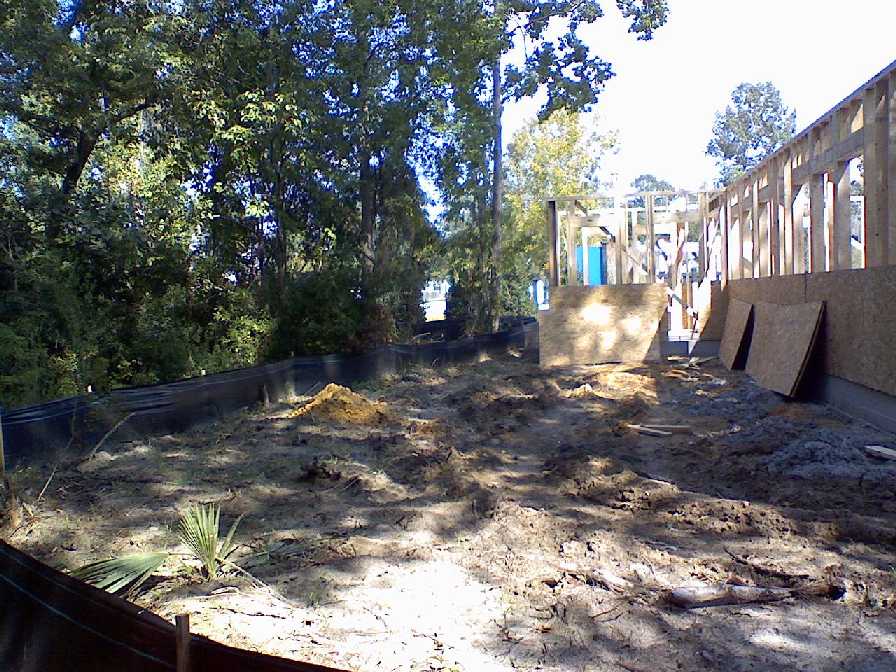
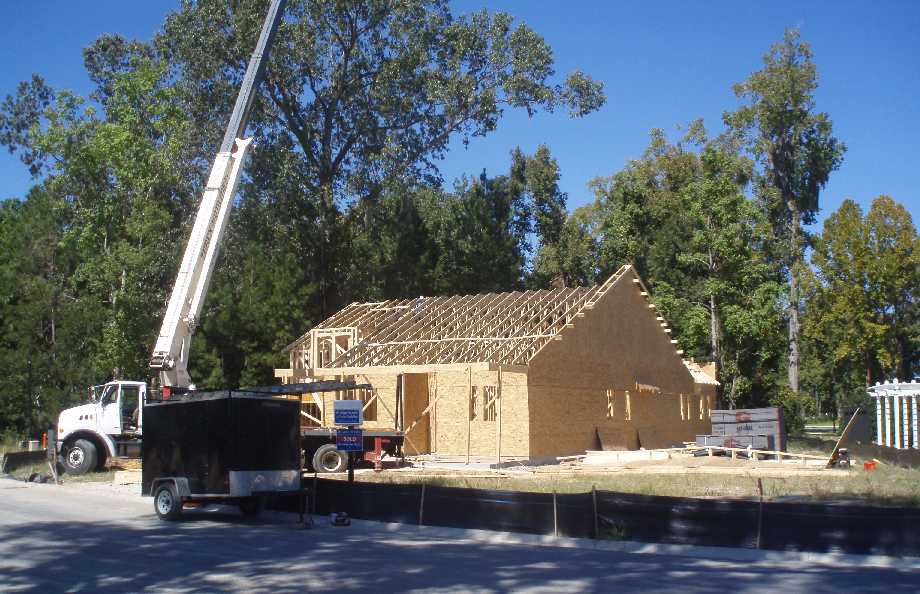
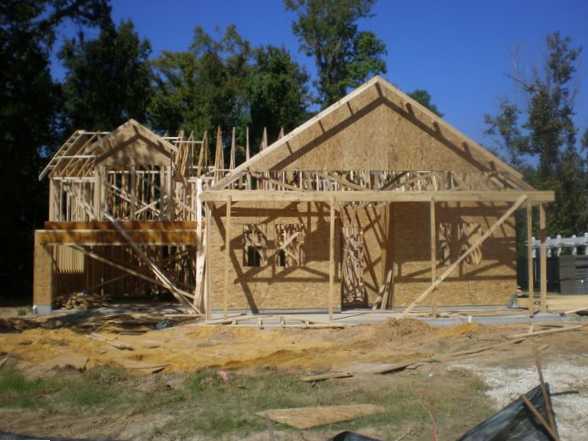
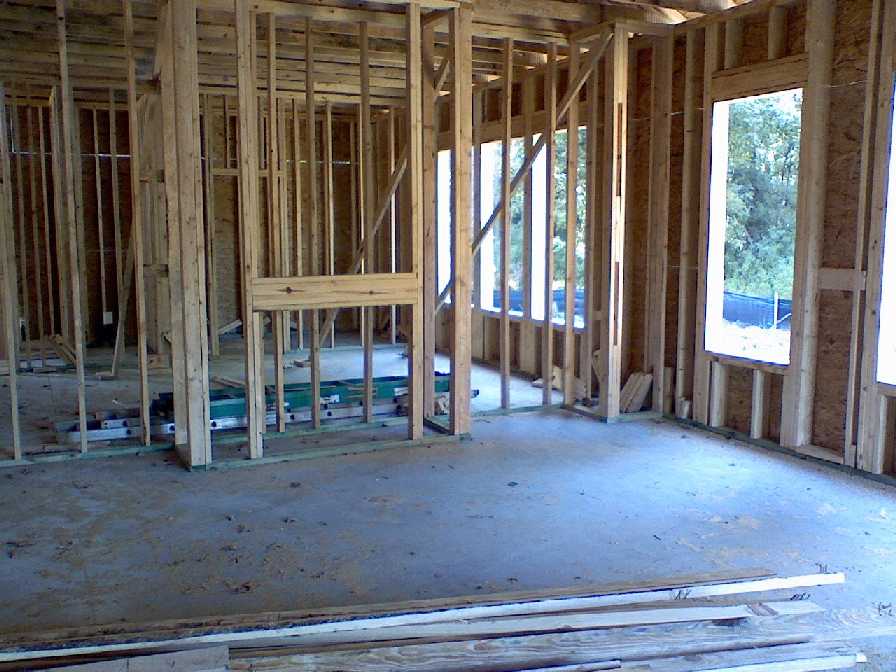
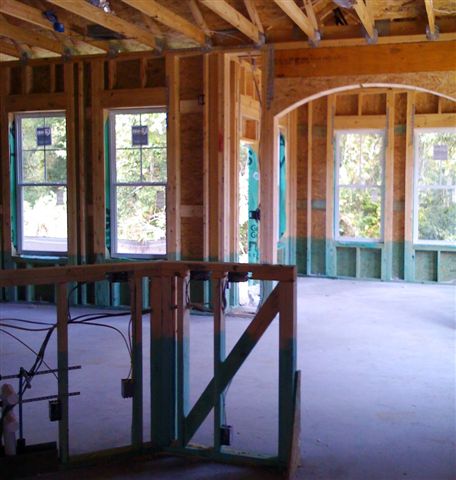
Photos taken October 1, 2008:
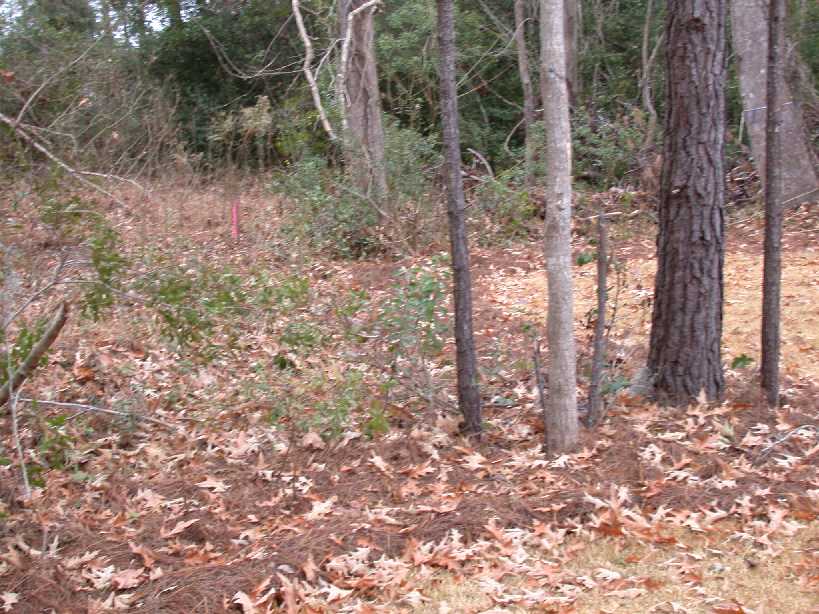
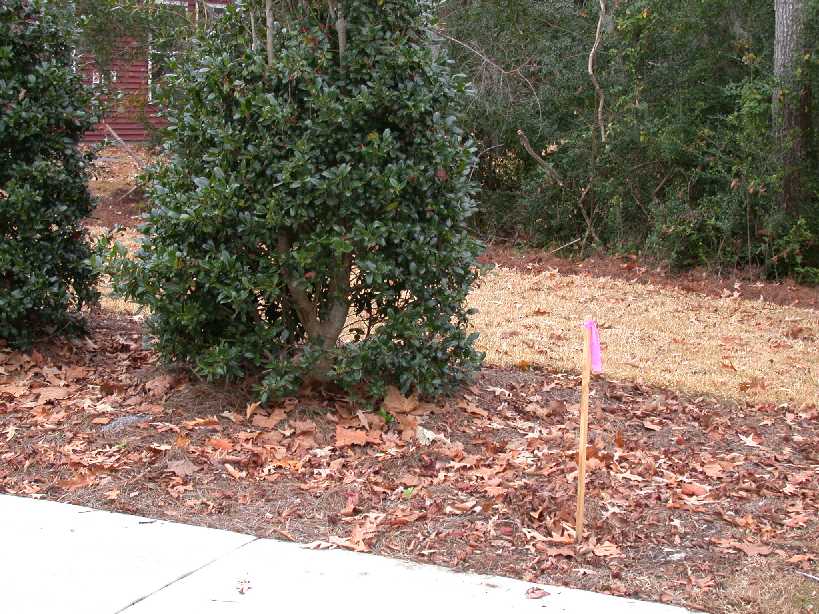
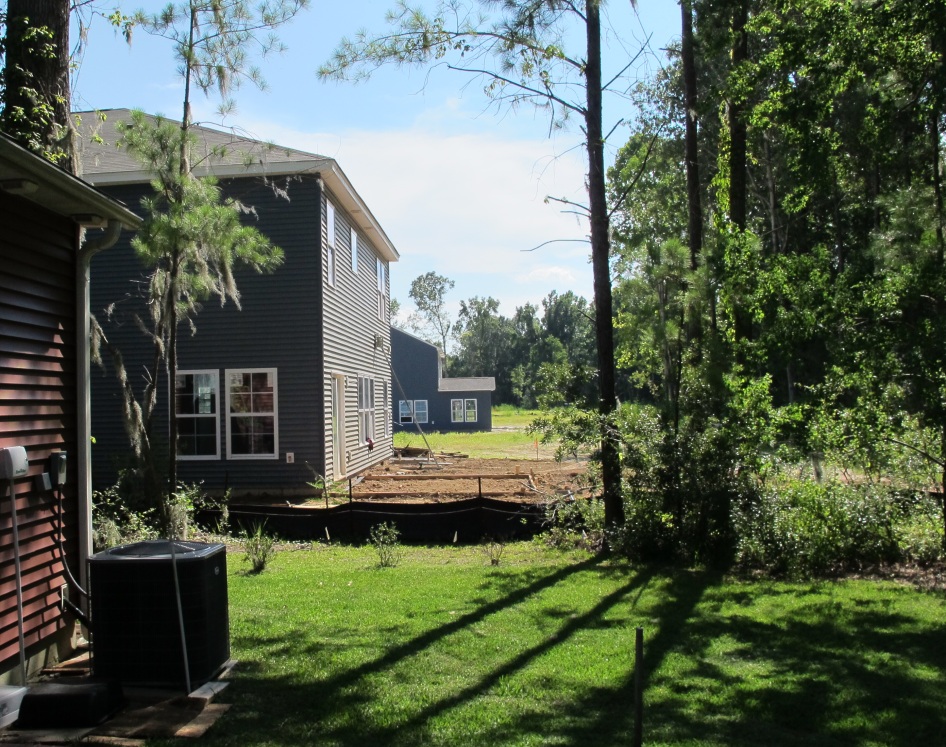
Framing continues. Photos 6-9 show our backyard is mainly woodland.
Photo 6 shows how far back our property extends (to the red stake to the right of the hydrant).
1 -
2 -
3 -
4 -
5 -
6 -
7 -
8 -
9
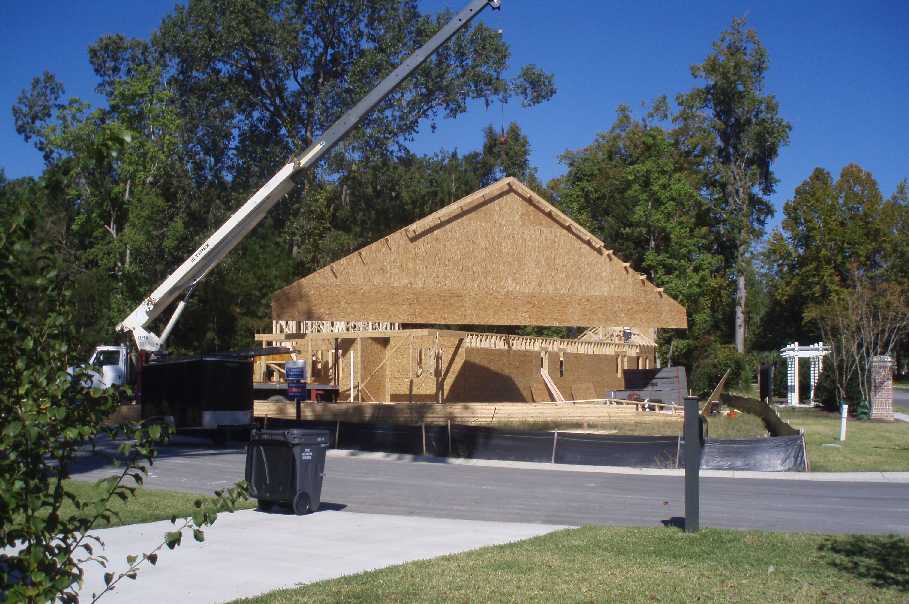
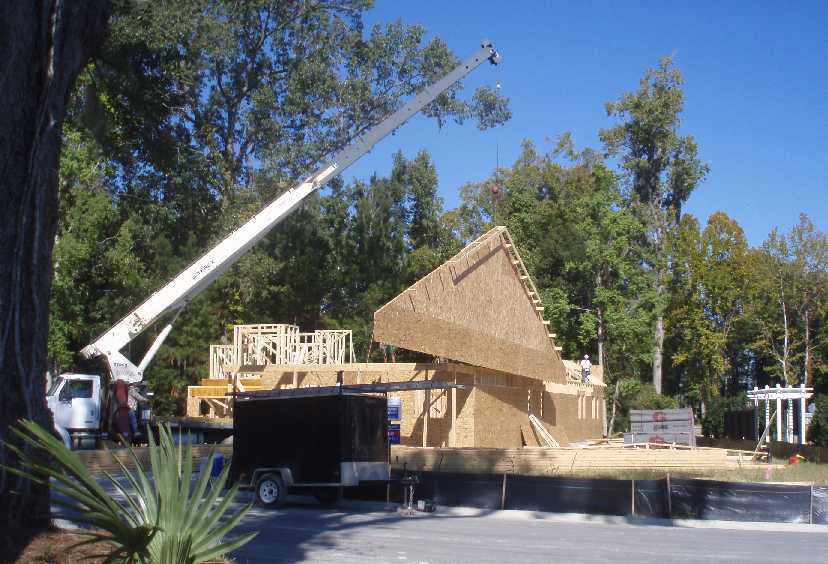
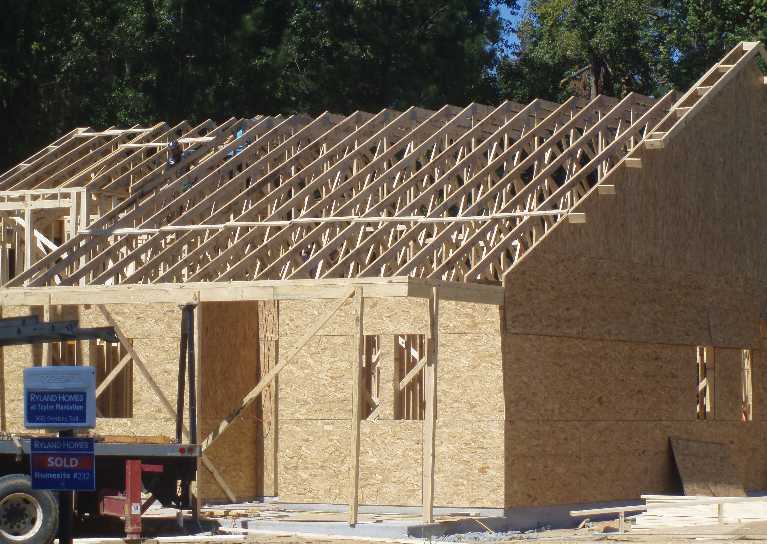
Photos taken October 2, 2008:
Roof trusses going up.
1 -
2 -
3 -
4 -
5 -
6
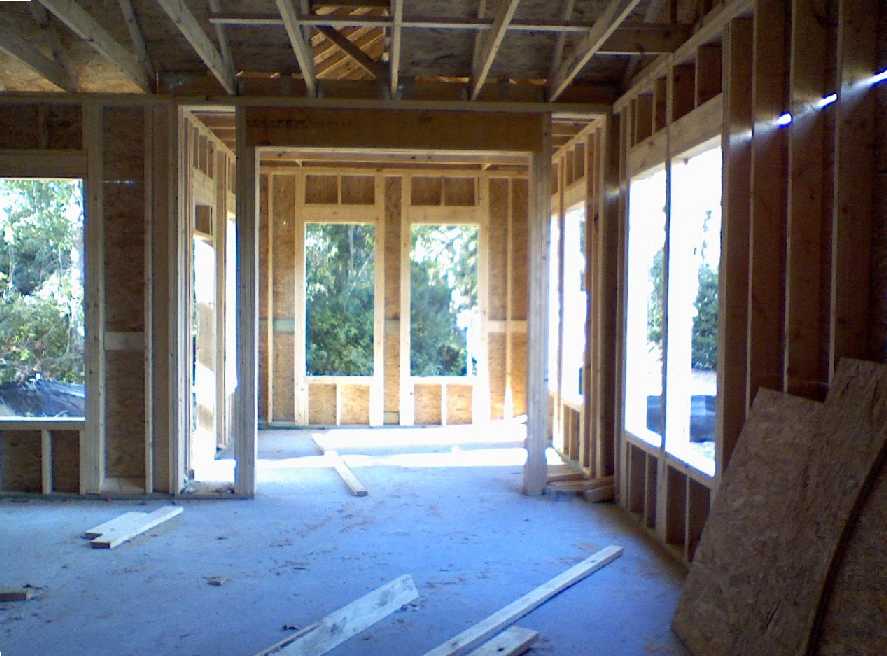
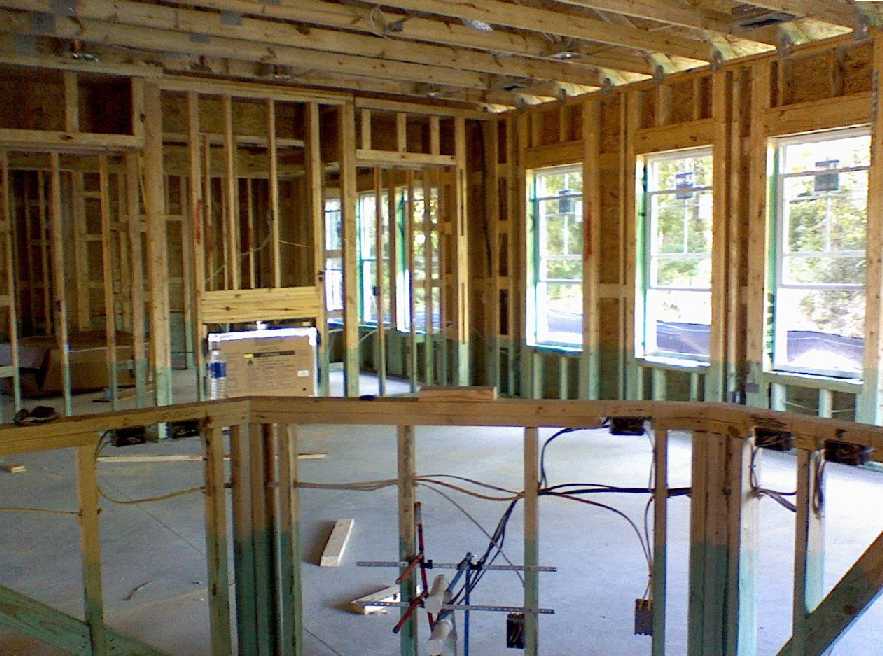
Photos taken October 6, 2008:
Outside and front entry:
1 - 2
Inside:
3 -
4
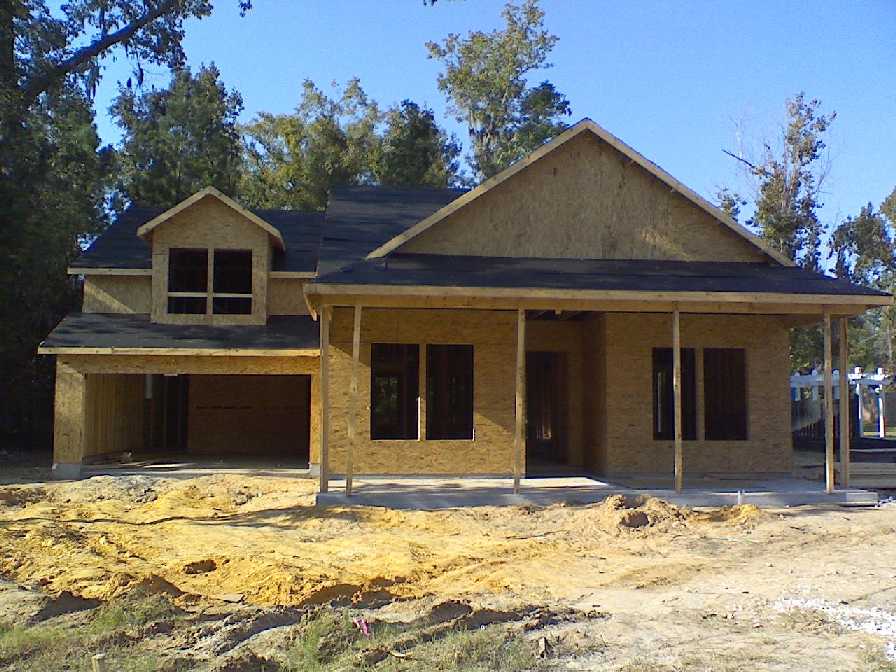
Photos taken October 15, 2008:
Outside:
1 -
2
Inside:
3 -
4
Photos taken October 17, 2008:
Outside:
front -
side -
backyard is mostly woods
Inside:
4 -
5
Photo taken October 28, 2008:
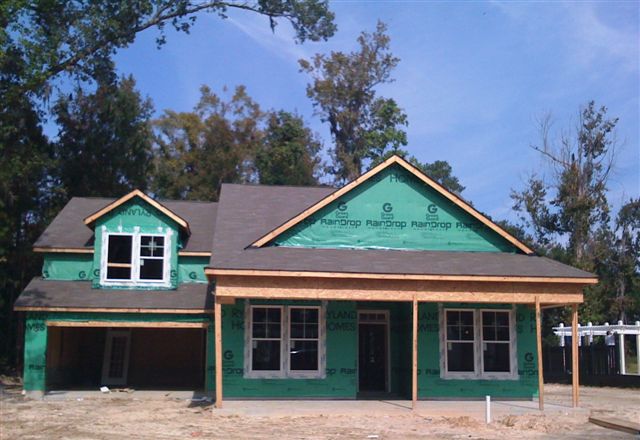
The siding is starting:
1
Photos taken October 28, 2008, posted October 30. NOTE: THESE ARE LARGE FILES!
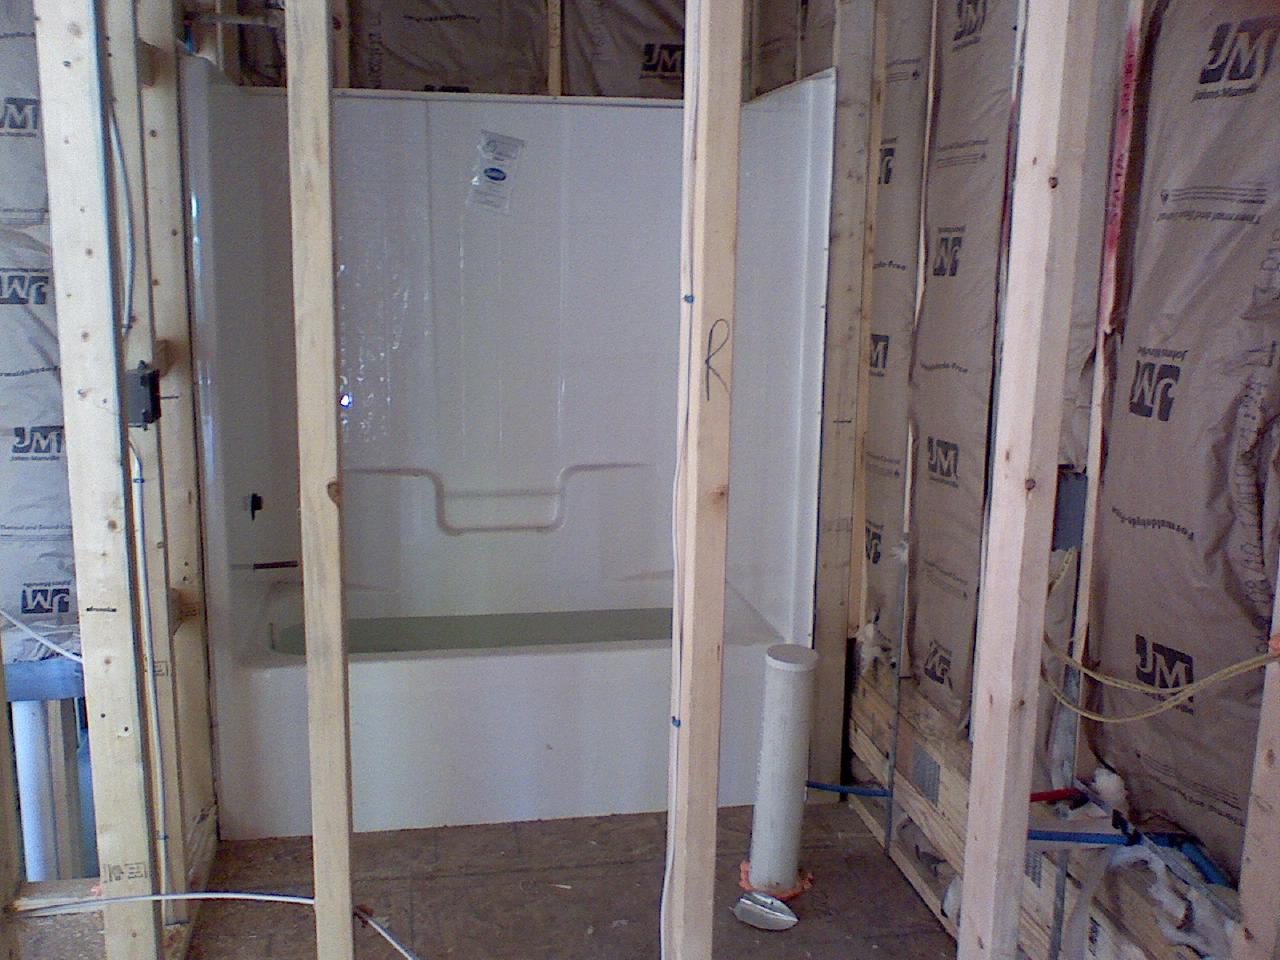
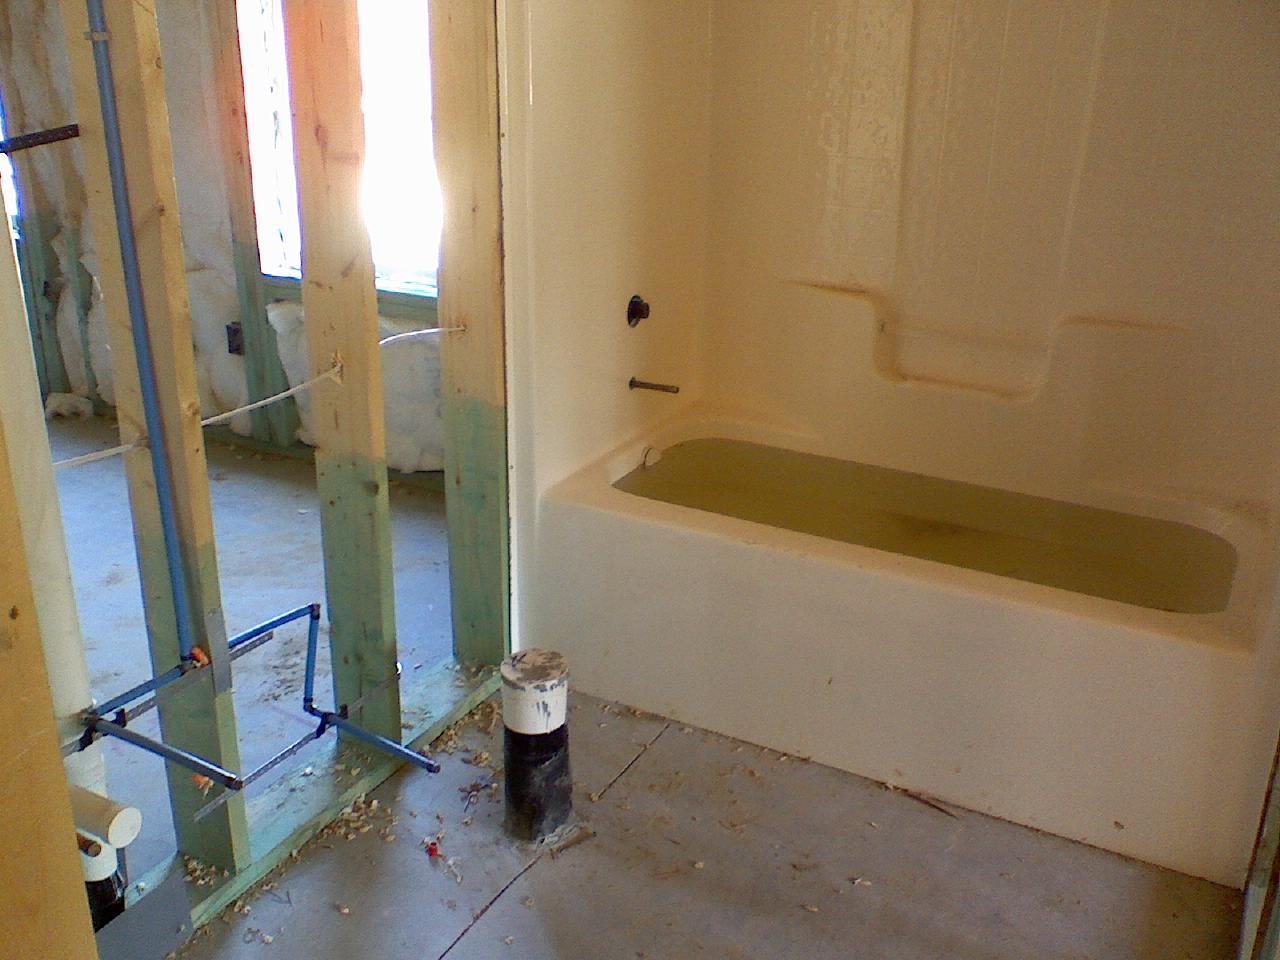
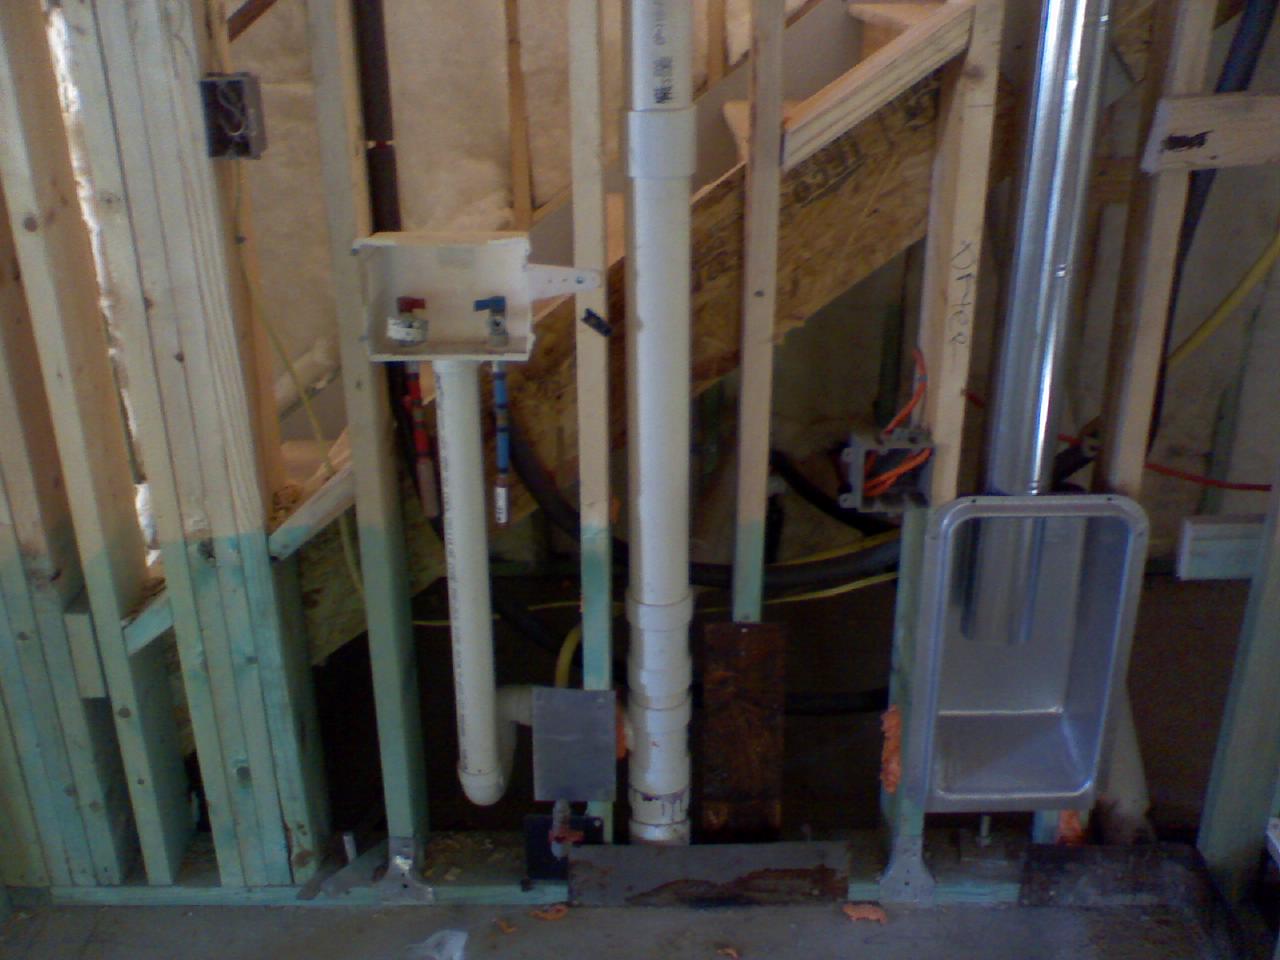
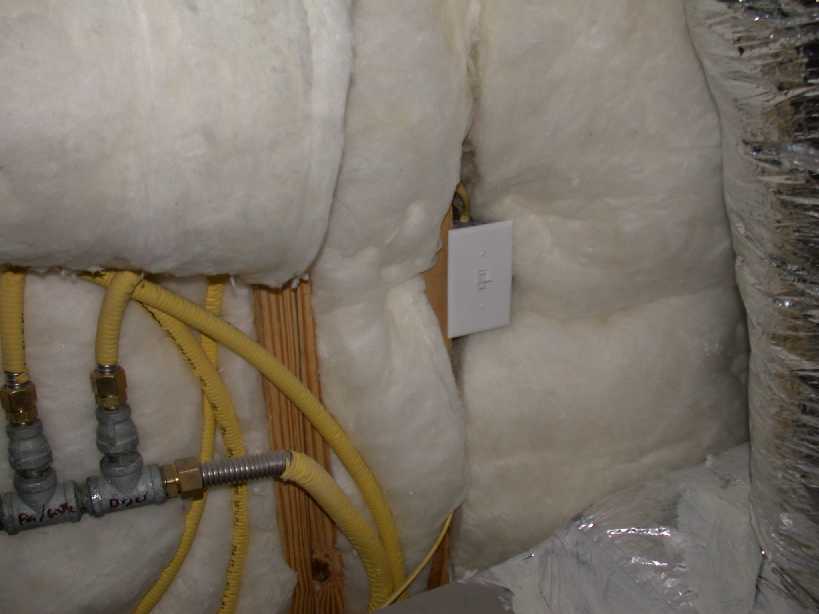
Bonus room bath:
1
This picture was taken from the closet in the upstairs bonus room looking into the bathroom. You can see that the tub is filled to show no leaks in the system. The white pipe sticking up is for the toilet and the blue and red pipes in front of that are for the sink. The insulation you see is R13. That R-value is the efficiency rating.
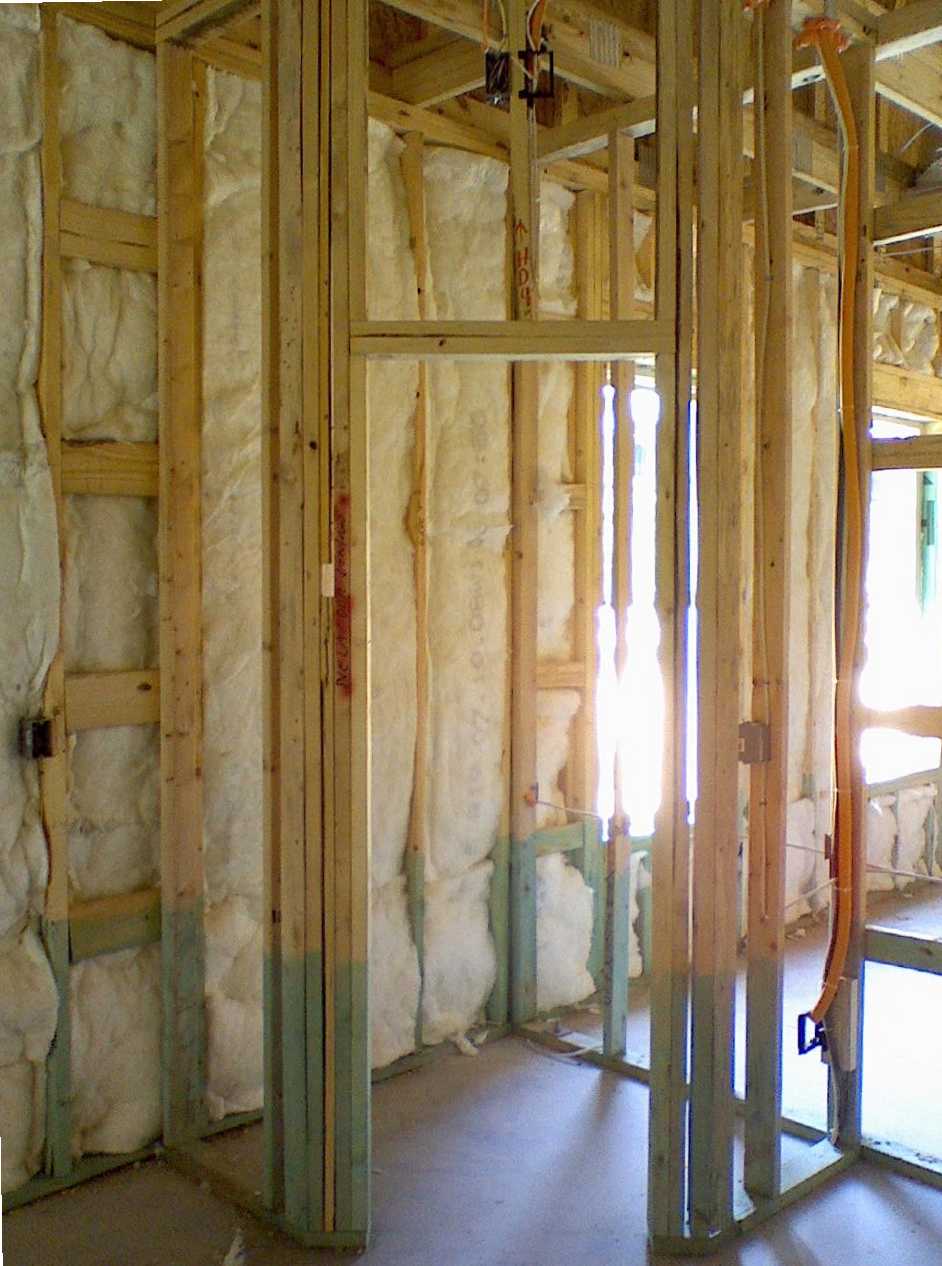
Bonus room entry
2
This picture was taken form inside the upstairs bonus room looking through the future doorway. Going right would take you down the stairs. The reason for this picture was to highlight the yellow gas line running inside the wall: very important to know where that is. Currently, there is about 15 lbs of air pressure on your entire gas line to show there are no leaks. We will keep that pressure there during construction so if a pipe is accidentally hit, the pressure will drop and we will know of the penetration.
Bonus room wall
3
This picture is looking out the upstairs bonus room windows at the home across the street. You can see the sheetrock piled up in the foreground. The window on the right is missing so we could load the sheetrock.
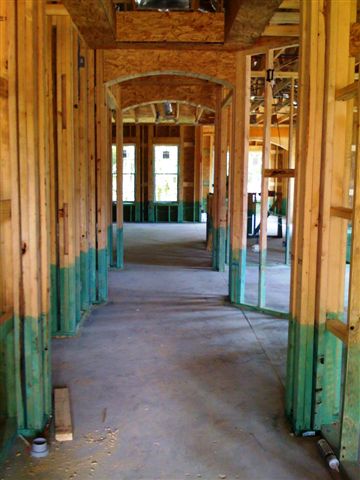
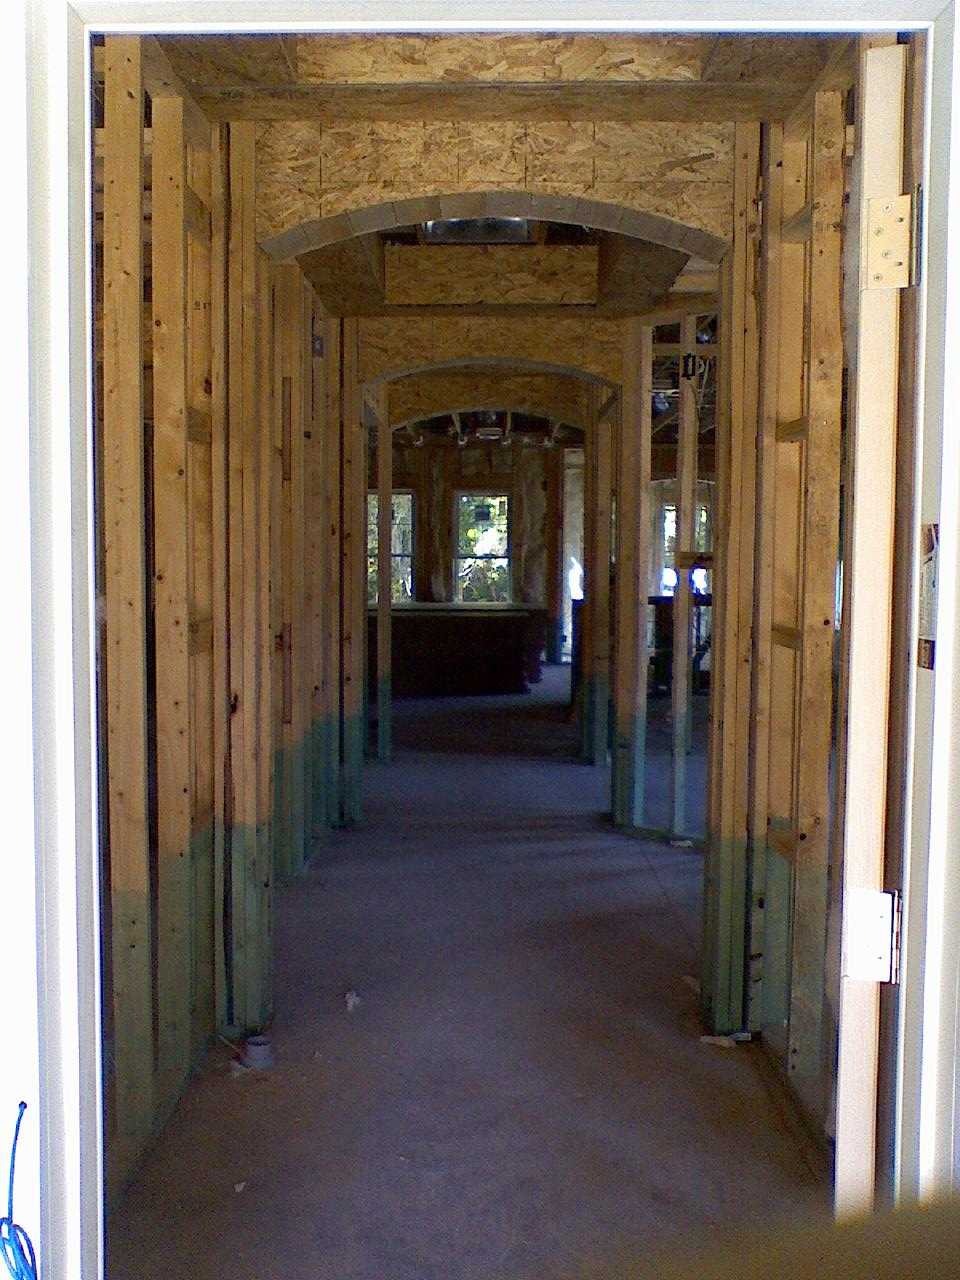
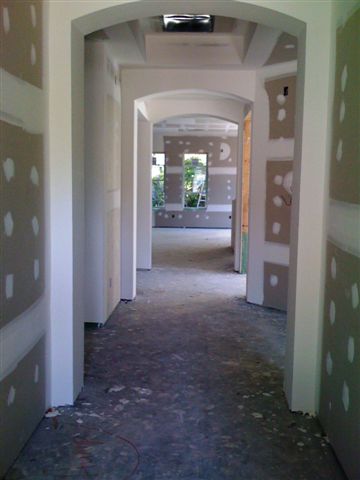
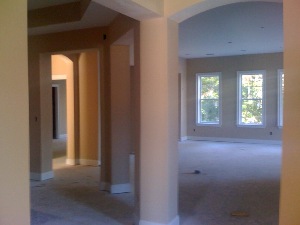
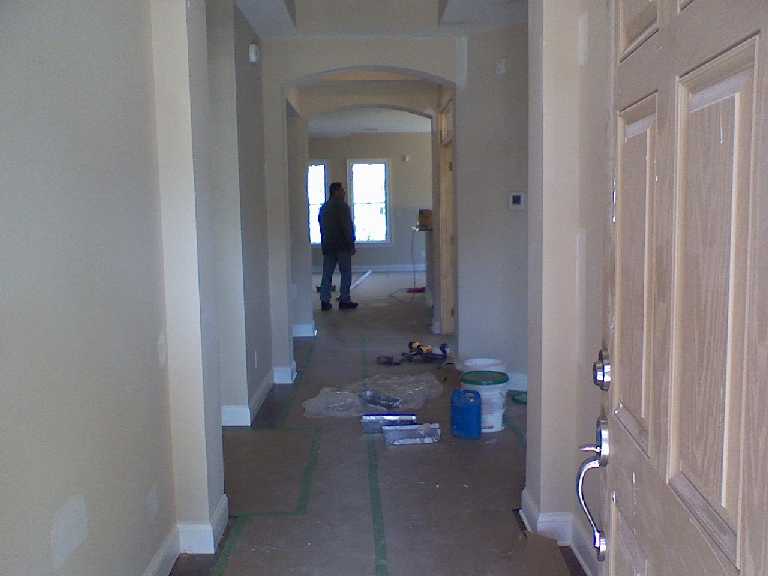
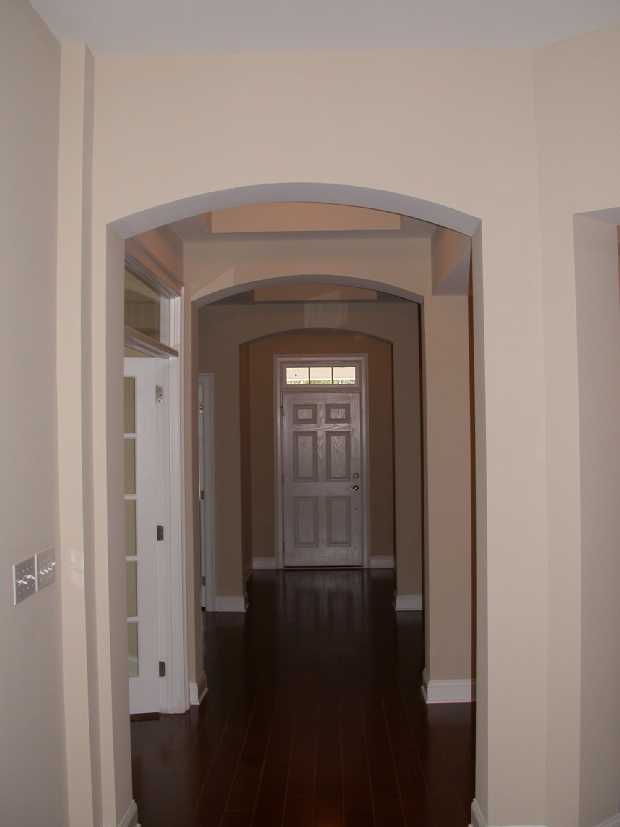
Entry hall
4
This picture was taken form your front door looking down the hallway into your family room. You can see a HVAC return inside the second tray and the thermostat for the first floor is located in this hallway as well. You see how all the arches and trays in the ceiling line up nicely.
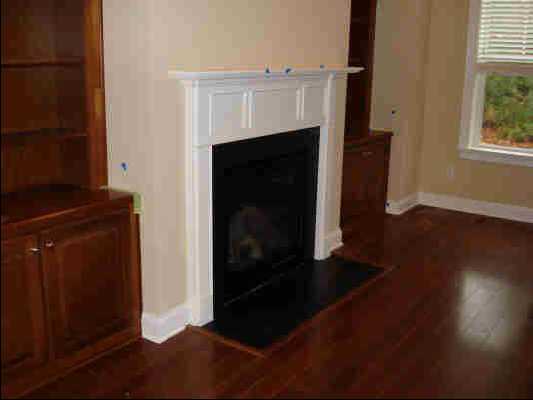
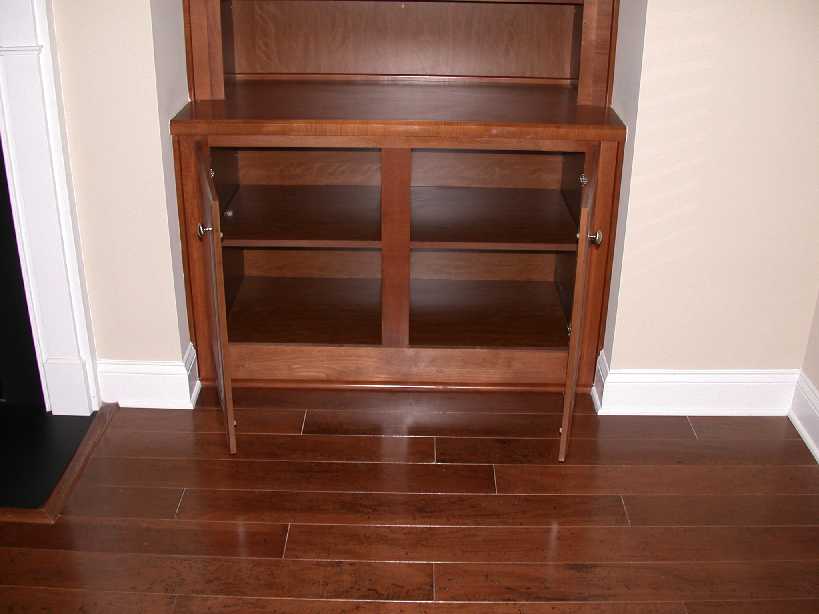
Fireplace wall
5
This is the fireplace wall of your family room. You can see the two nooks for bookshelves on either end. The two black boxes at the bottom of left nook is for the home theatre system. The orange pipe running to above your fireplace is the piping for a cable line. The blue box in the top left of the picture is your front left surround sound prewire. You can see a matching blue box on the far right side almost to the far wall for your right speaker. You can also see the yellow gas line running to your fireplace.
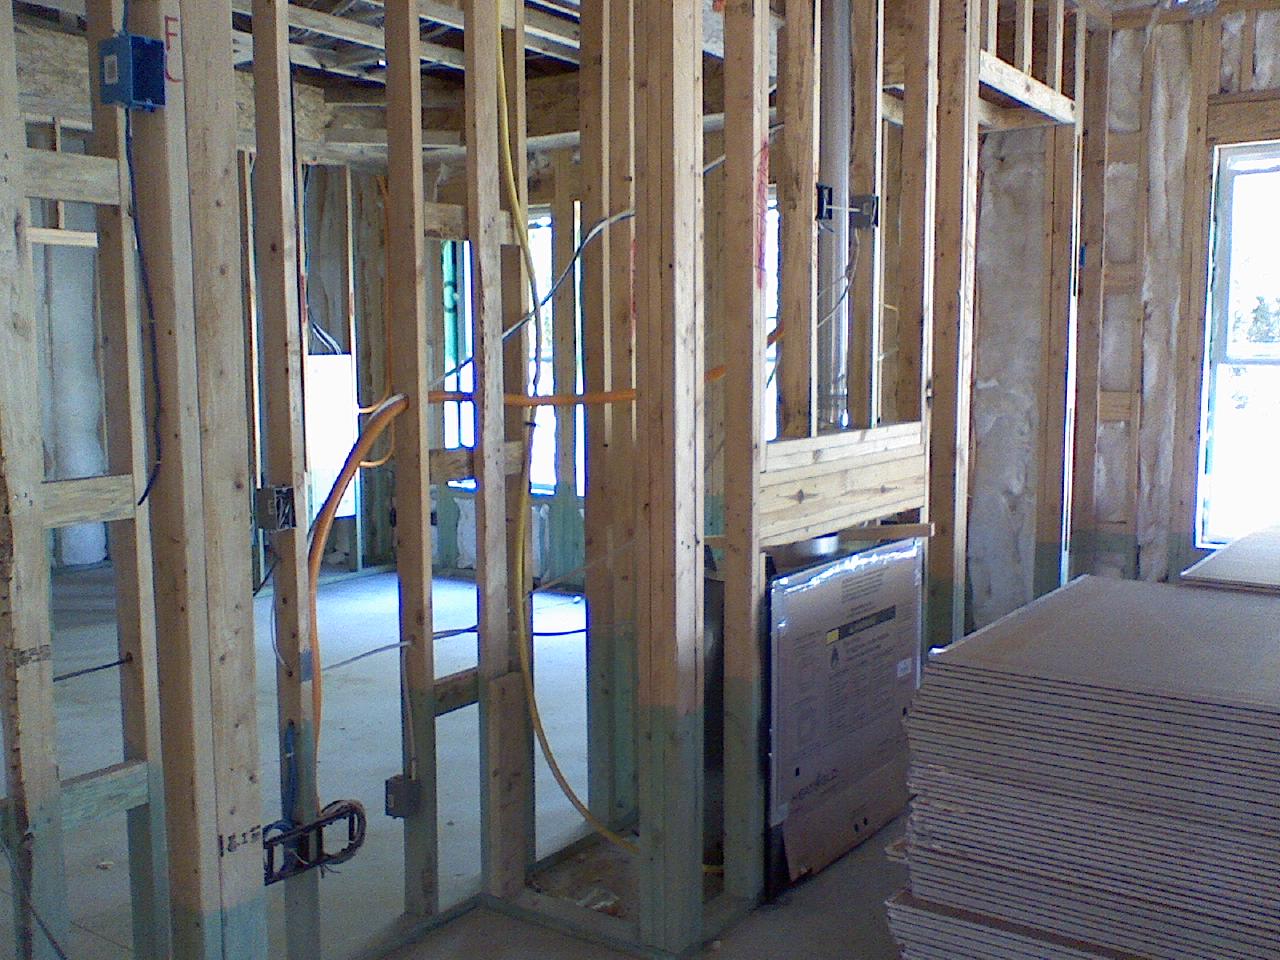
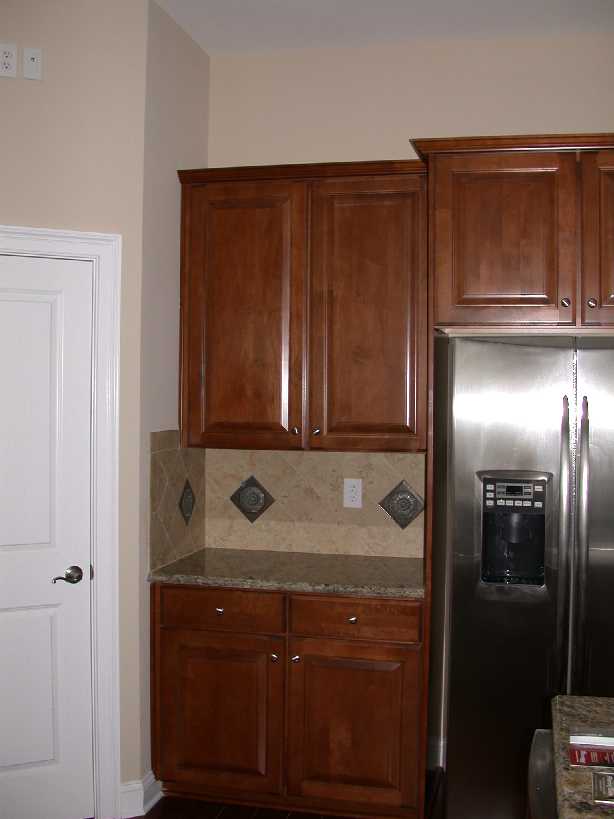
Fridge wall
6
This picture was taken from inside your kitchen looking at the wall where the fridge and cabinets will sit. The white box on the bottom right is for your fridge water line. To the left of the picture is your pantry which has its own picture later. You can see the orange pipe on the left that runs to above your pantry.
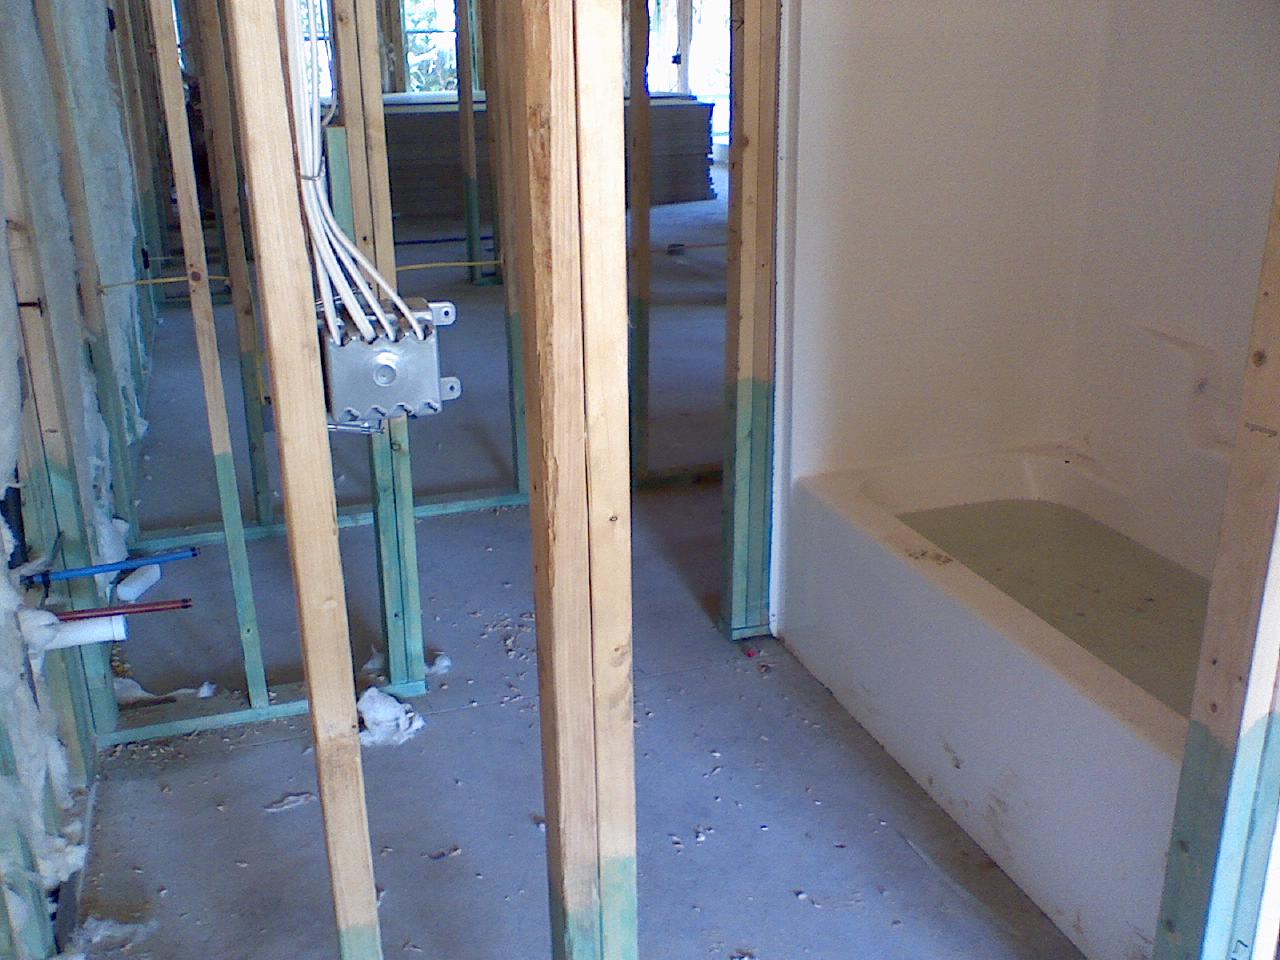
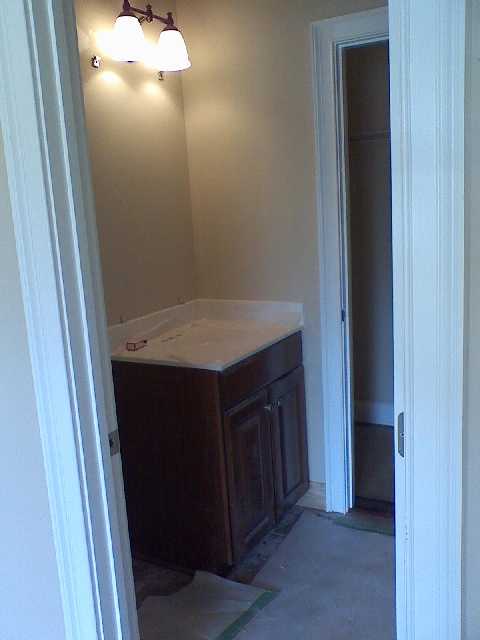
Guest bath
7
This picture is taken from bedroom #2 looking into the guest bathroom. Behind it is your walk in closet and behind that is your dining room. You can see the tub filled with water with piping for your sink and toilet on the left. All your tubs will be cleaned and resurfaced before we walk the home at our preclosing meeting.
Hall bath
8
As you walk in your home, this bathroom is almost immediately on the right. You can see the tub filled and the preping for the sink and toilet. the room to the left behind is the study. You can also see a control joint in the concrete slab - that is to "control" the cracking that is part of the natural process of concrete drying.
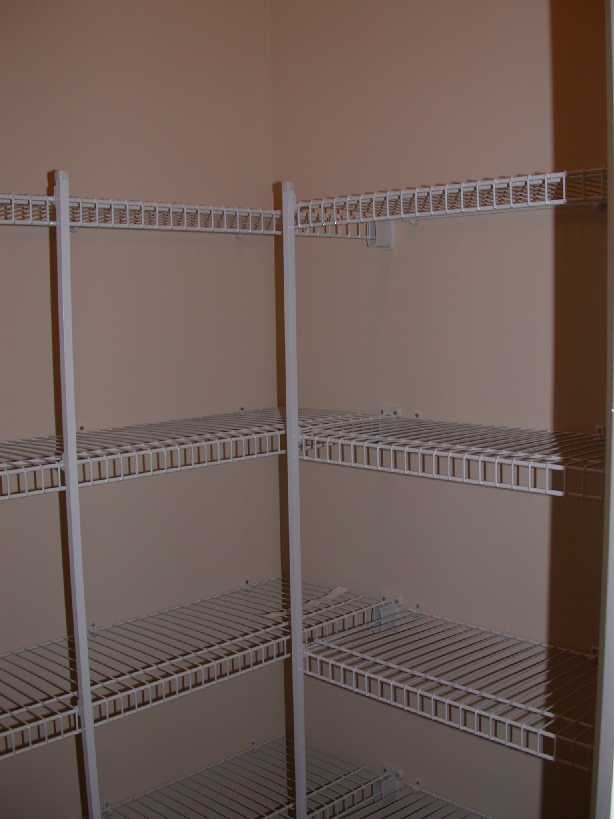
Kitchen pantry
9
This is your kitchen pantry with the cable and electric outlet prewired above as requested.
Laundry wall
10
This is the back wall of your laundry room. The metal box on the right is for the exhaust line of your dryer. The plumbing on the left is for your washing machine. There is currently over 100 lbs of pressure on your water line to show there are no leaks. That pressure will remain through out the construction process to prevent leaks going undetected if they occur.
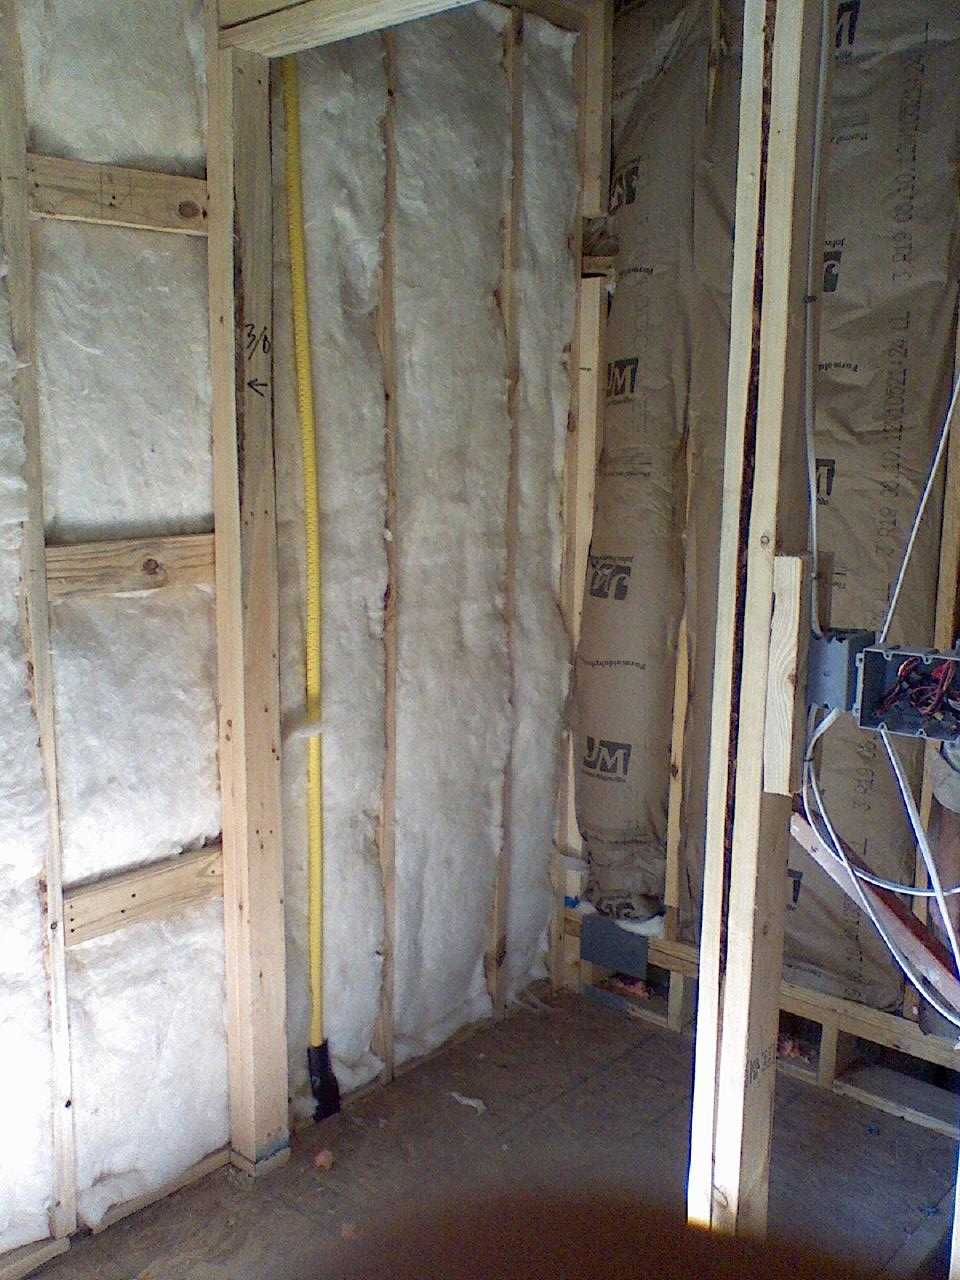
Master closet
11
This is a picture taken from your master bath into your master closet. VERY IMPORTANT that you know the black pipe on the left is for your freon line to your AC condensor outside. the large panel on the right side is your "smart box". The orange wires are piping for cable and such.
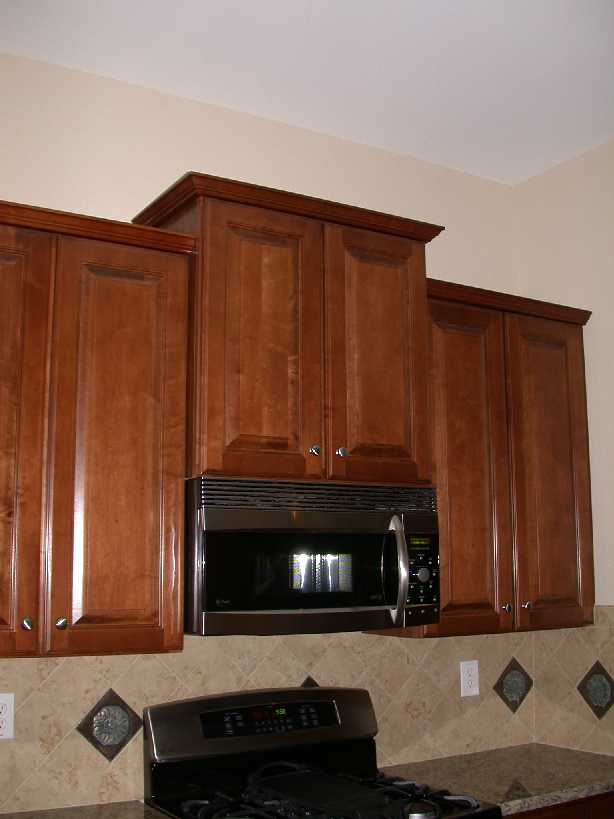
Range wall
12
This is the exterior wall of your kitchen. The boxes farthest to the floor are for your range. You can see the gas stub out on the left and the outlet on the right. All the boxes in the middle are for light switches and GFI outlets. The highest box is the outlet for your microwave. You can see that the bottom 18" is green on your entire first floor. That is treatment against moisture and termites.
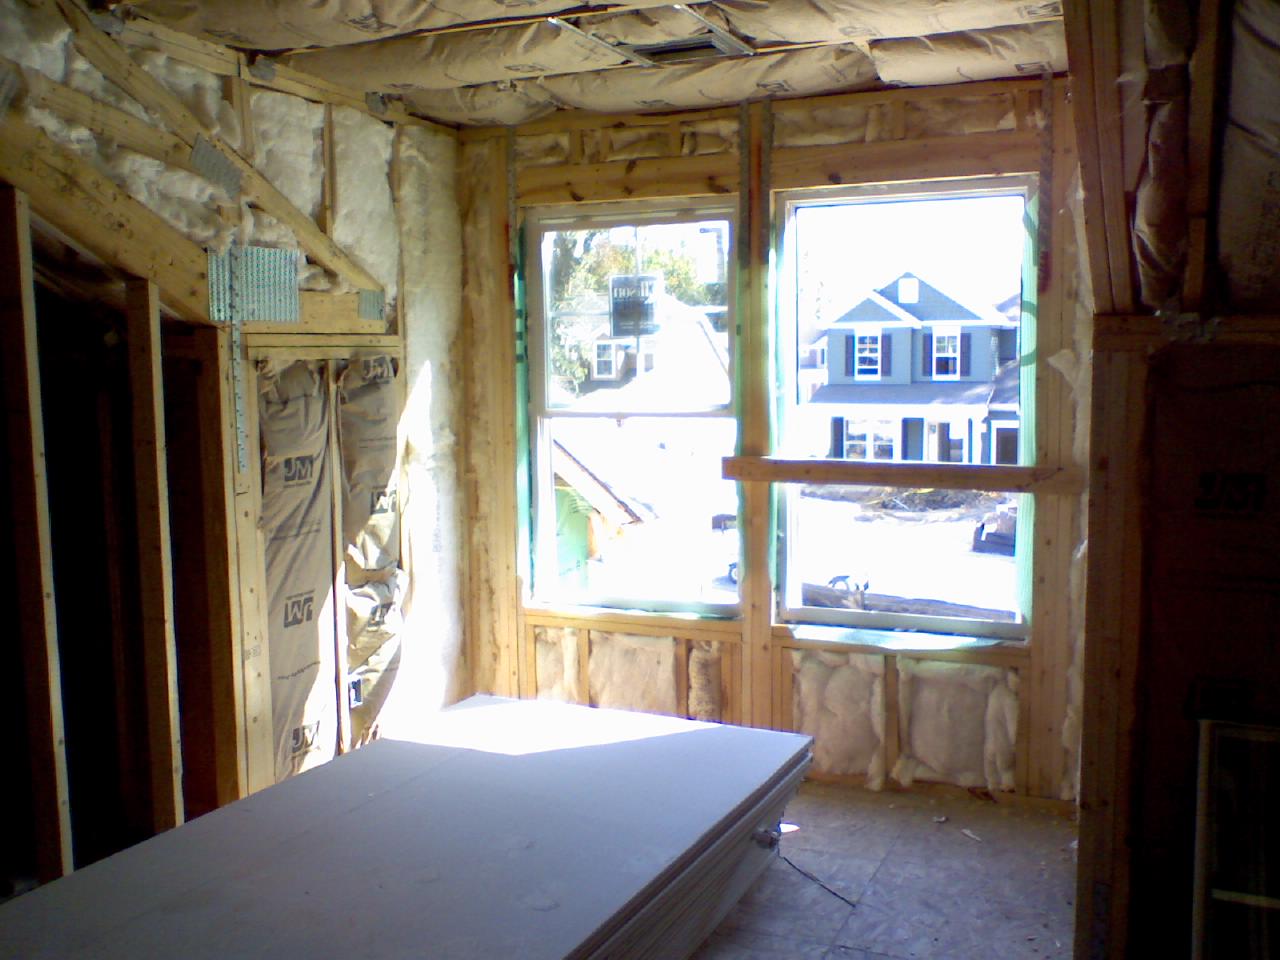
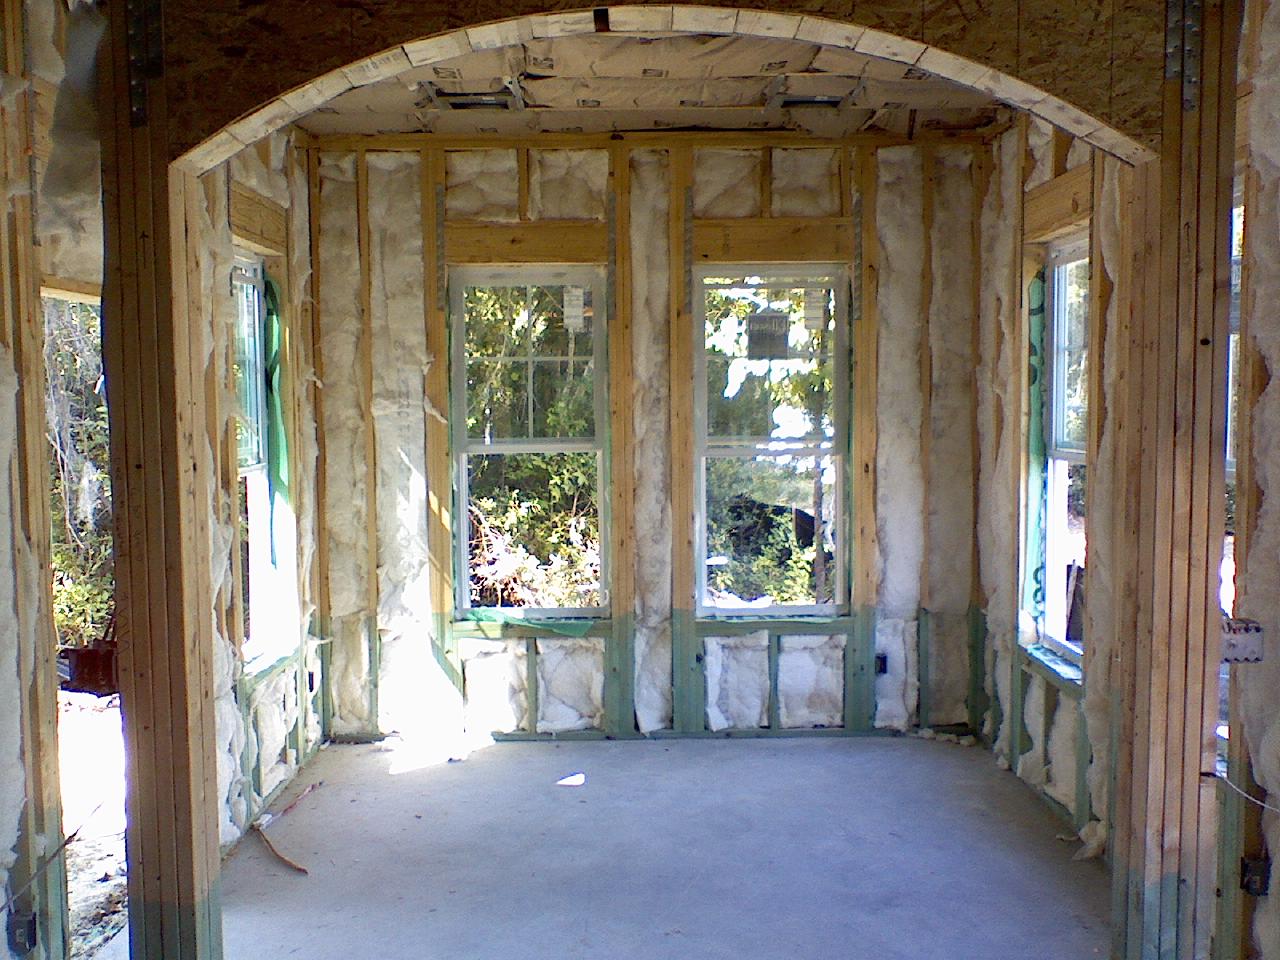
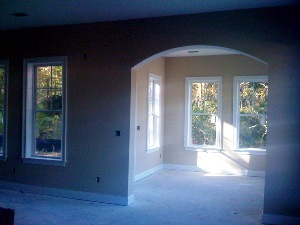
Sunroom
13
This picture is taken from your breakfast area into your sunroom. The exterior door on the left has been installed since this picture was taken.
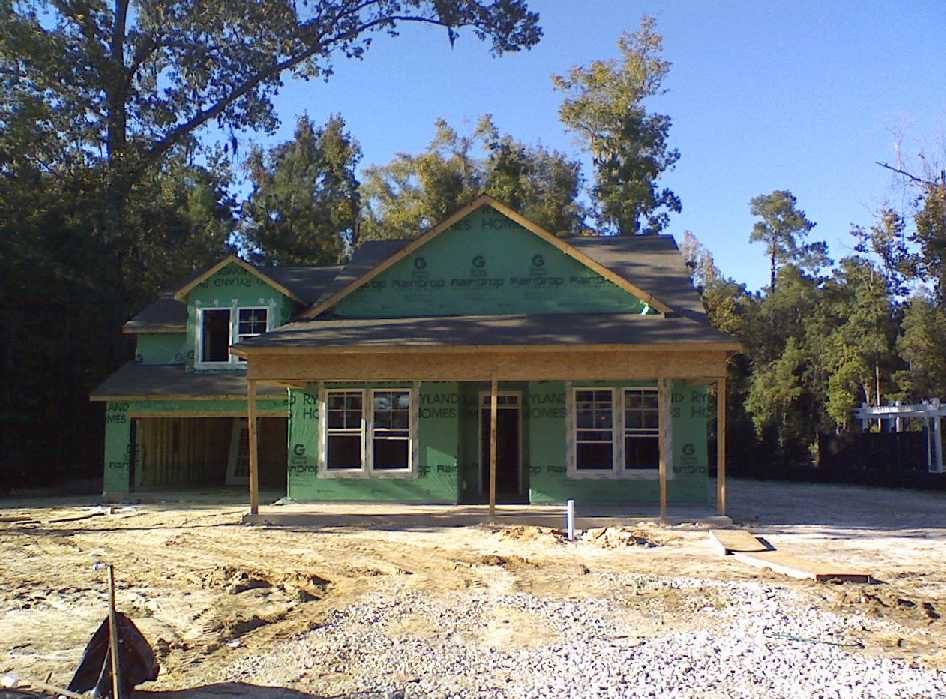
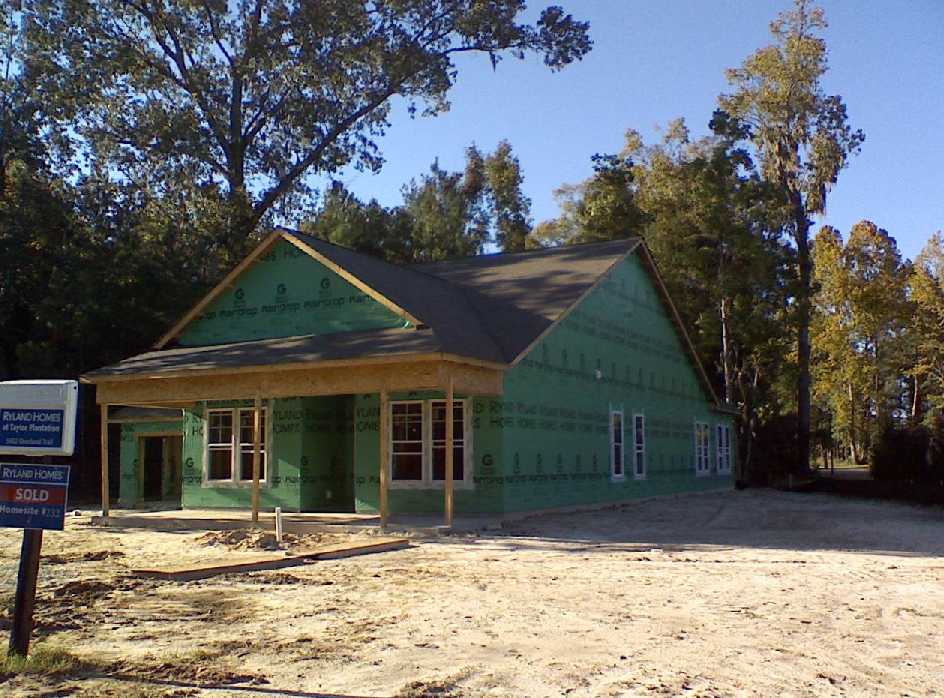
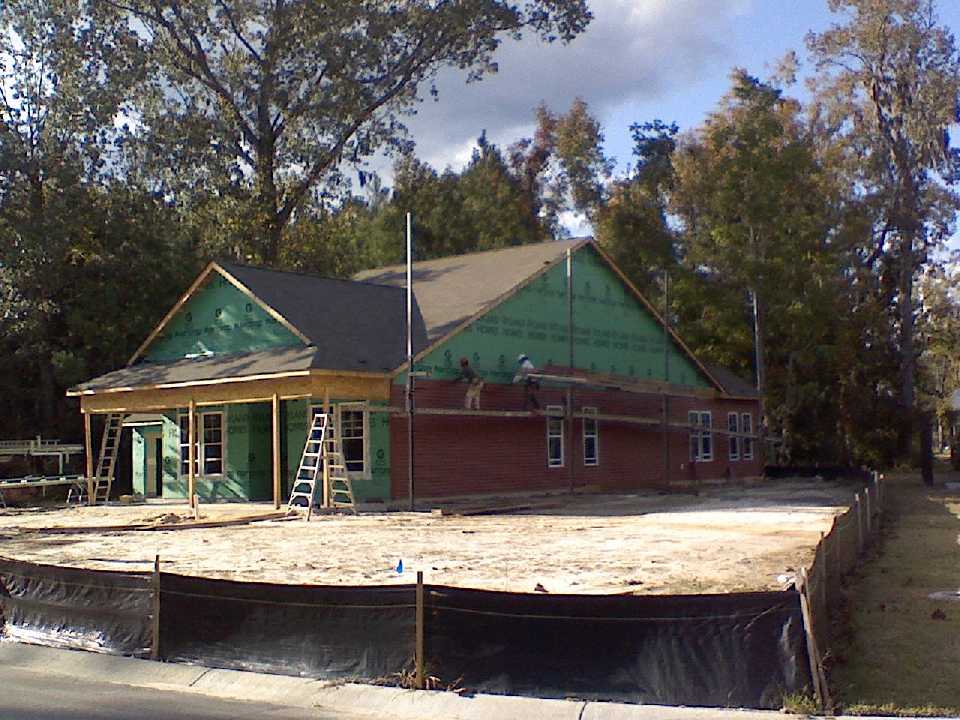
Photos taken October 30, 2008
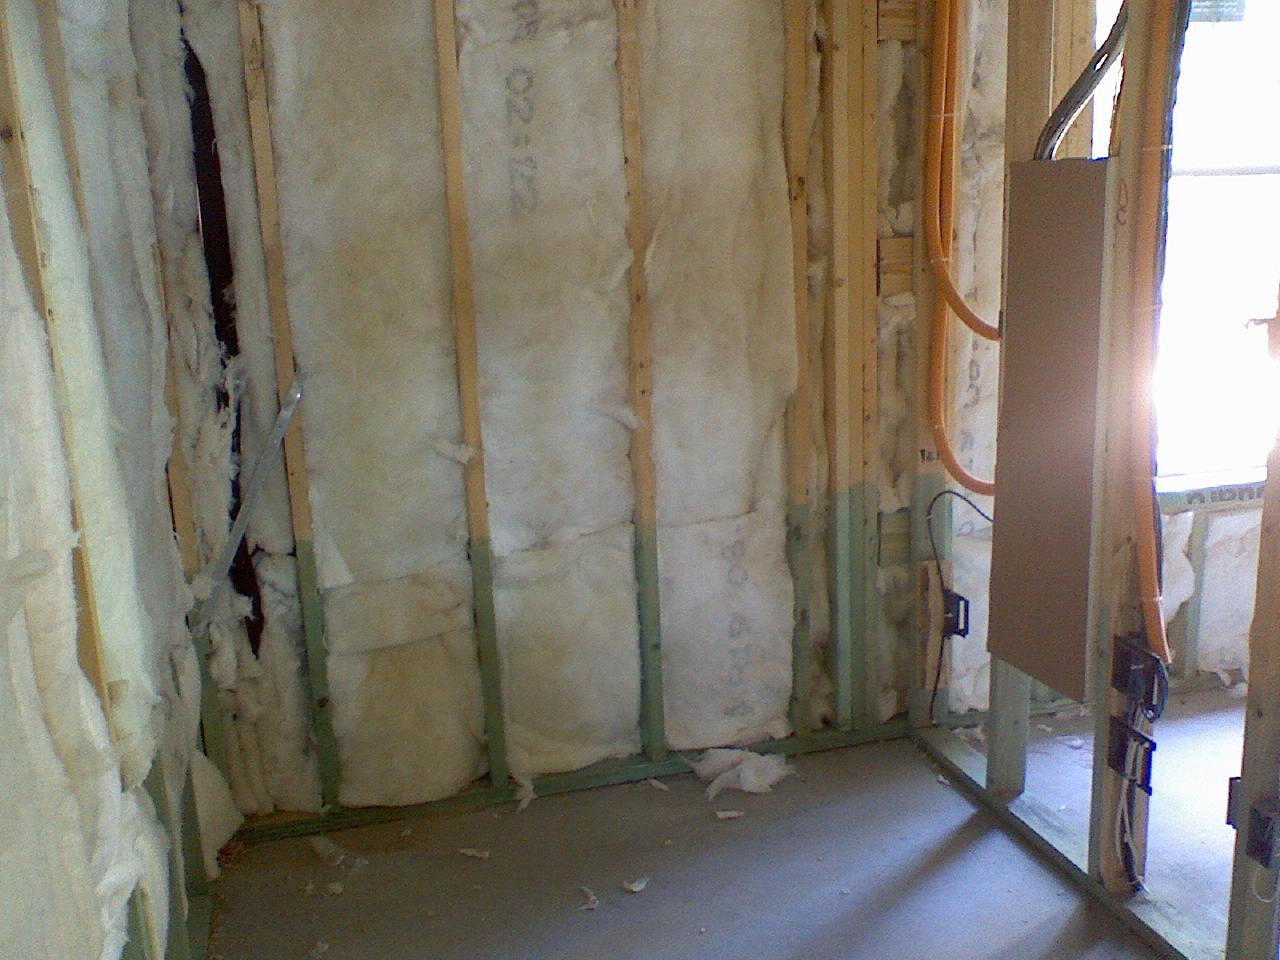
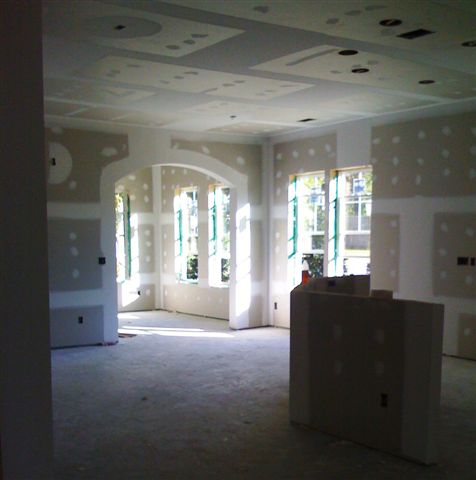
Dry wall is up!
1 -
2
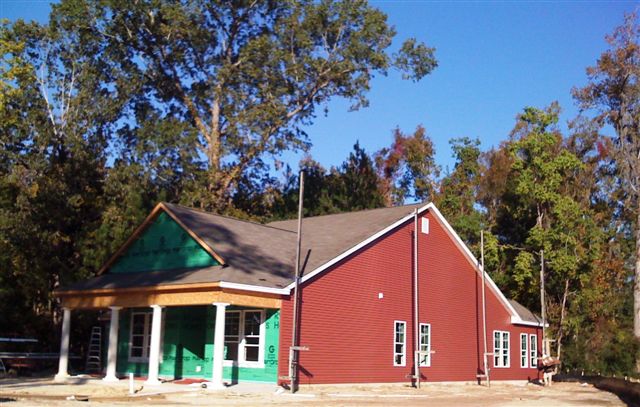
Siding is progressing:
3
Photos taken November 10, 2008
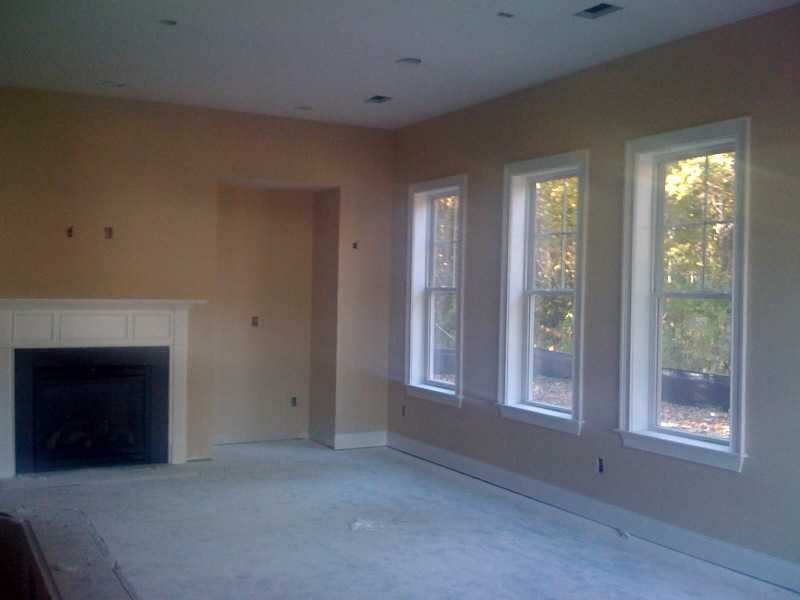
Painting has begun:
Living room. -
Dining room (to left, front) & Living room (back right). -
Sunroom (distant) & Living room (near).
Photos taken November 17, 2008
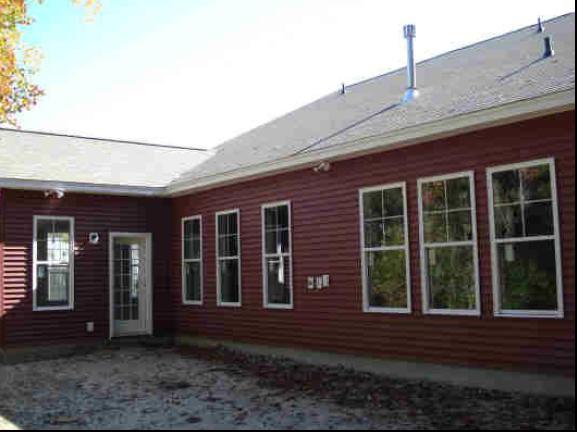
Outside: Front -
Back
Photos taken November 25, 2008
Outside:
1 -
2
Inside:
3 -
4 -
5 -
6 -
7 -
8 -
9 -
10 -
11 -
12 -
13 -
14 -
15
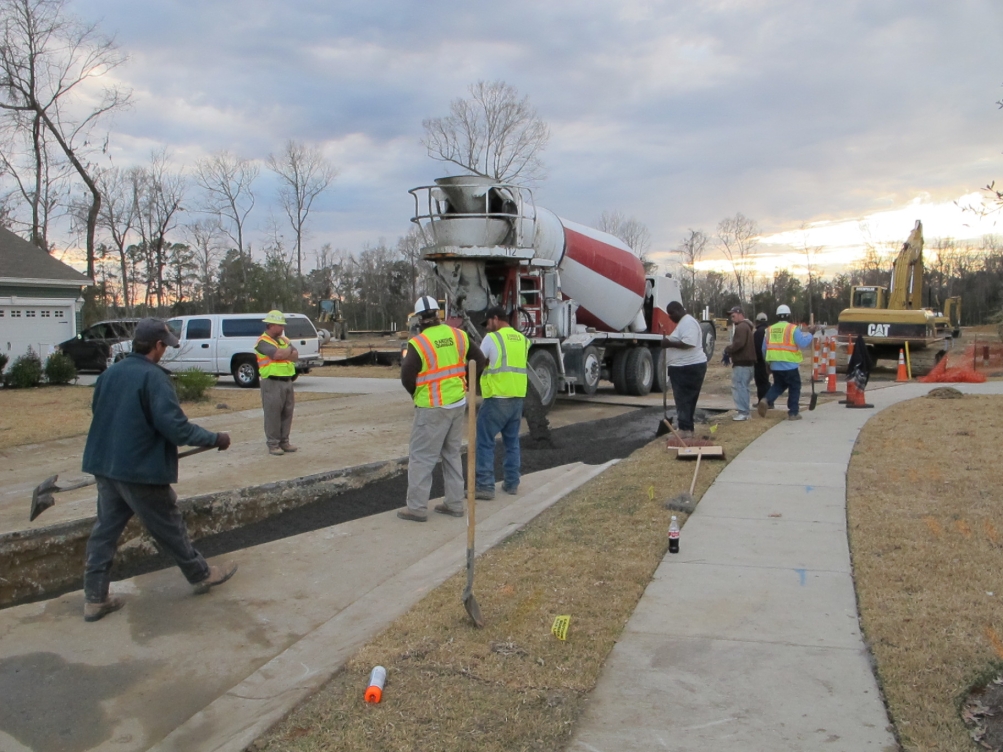
Photos taken December 11, 2008
Outside:
Front
Inside:
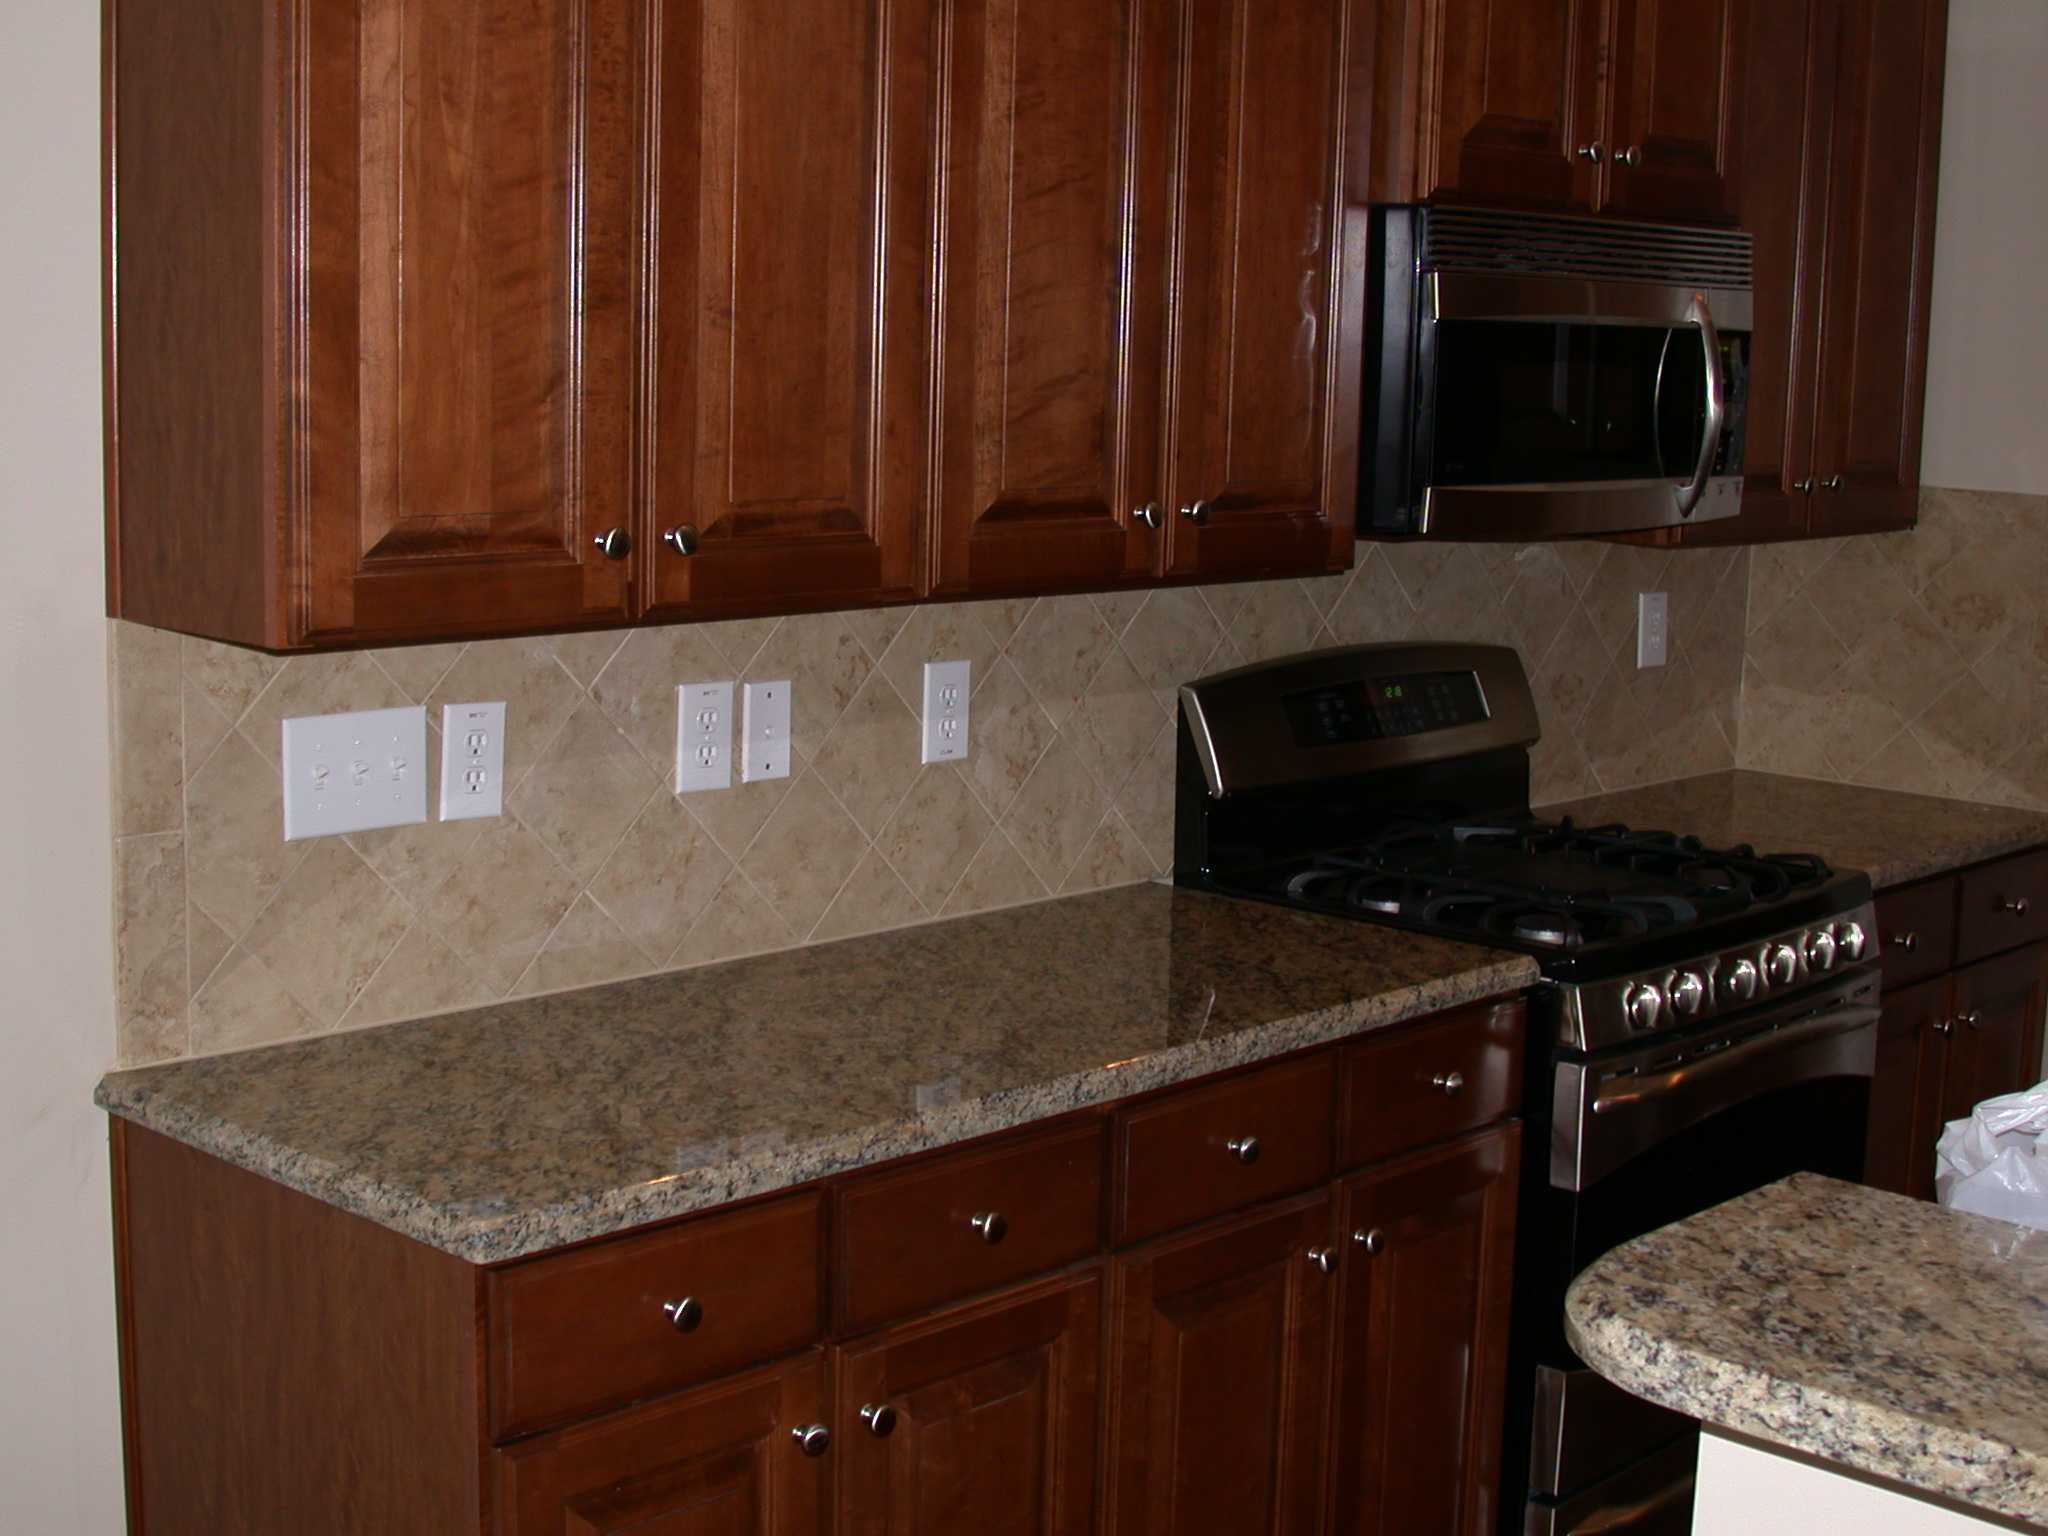
Kitchen -
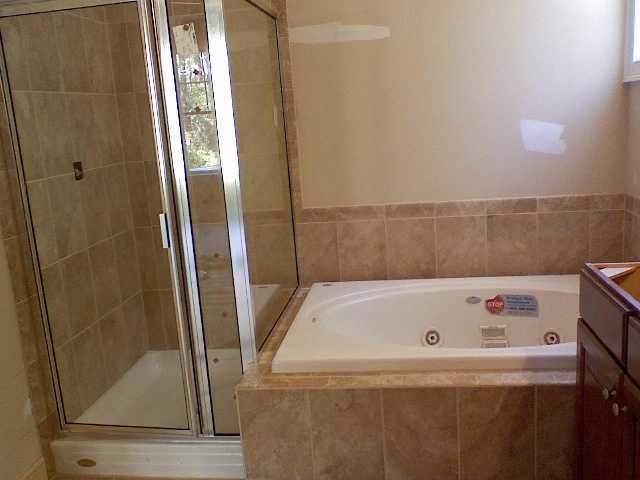
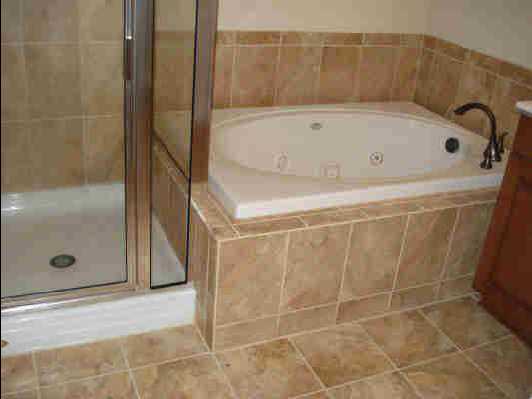
master bath tub & shower -
fireplace
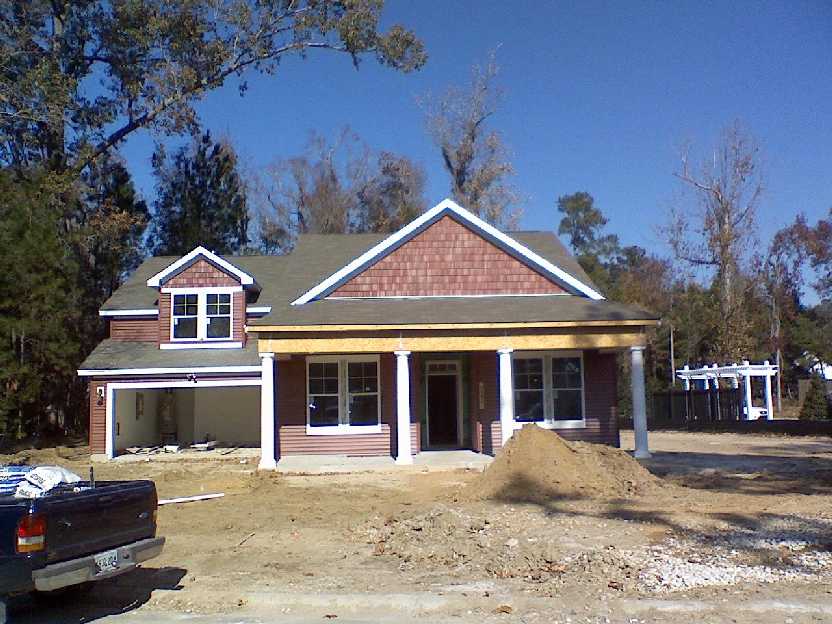
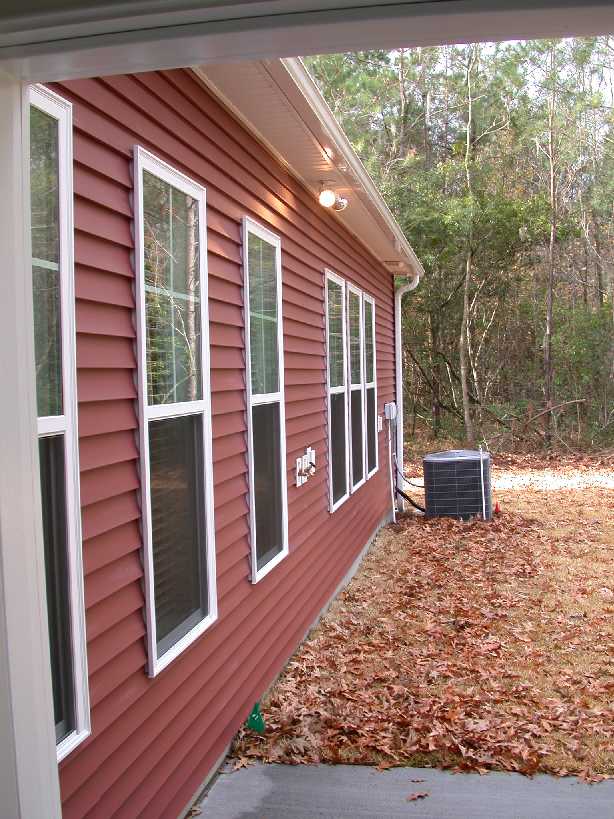
Photos taken December 15 and 19, 2008
Outside:
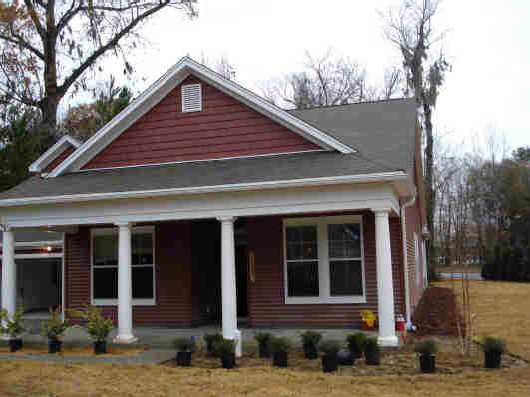
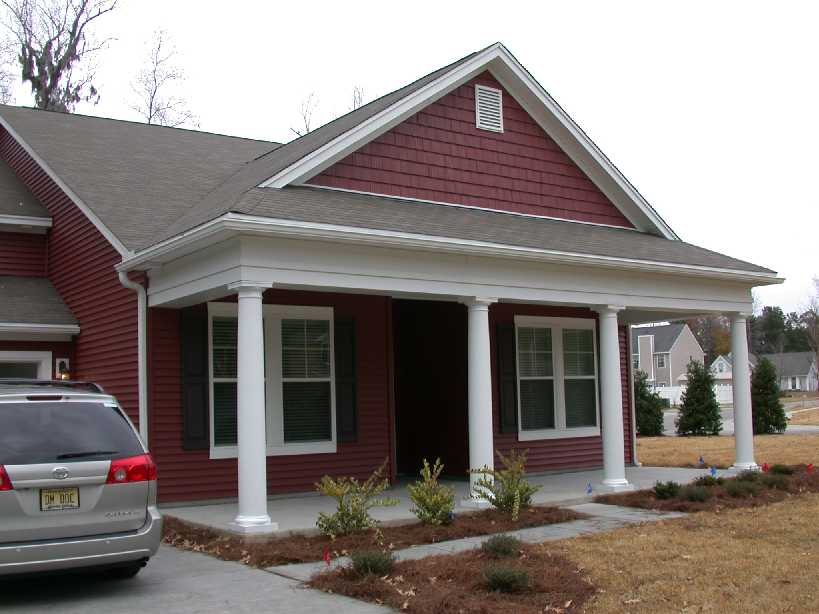
Our first view of our new home (from Appian Way) -
front of home -
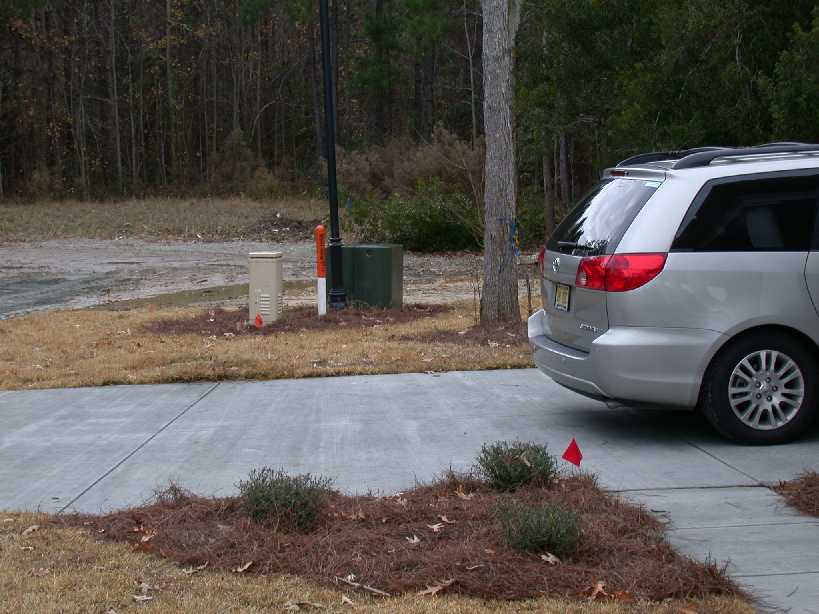
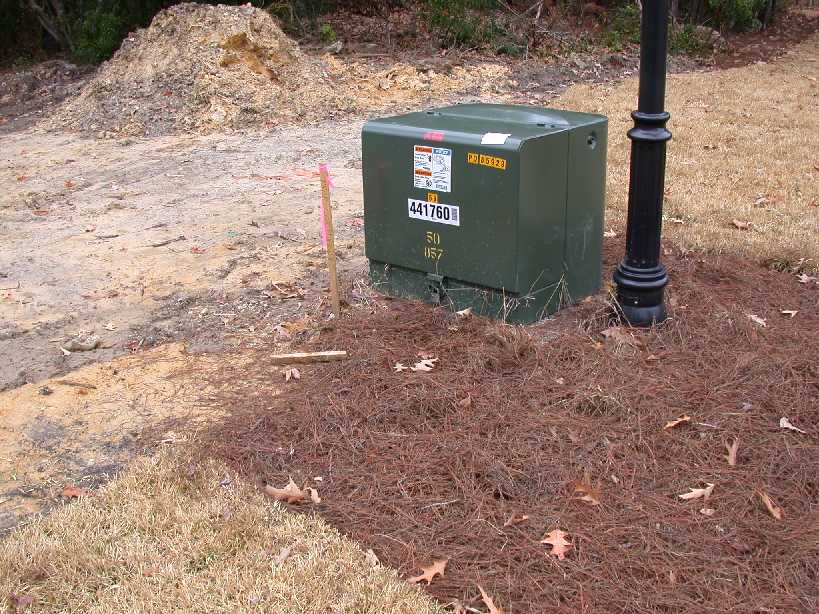
driveway & utility island -
utility island* -
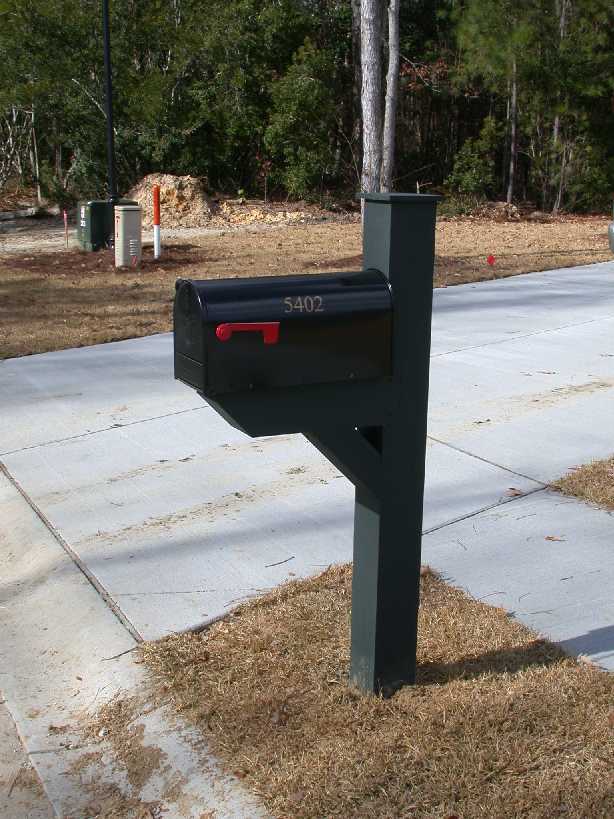
mailbox -
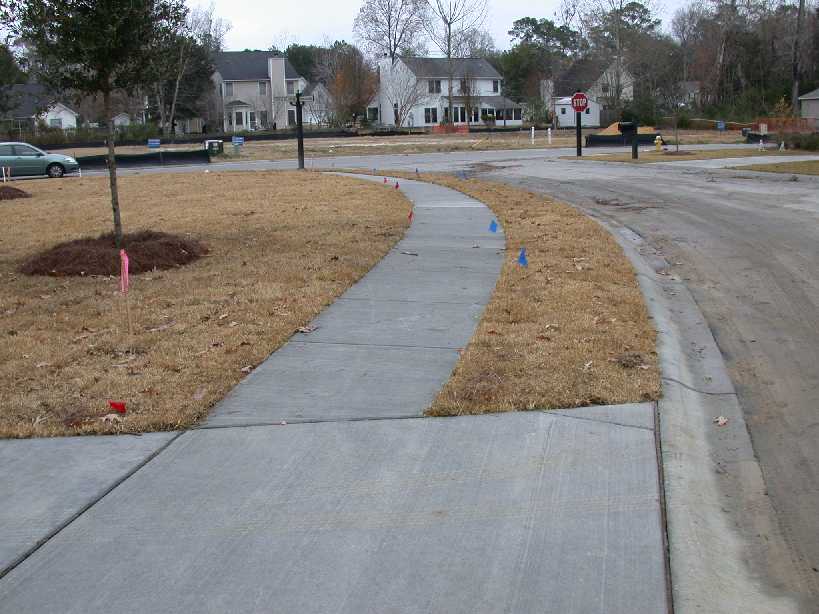
sidewalk on Overland Trail -
front porch -
walkway to front entry -
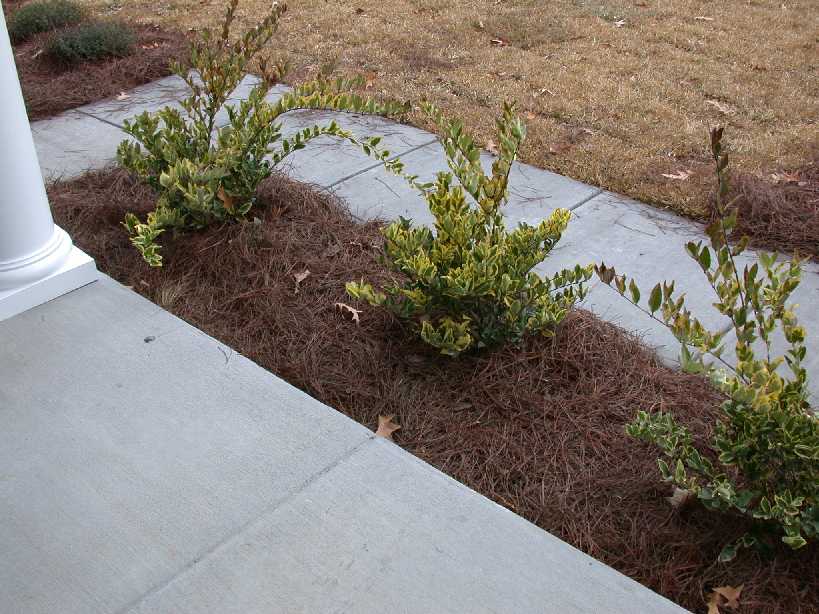
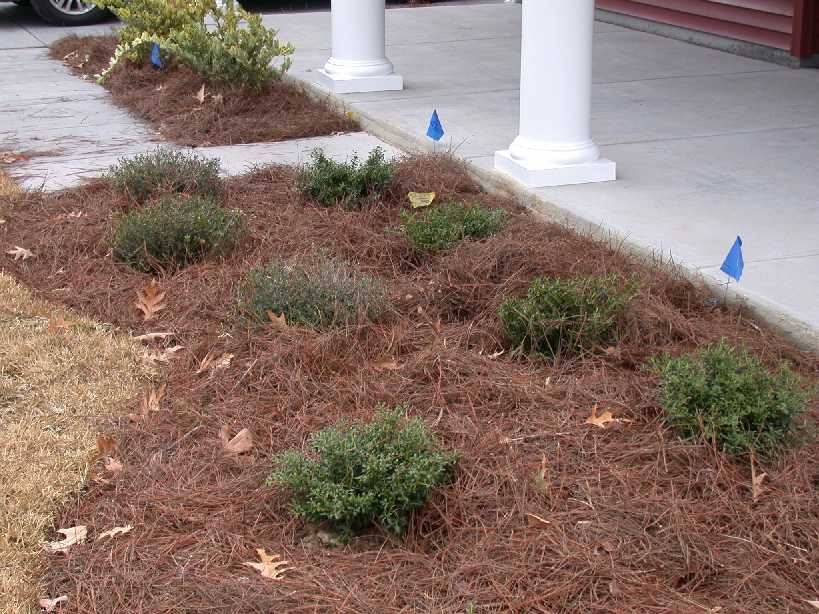
plantings at edge of porch -
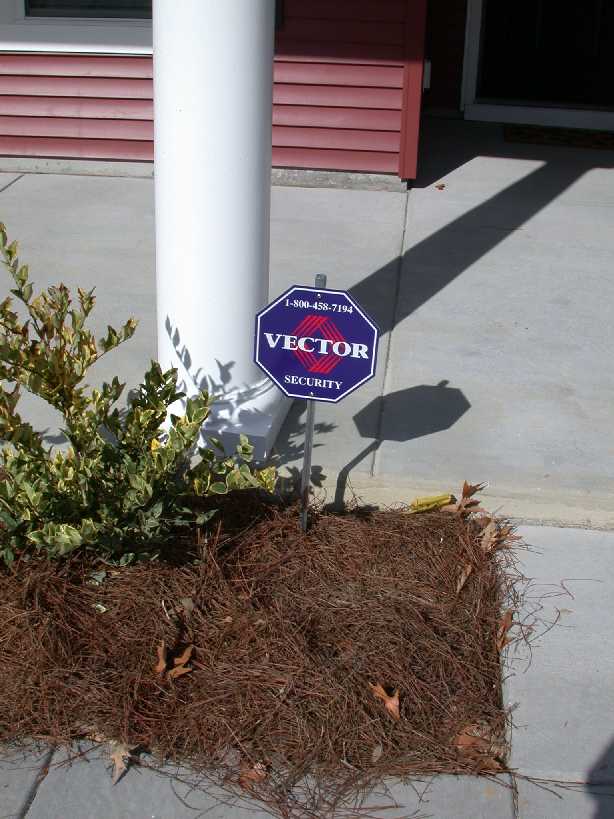
new sign at edge of porch -
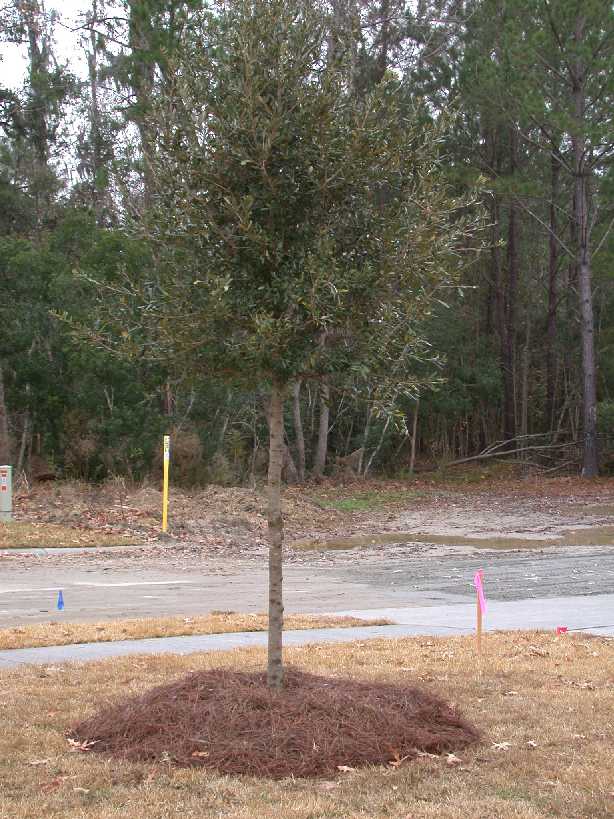
tree in front yard -
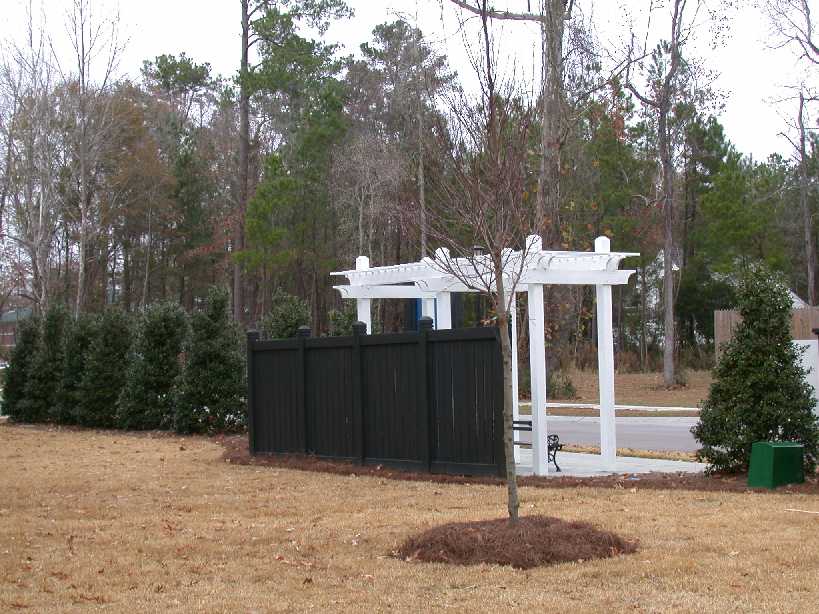
pergola on Signal Island Drive (SID) -
rear of home, from sun room -
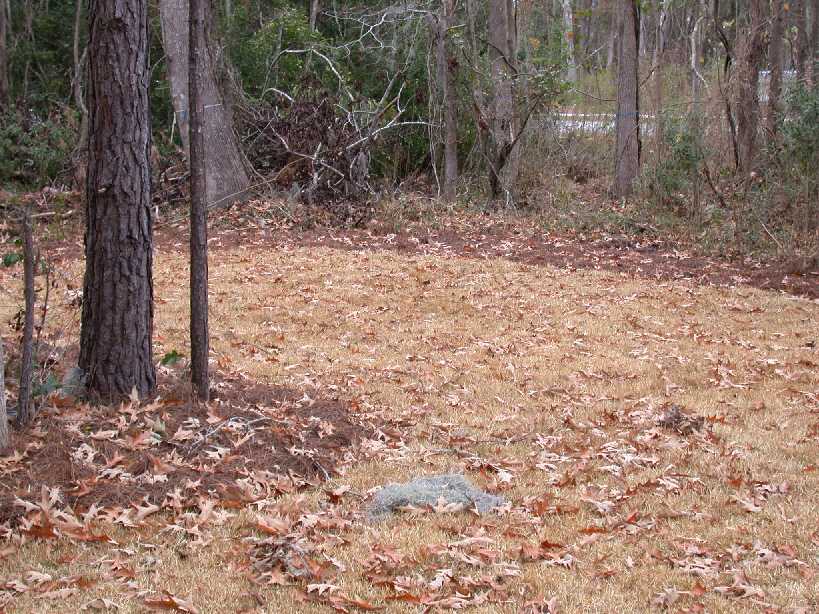
backyard*
-
backyard -
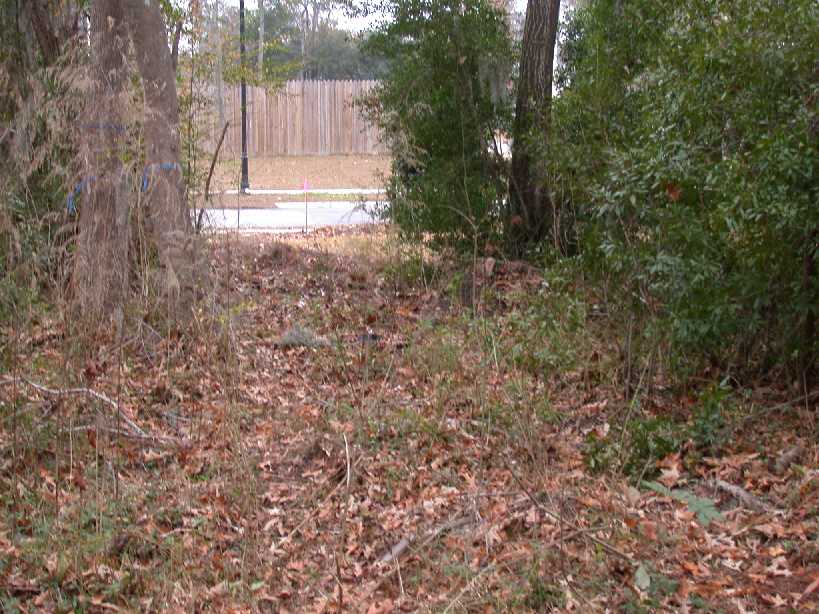
approximate rear edge of property* (looking at SID) -
corner at SID*
(* stakes with pink flags mark edges or corners of the property)
Inside:
Front Entry
at front door -
view to front from great room
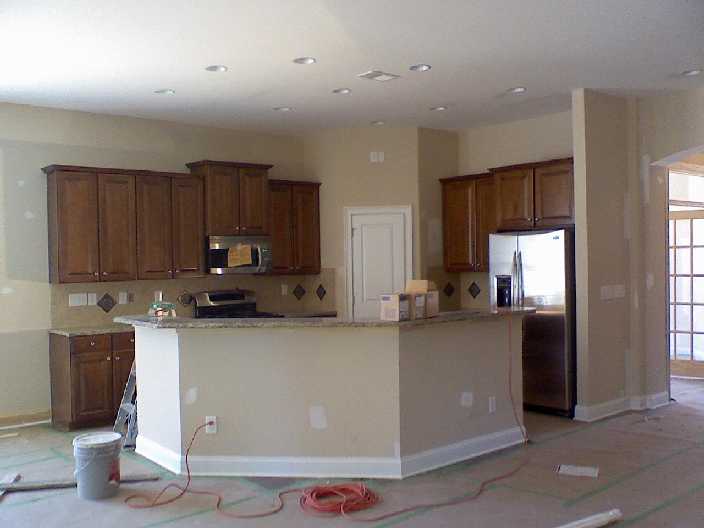
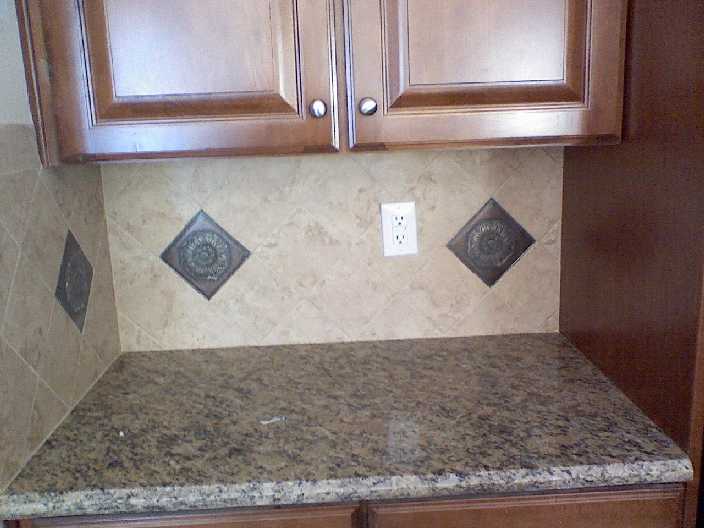
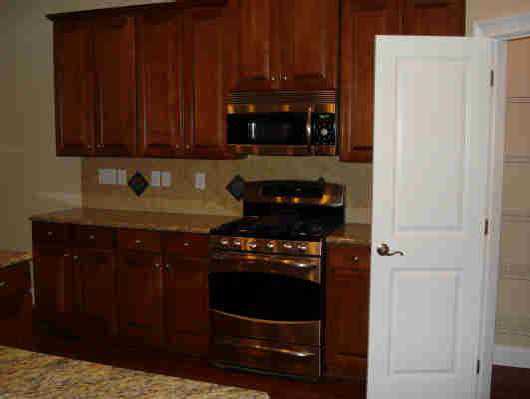
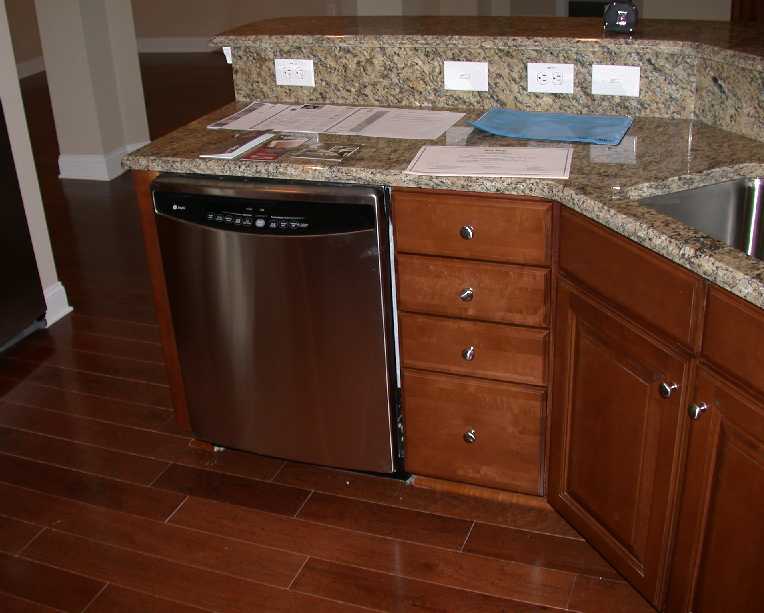
Kitchen
dishwasher -
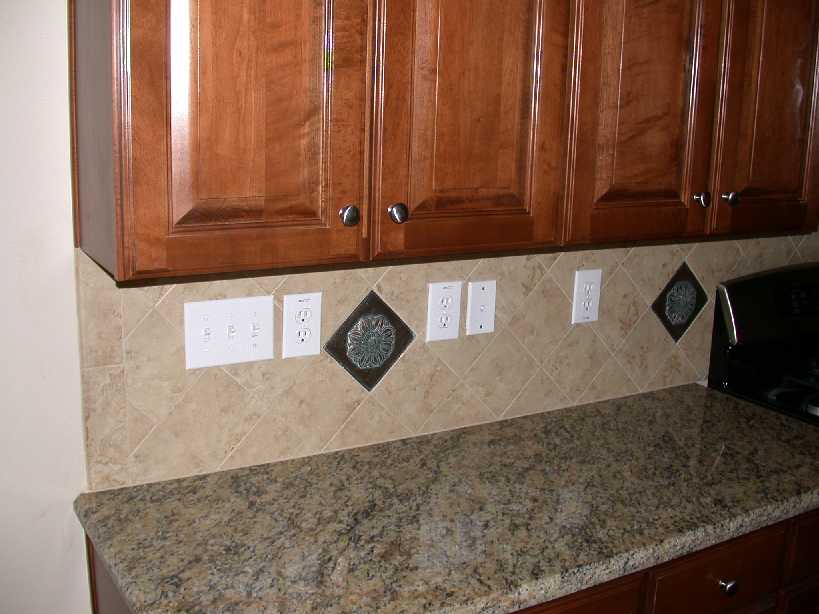
splashboard and outlets -
splashboard with medallions -
splashboard without medallions -
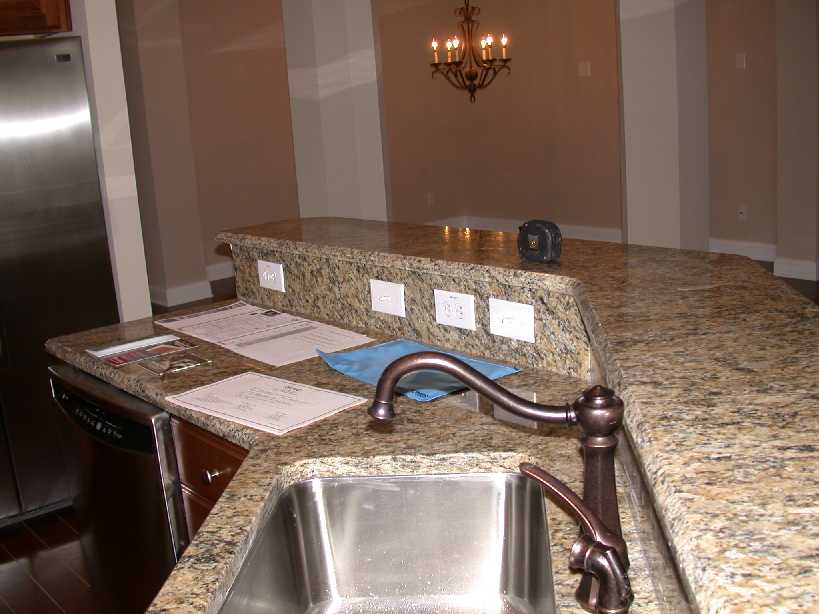
sink (media room in distance) -
sink -
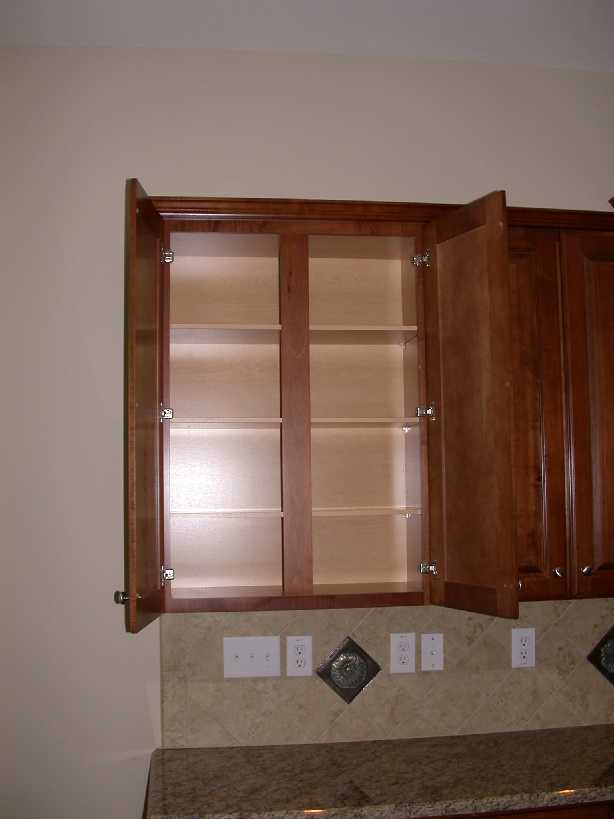
cabinets -
cabinets -
above pantry -
in pantry -
ceiling lighting -
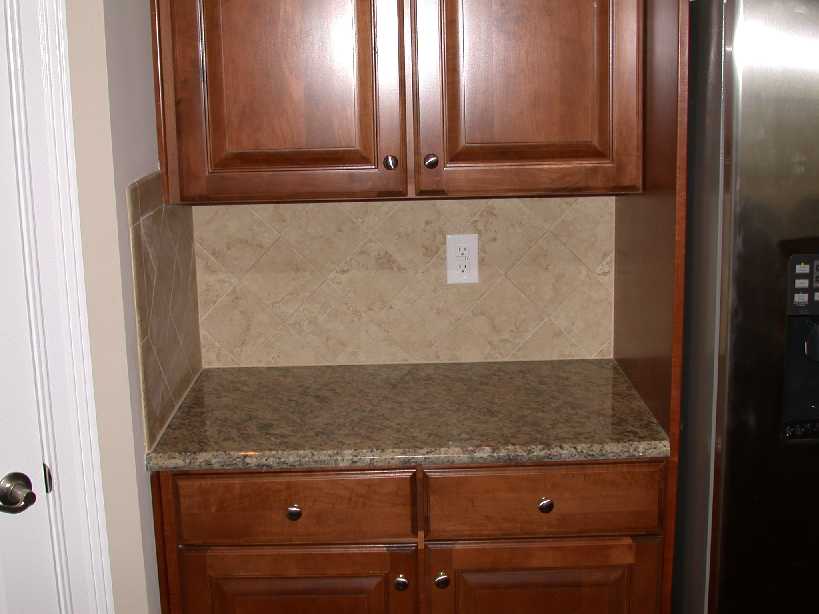
between pantry & fridge, with medallions -
between pantry & fridge, without medallions -
fridge
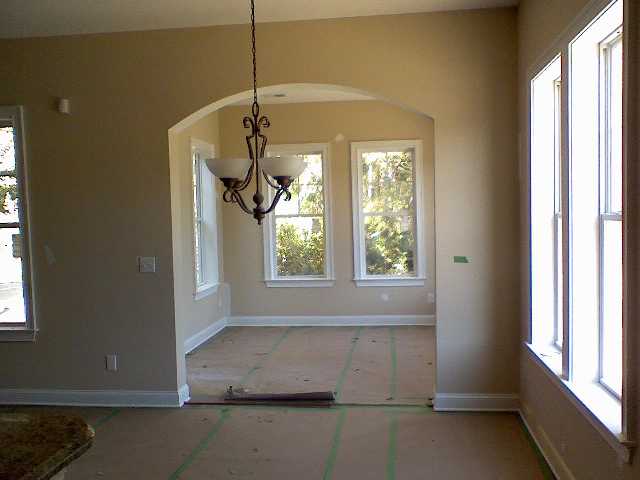
Sun room
view from kitchen
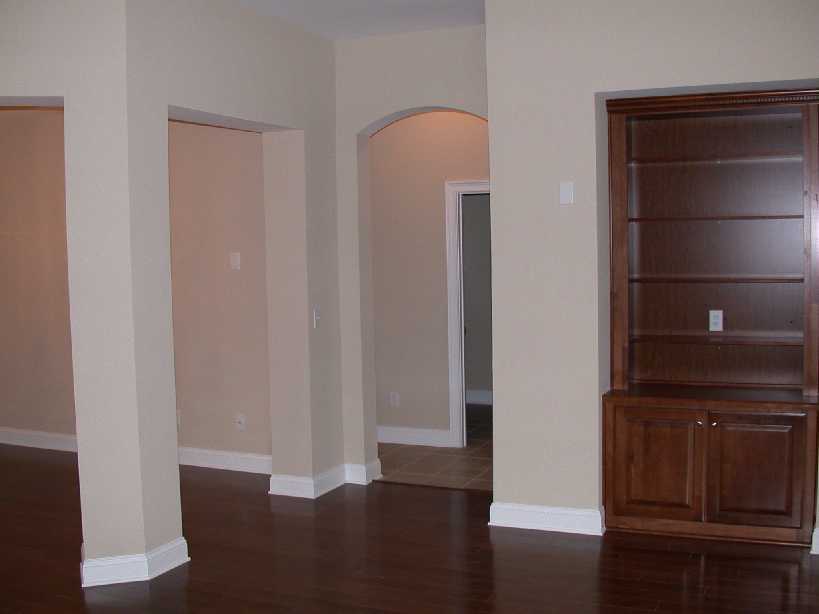
Great room
window facing backyard -
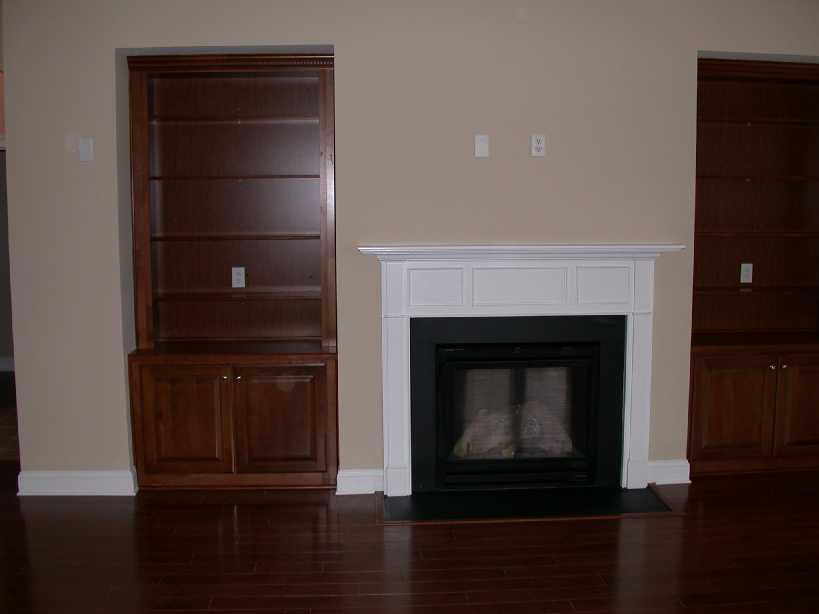
fireplace and bookcases -
lower part of bookcase -
view to back hall and media center
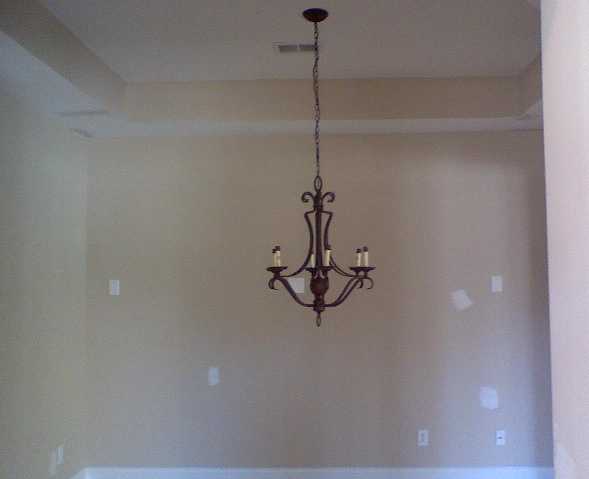
Dining room (media center)
chandelier
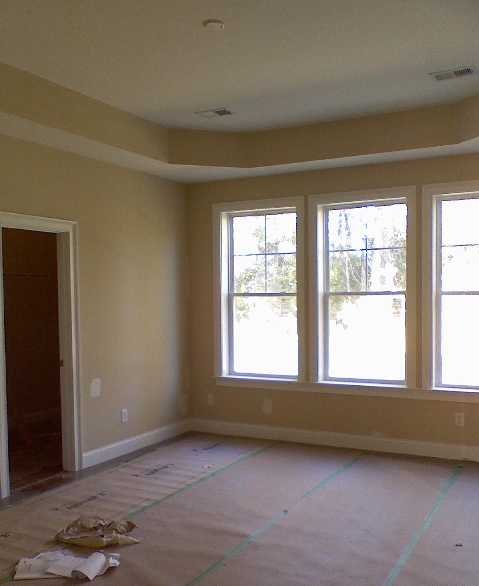
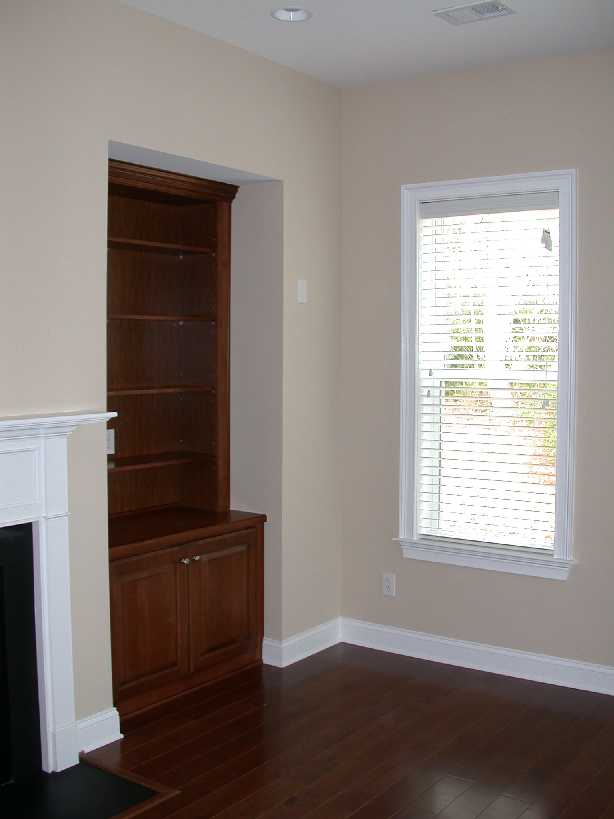
Library
extremely boring photo
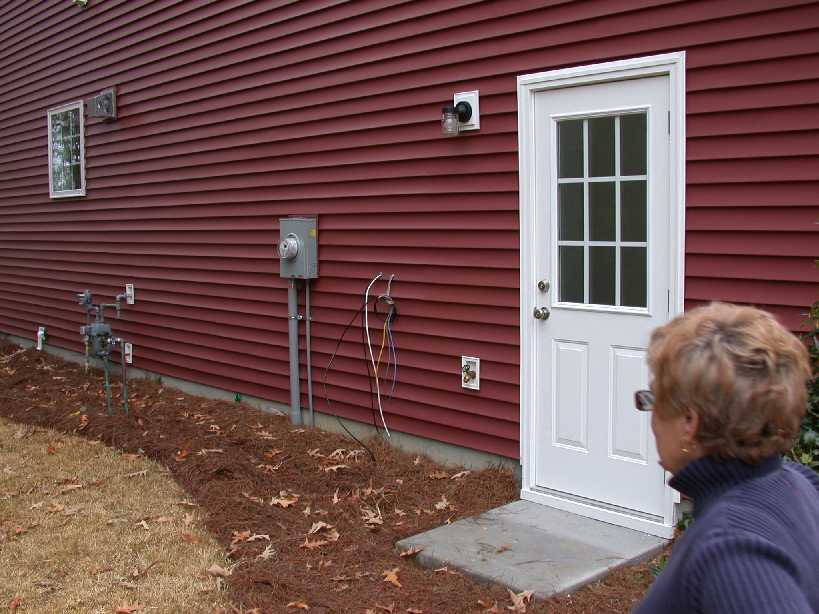
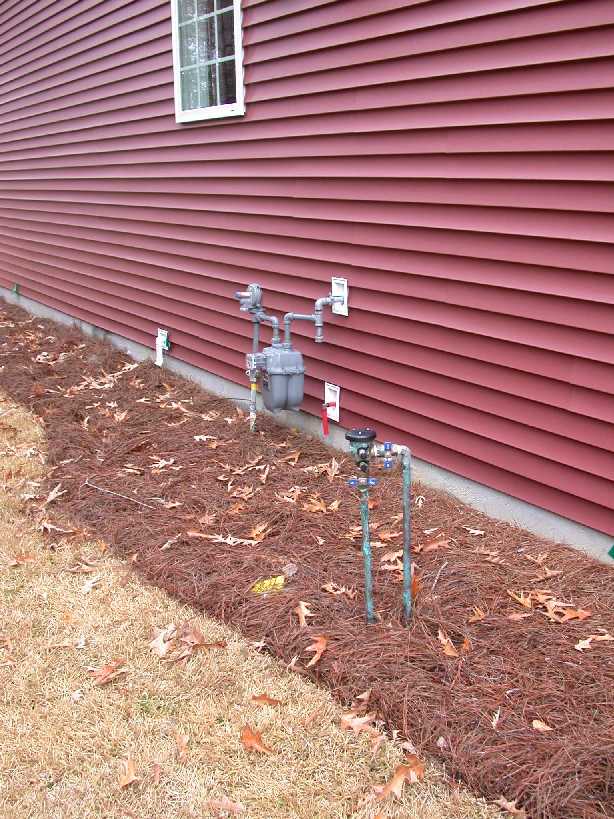
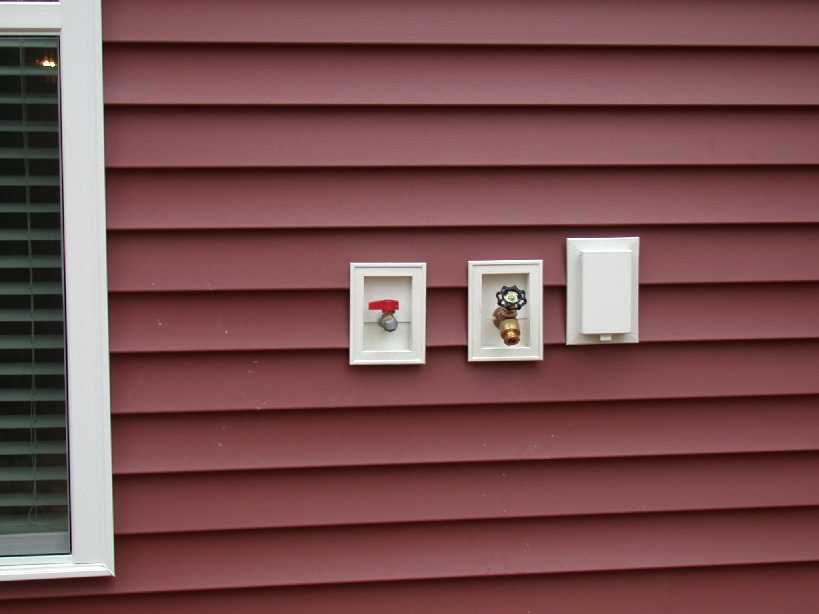
Odds'n'ends photos:
stuff on garage side of home -
exhausts on garage side -
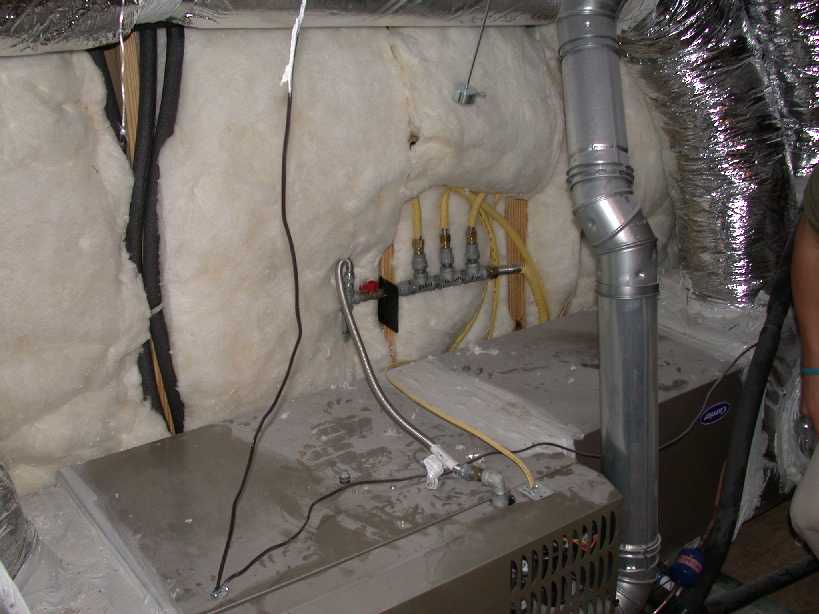
connections: garage side -
connections: patio -
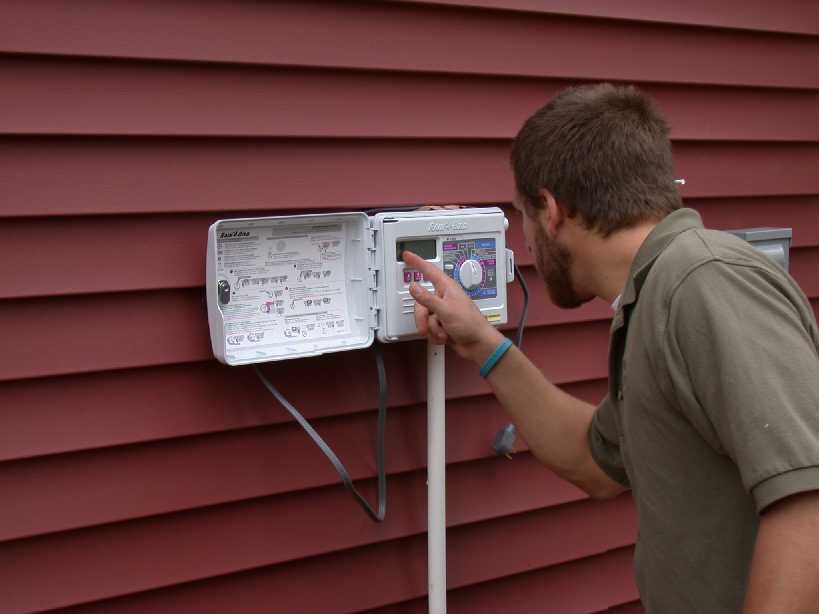
sprinkler system control panel -
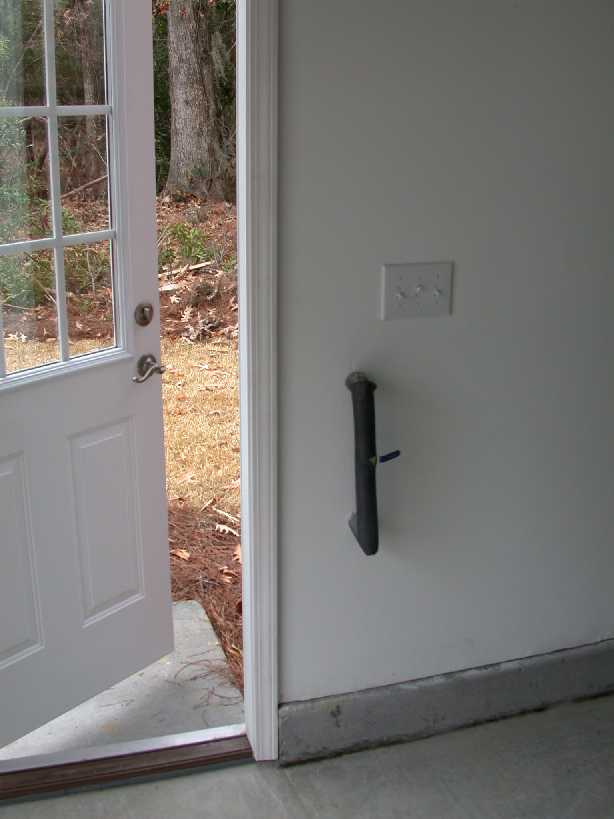
main water shutoff in garage -
media wiring in garage -
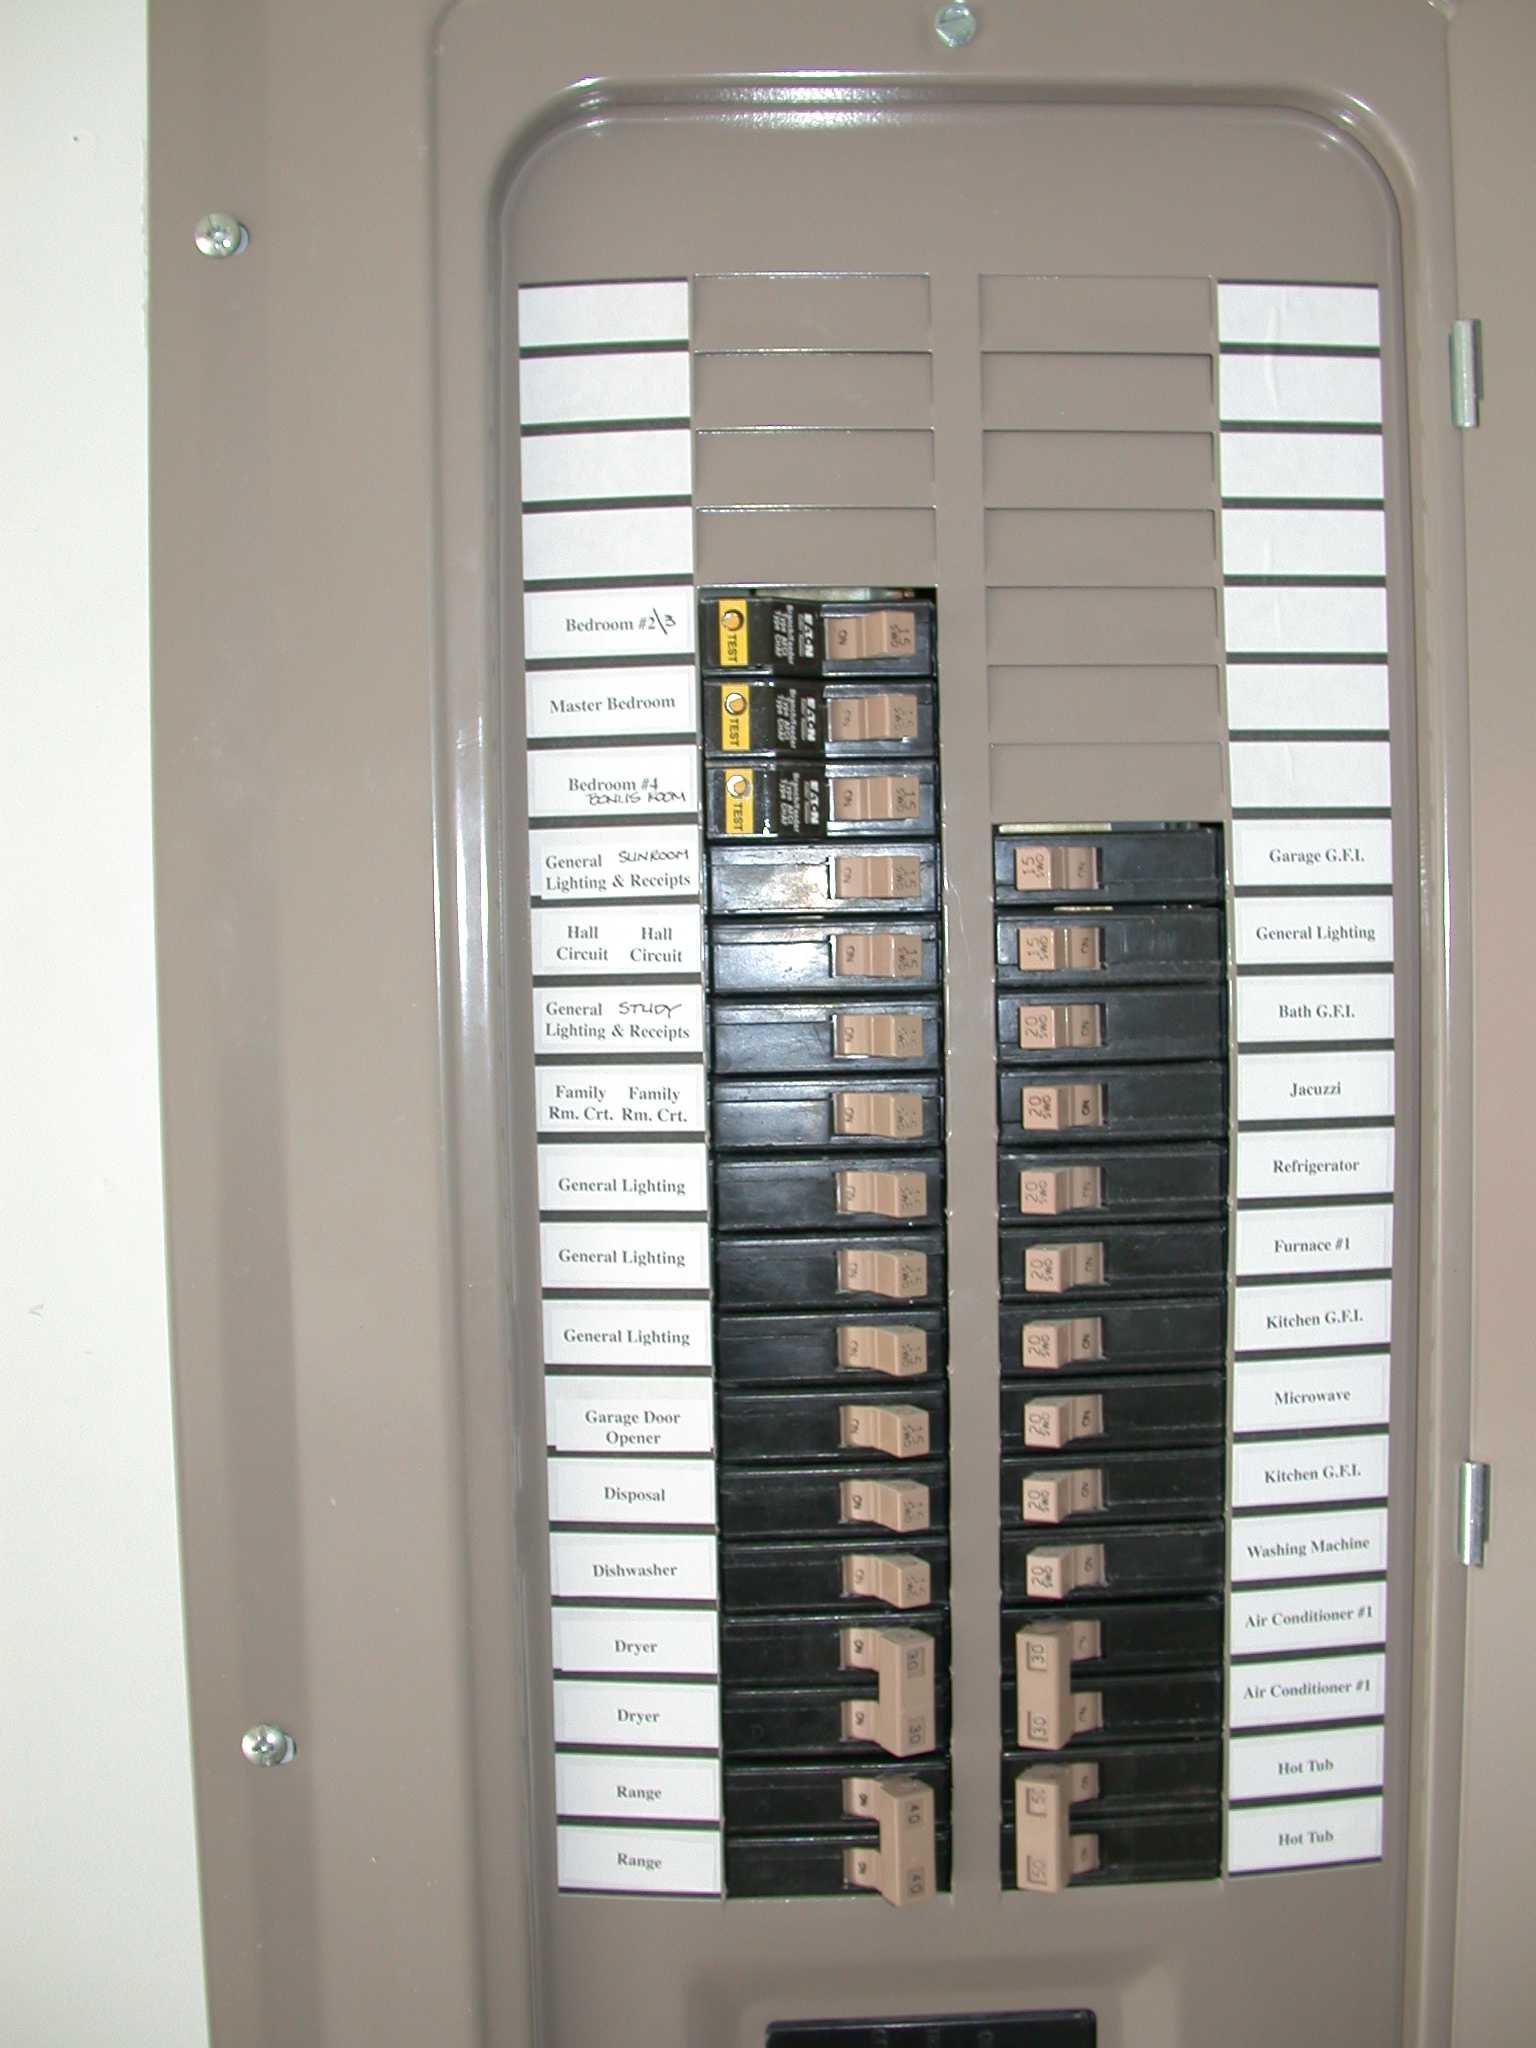
electric panel in garage -
garbage disposal -
interior of fridge -
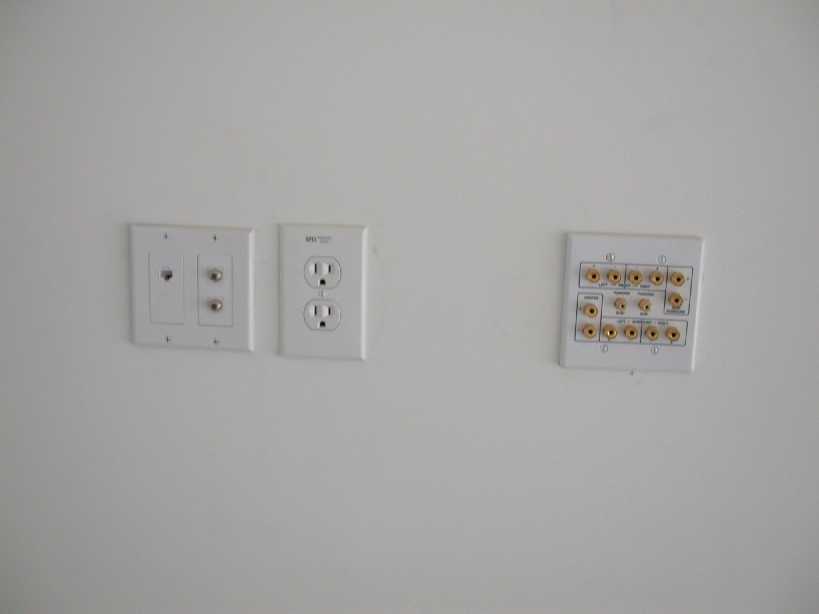
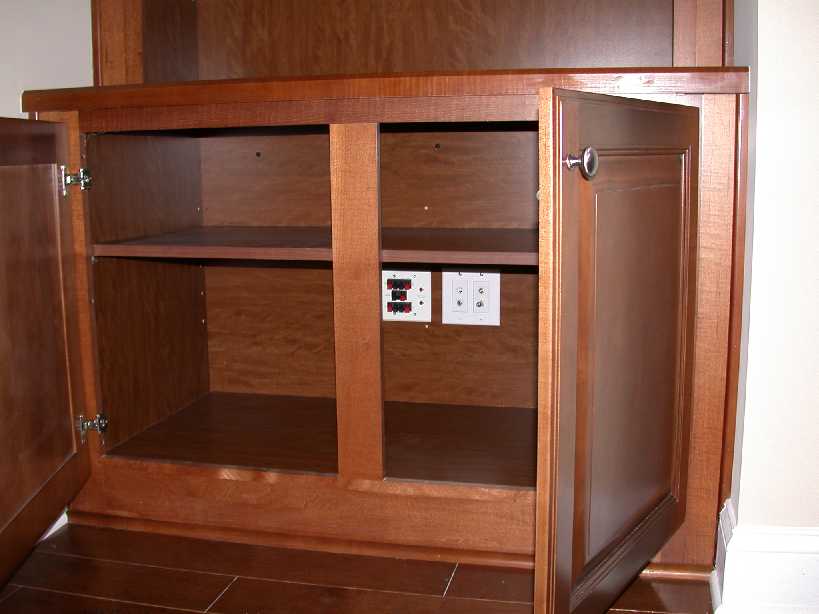
connections: hifi in great room -
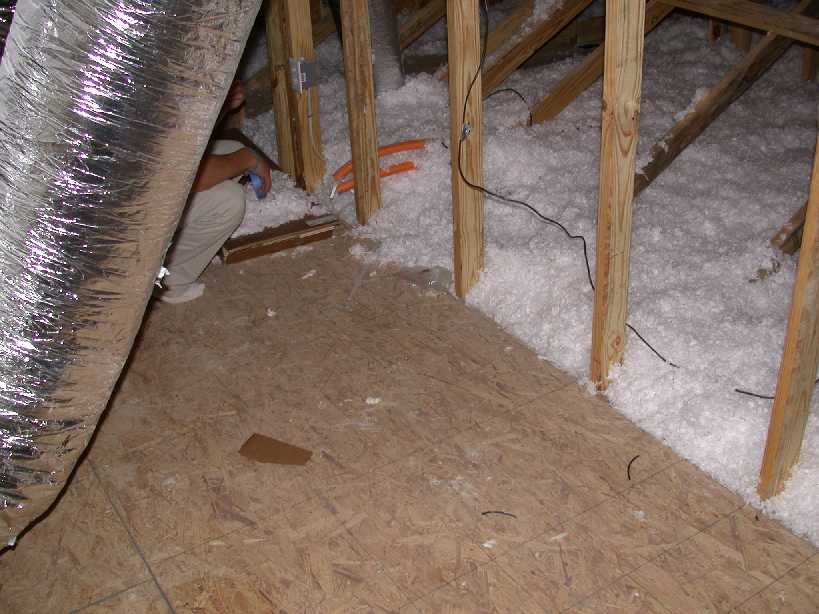
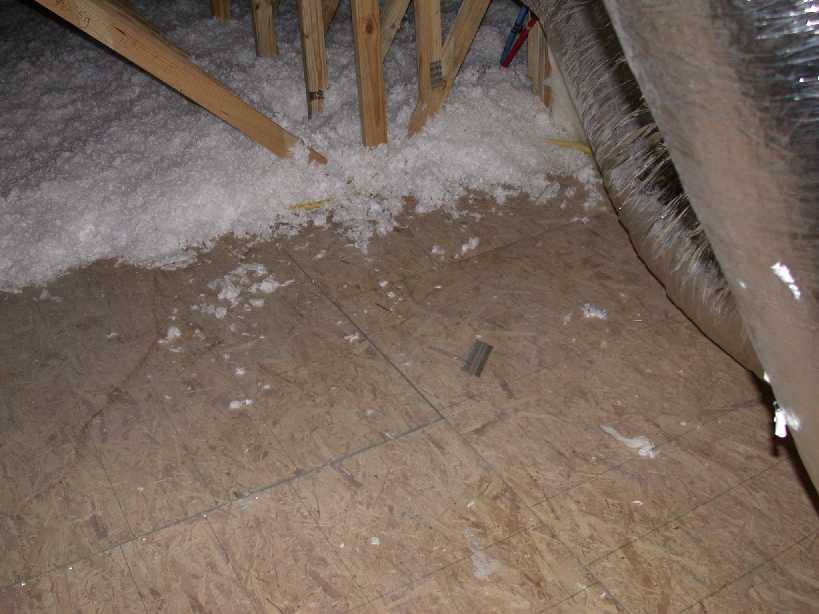
attic 1 -
attic 2
-
attic 3 -
attic 4
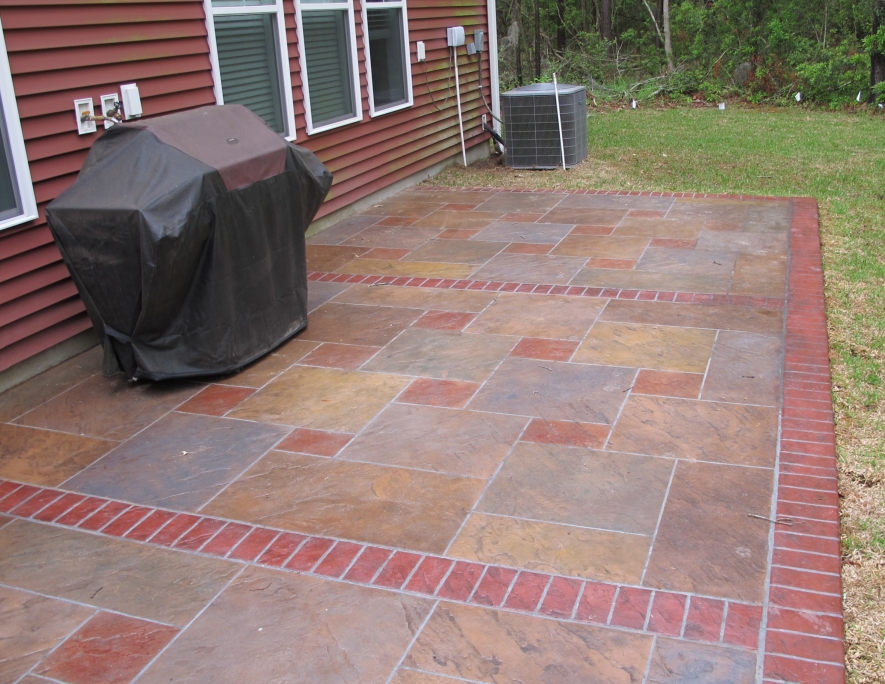
Photos taken March 20 & April 10, 2011
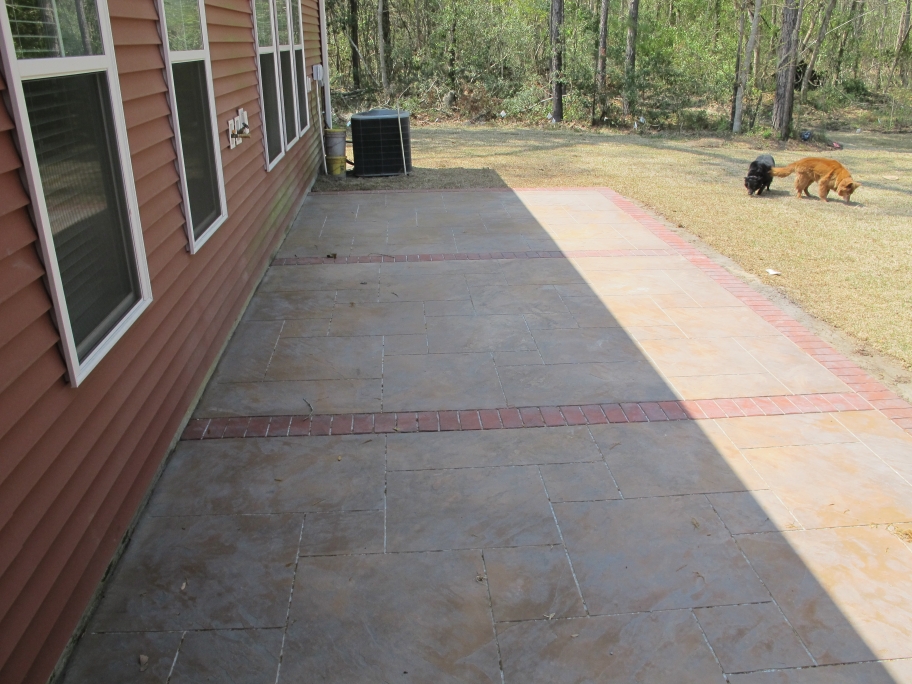
New patio and expanded backyard:
A composite shot of backyard (use slider on the window to see entire width of 4 photos) -
Patio plus two dawgs
After patio coloring added:
photo 1 -
photo 2
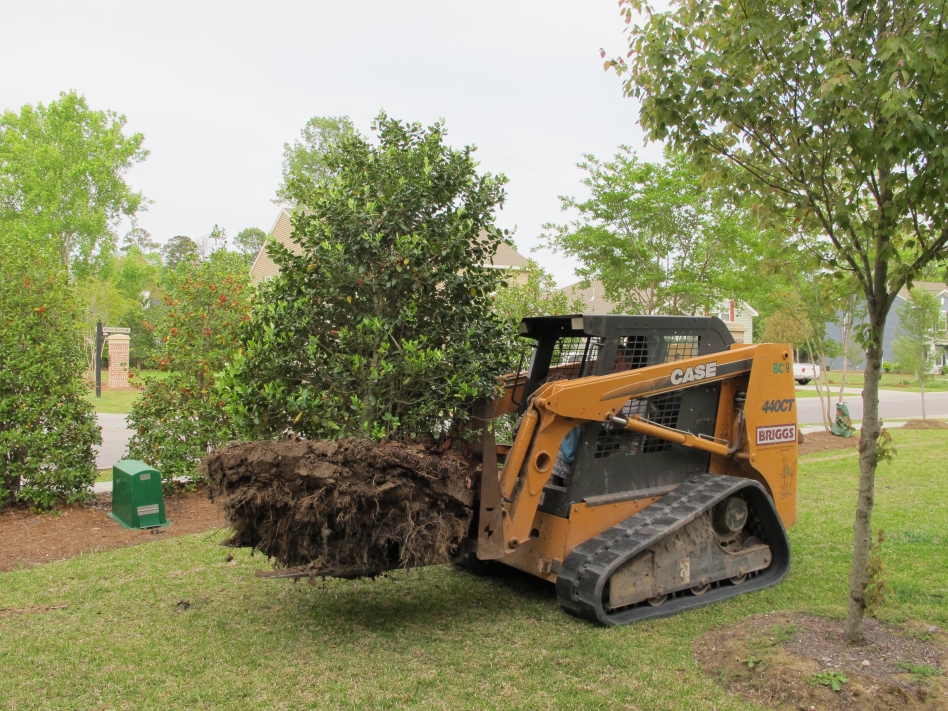
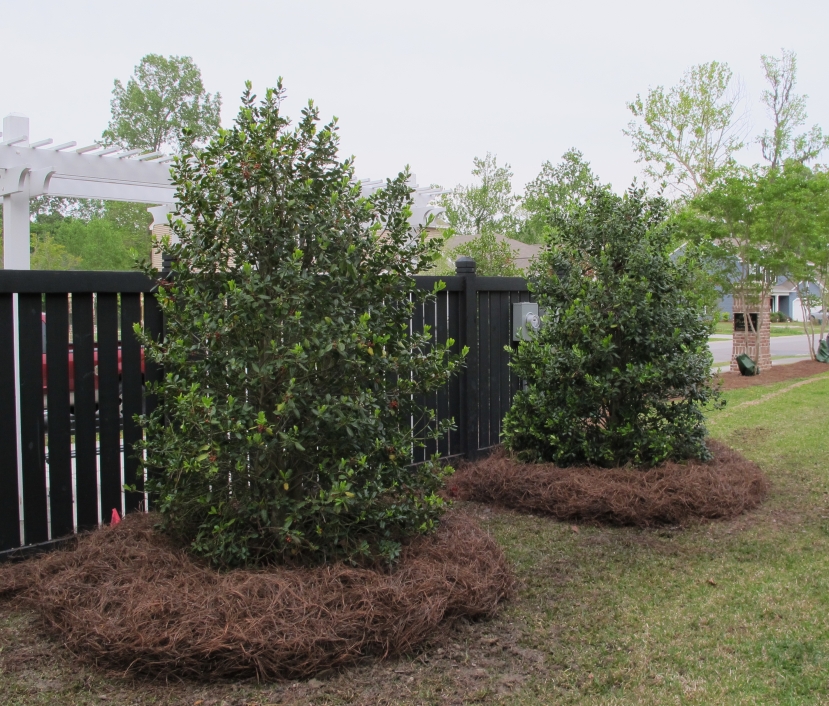
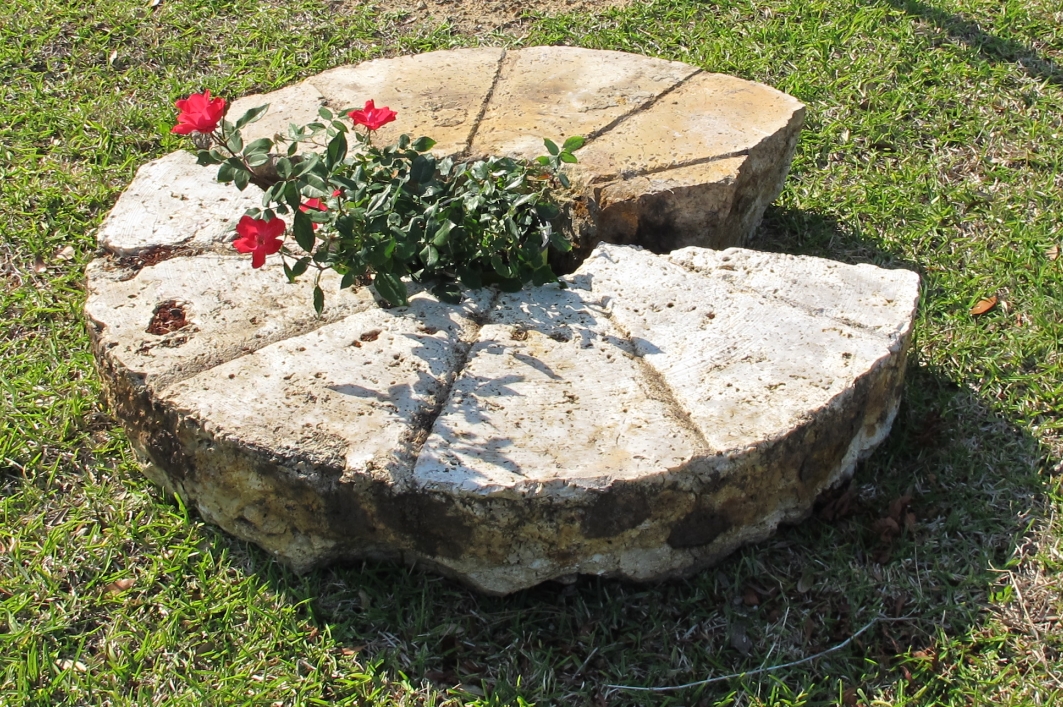
Photos taken April 15 & 18, 2011
How to move small trees or large millstones -
Our new holly bushes
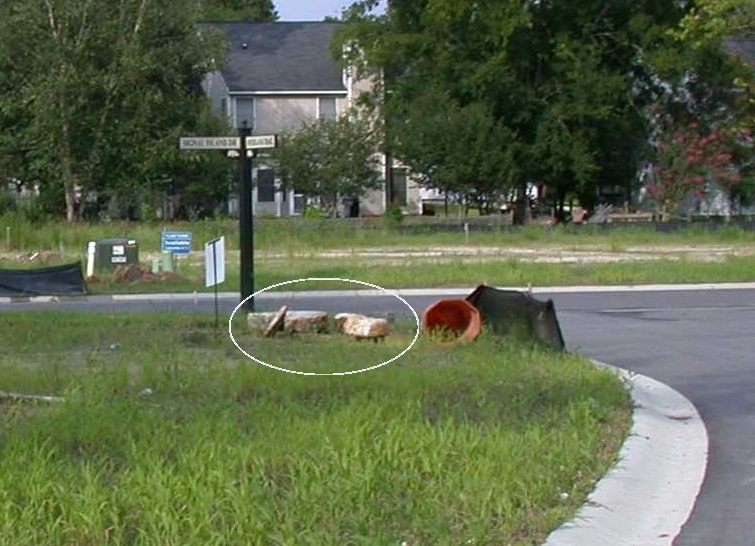
Millstone with roses -
Earlier photo of millstone before the house was built
Photos taken December 22, 2011
Flowers in winter -
more
-
more -
more -
plus 2 dawgs
Photos taken mid-January, 2012
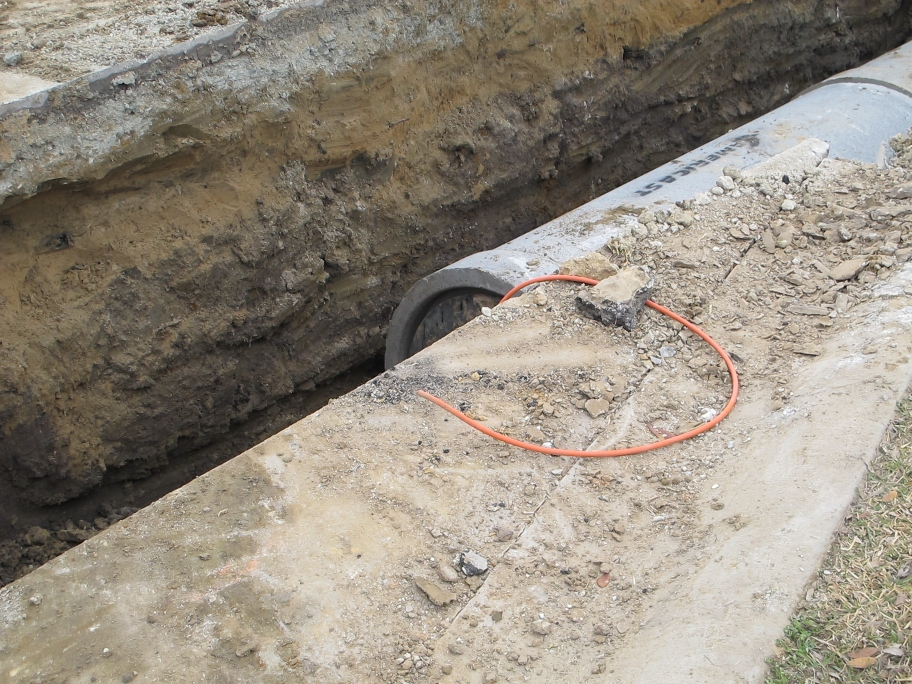
They've started Phase III of the Taylor Plantation subdivision next door to us, and tore up the street
in front of our house to lay new drainage pipe.
What a mess!
Playing in their sandbox
The drainage pipe -- plus our severed cable
How many men does it take to fill a trench?
Raising dust
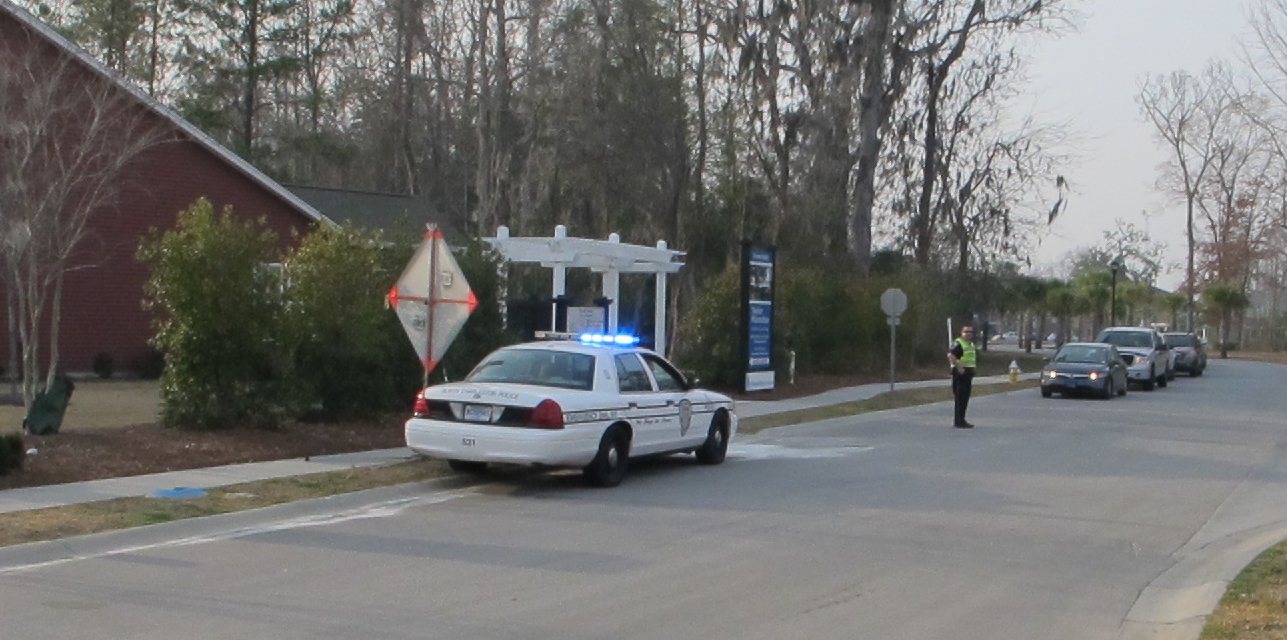
Photo taken February 3, 2012
When school lets out, the traffic is heavy
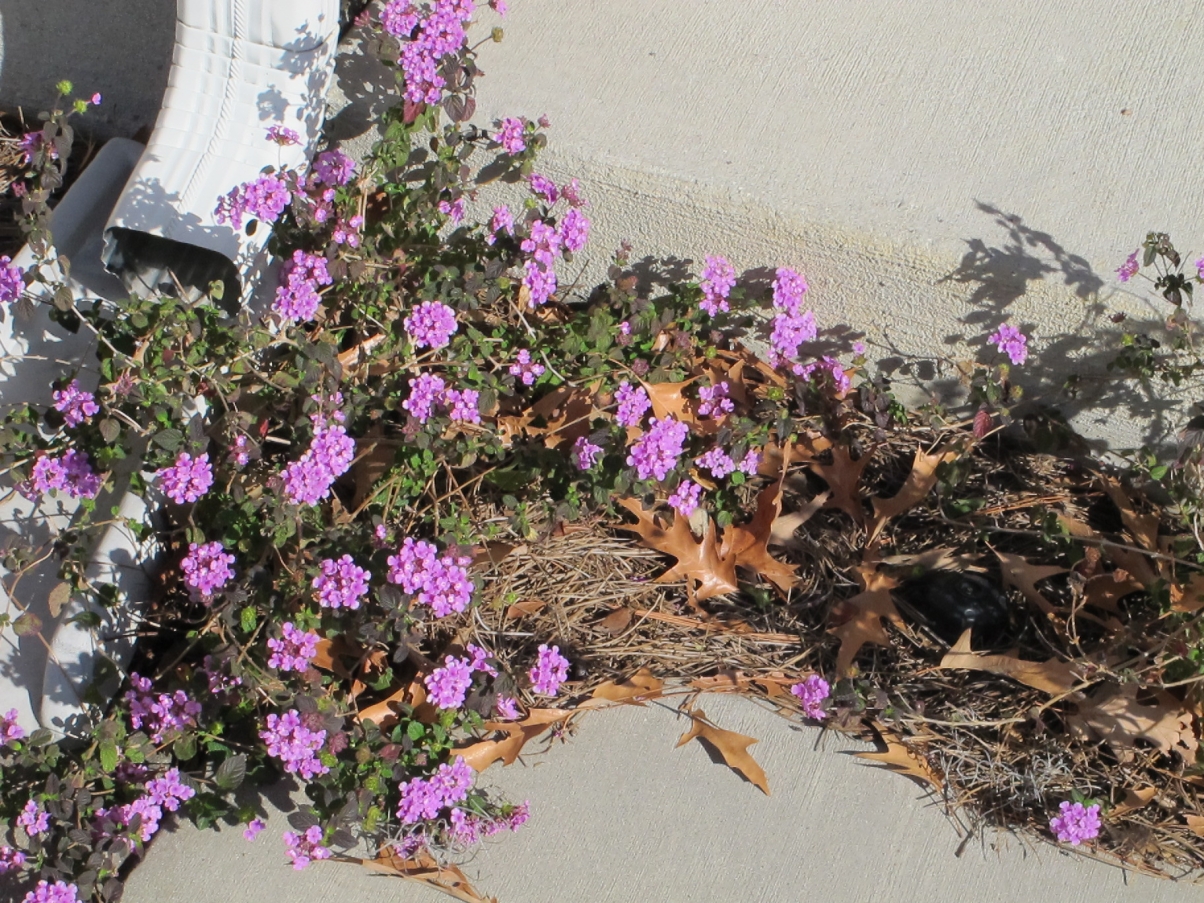
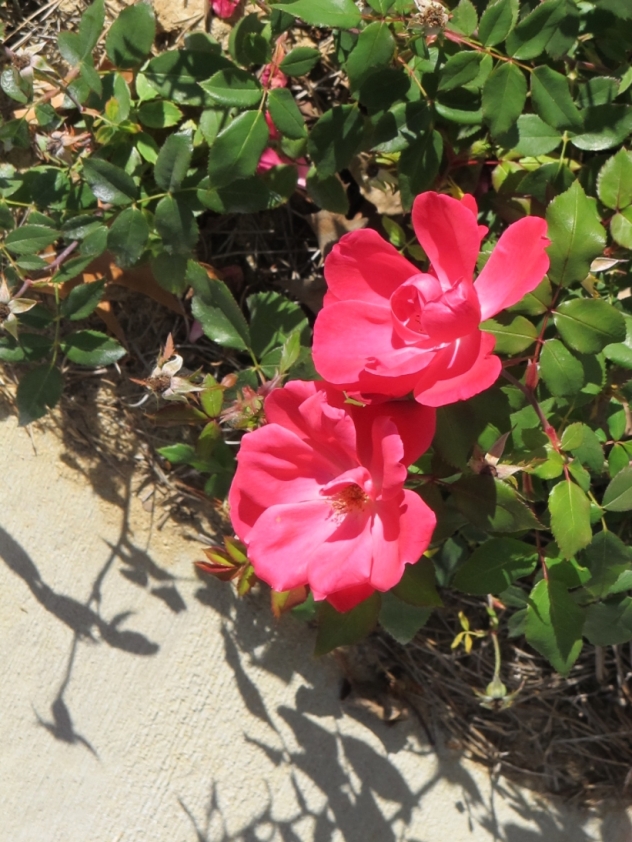
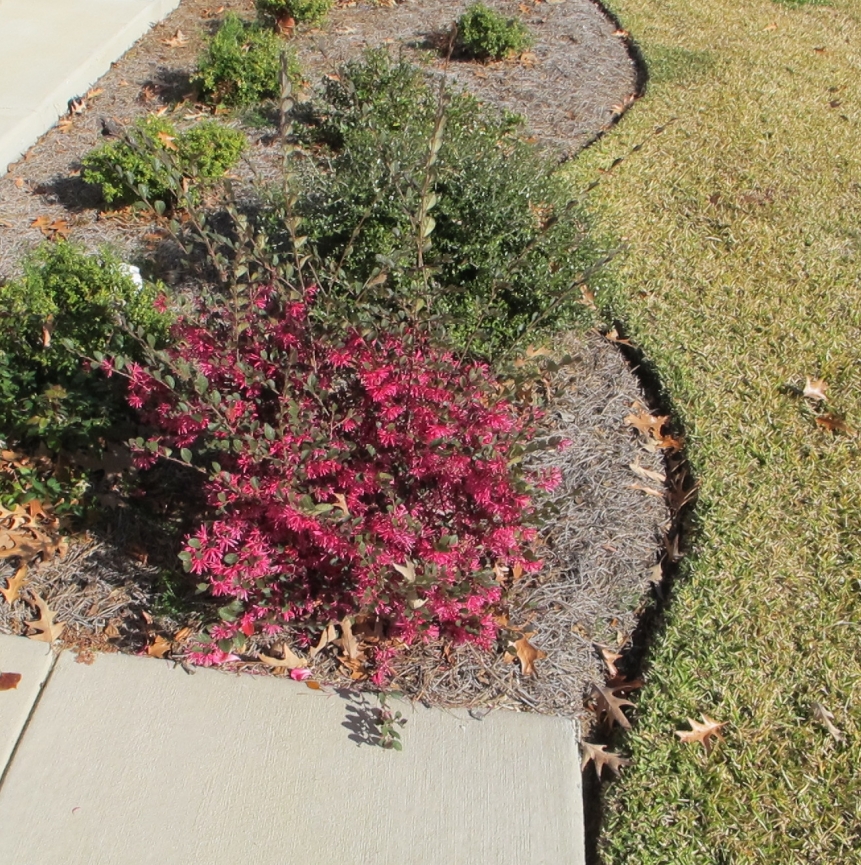
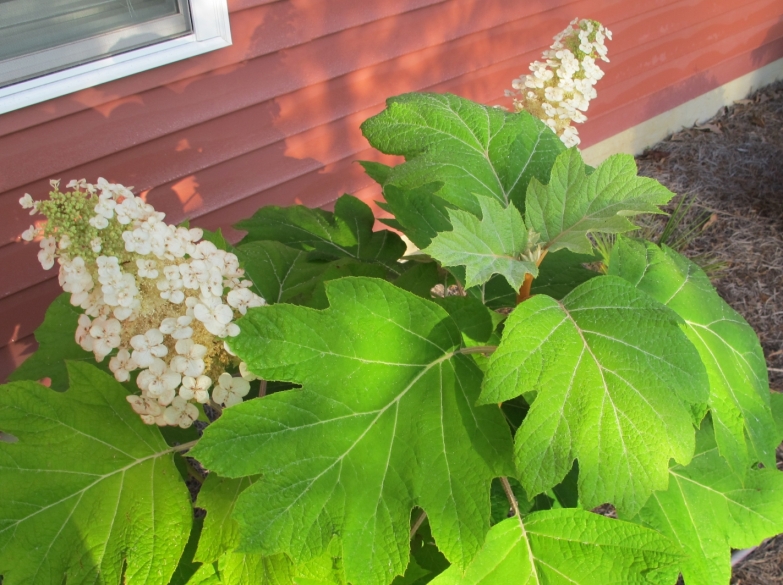
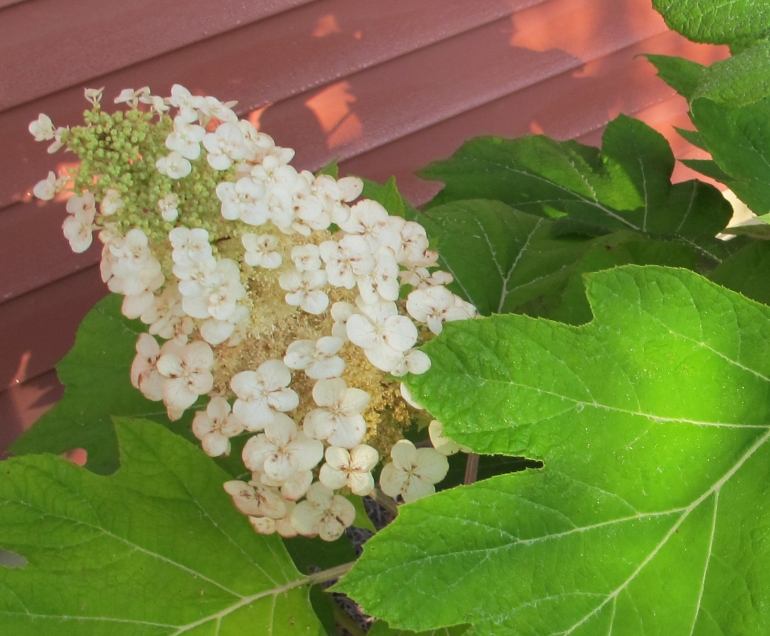
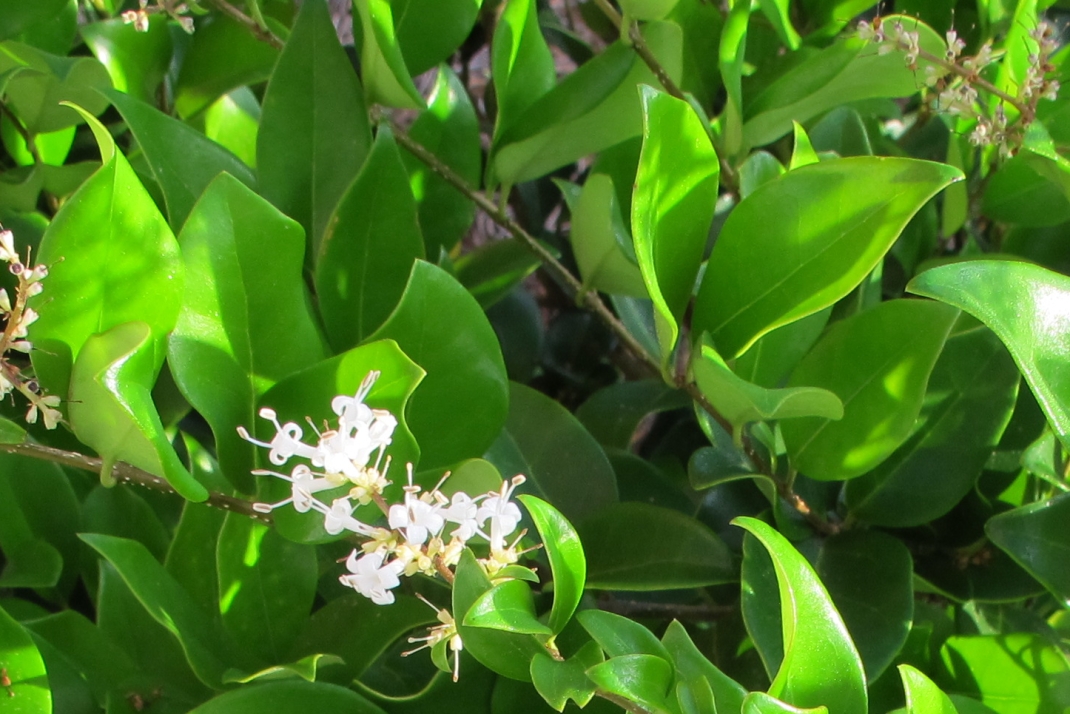
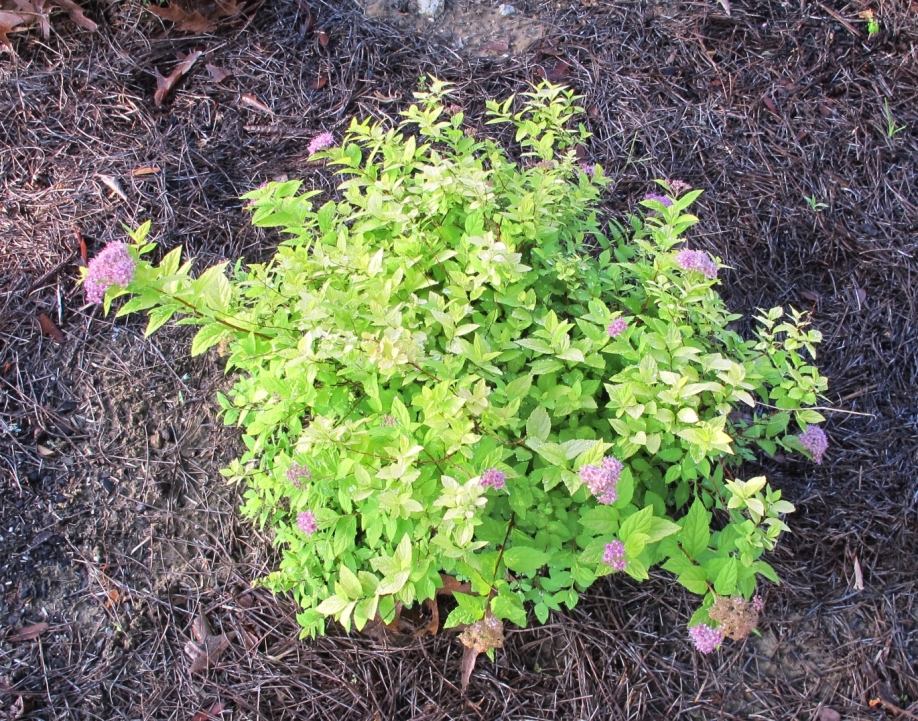
Our spring flower collection:
These were planted last year:
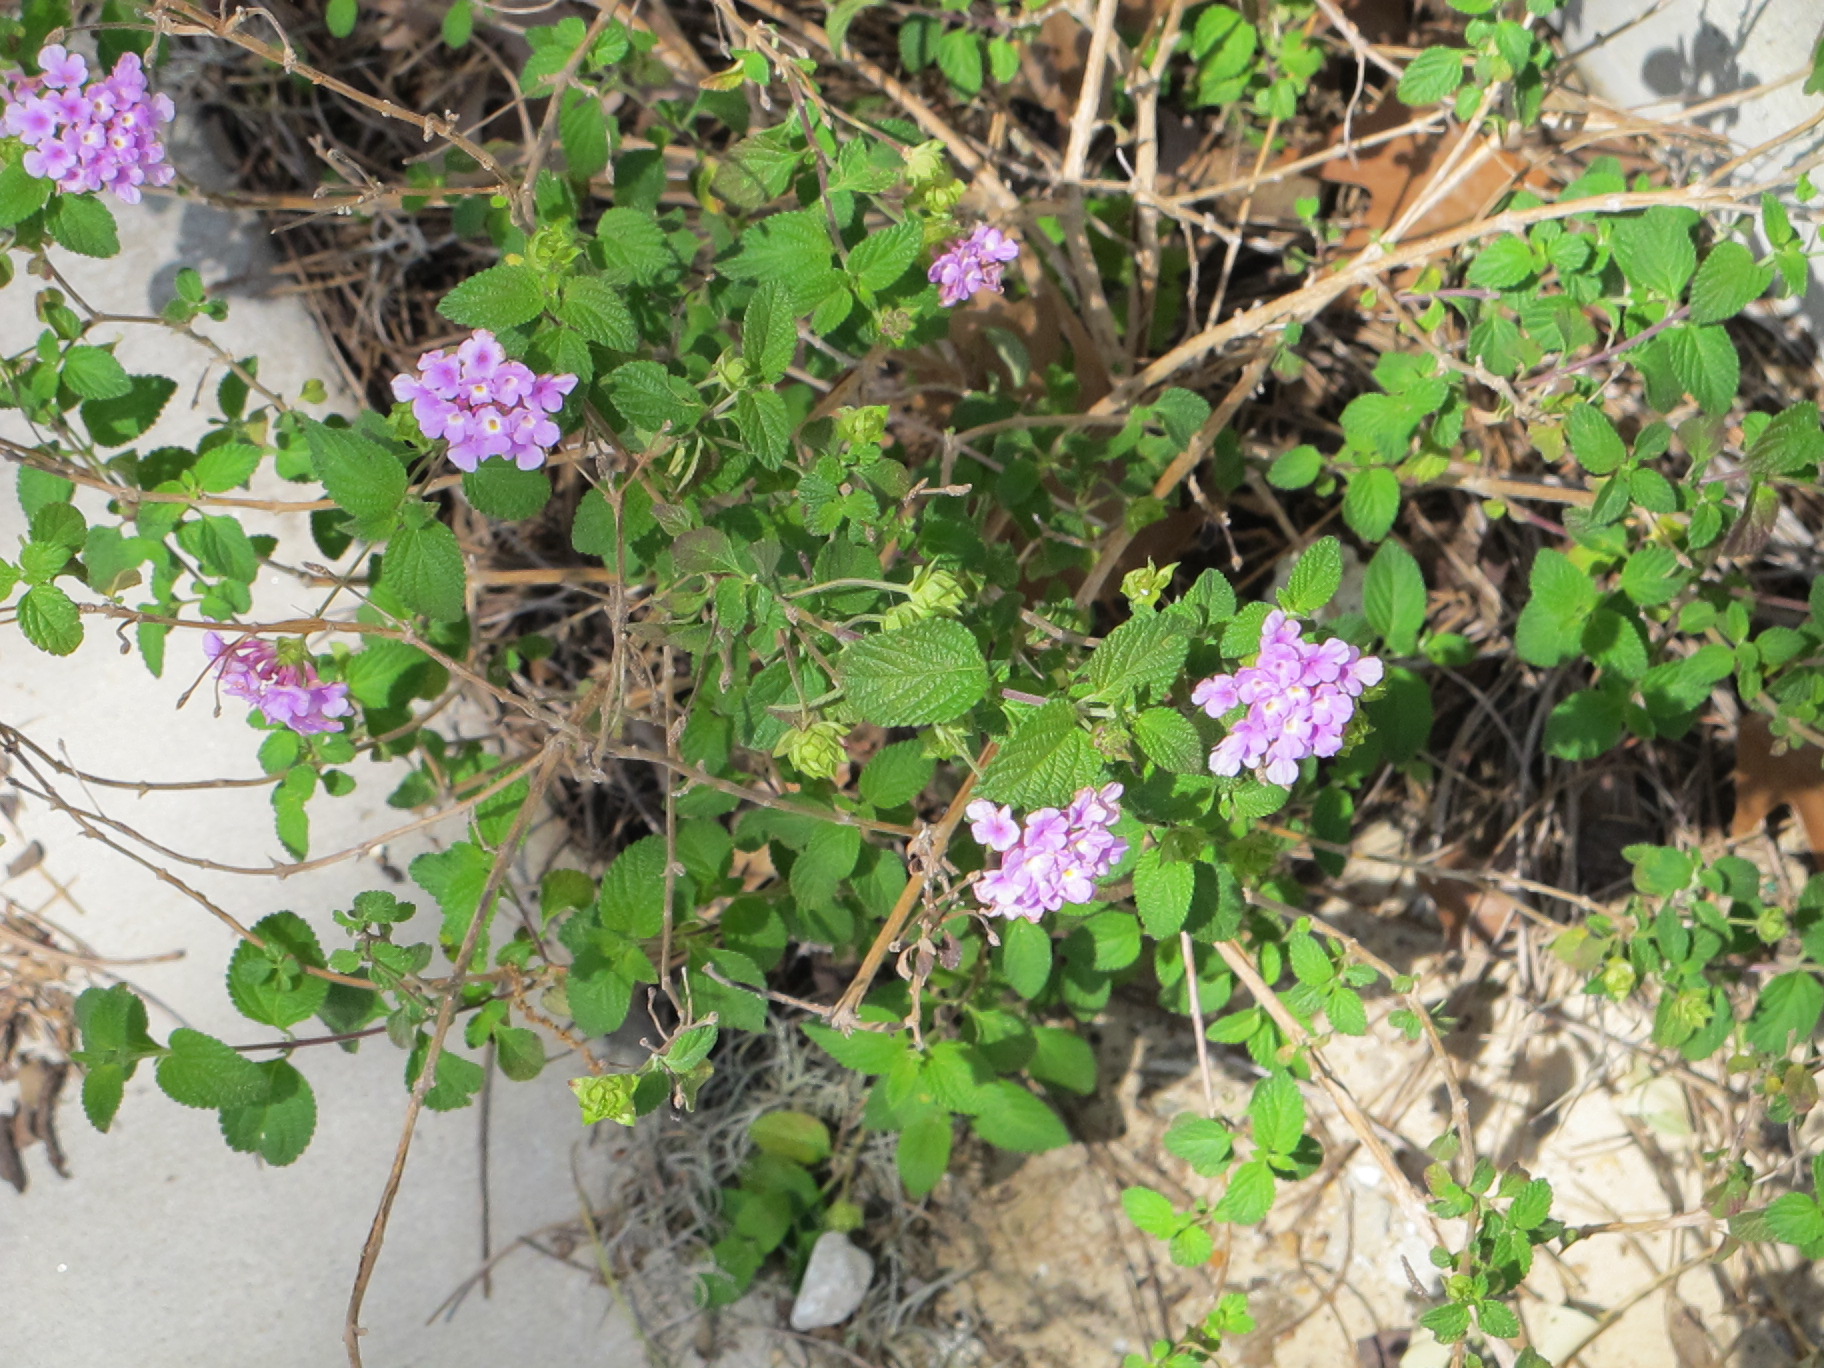
lantana -
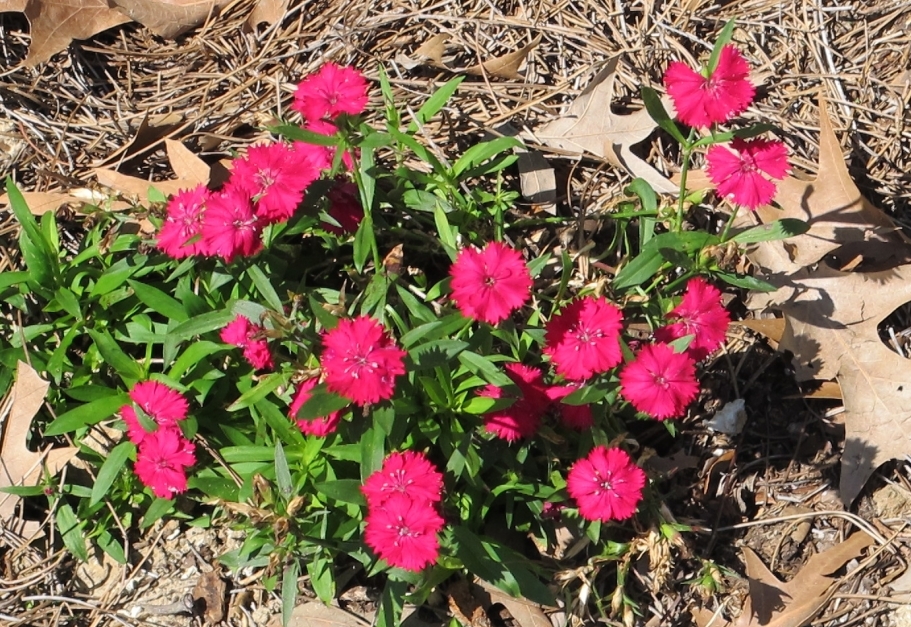
dianthus -
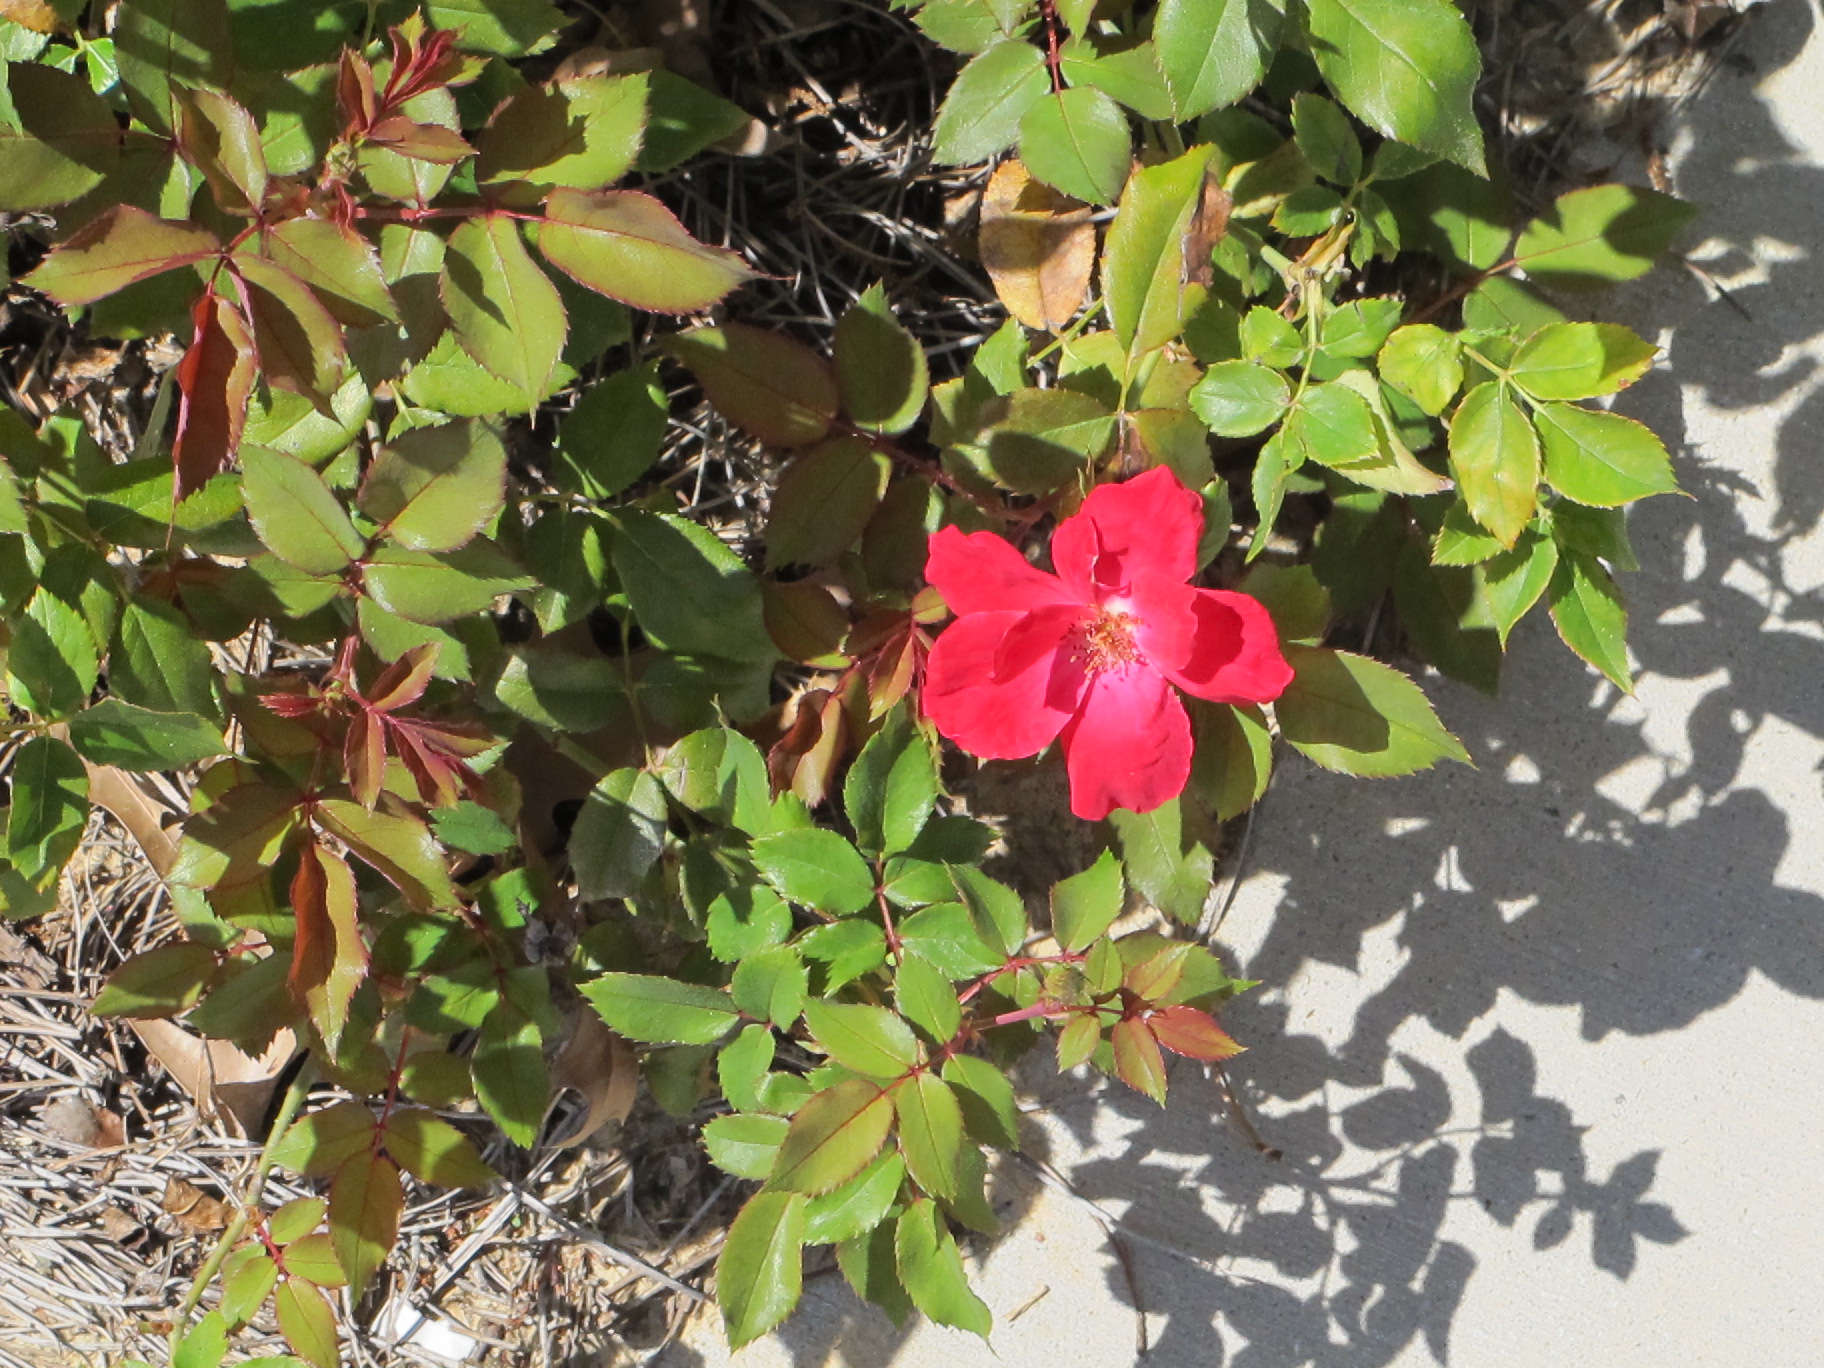
knockout rose -
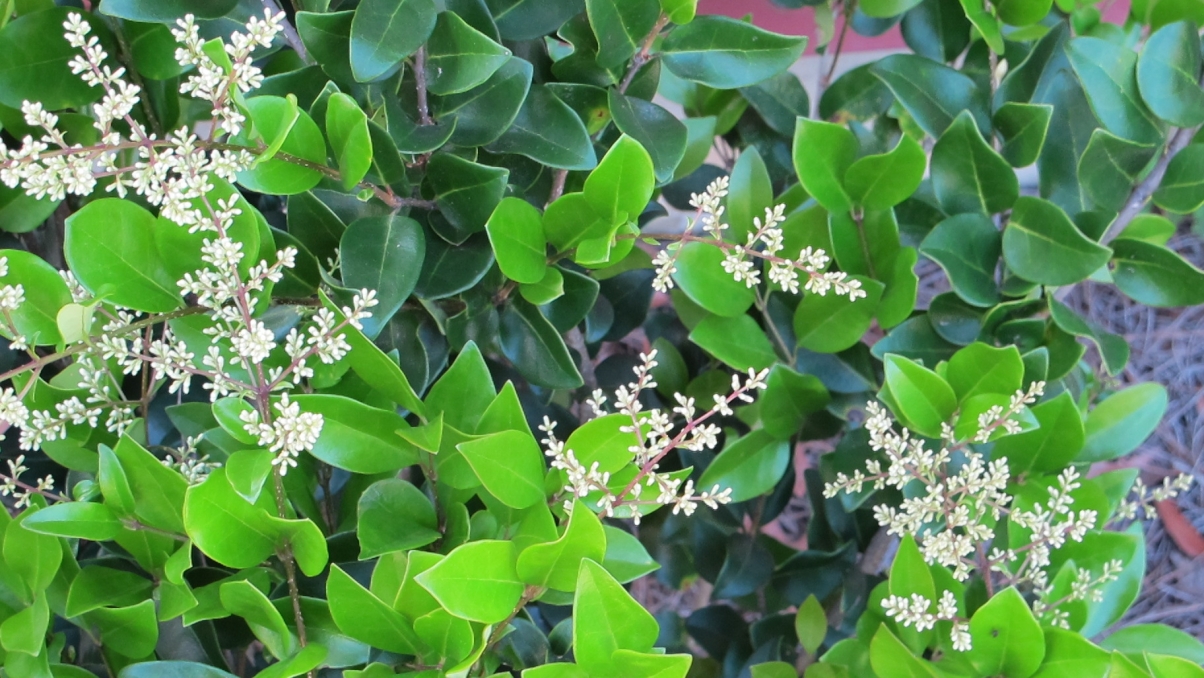
privet? -
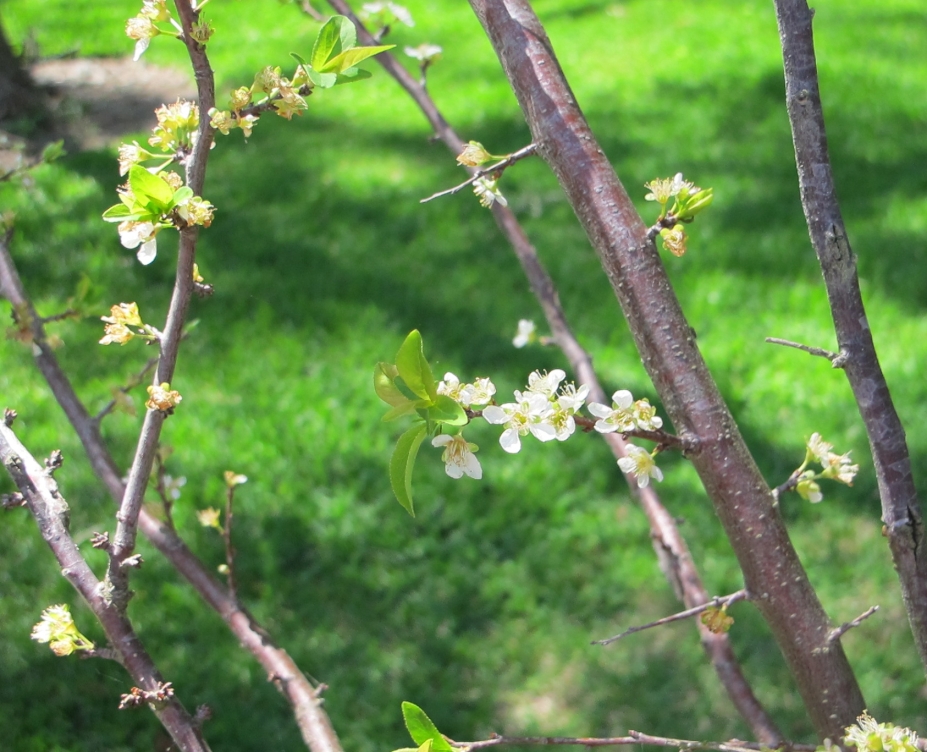
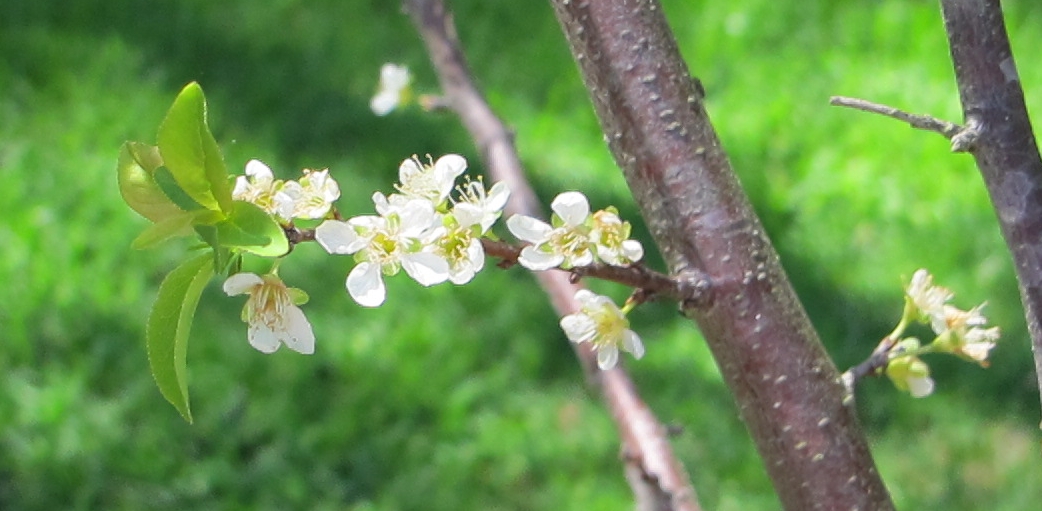
one of our two fruit trees finally bloomed (probably apple?) -
same tree -
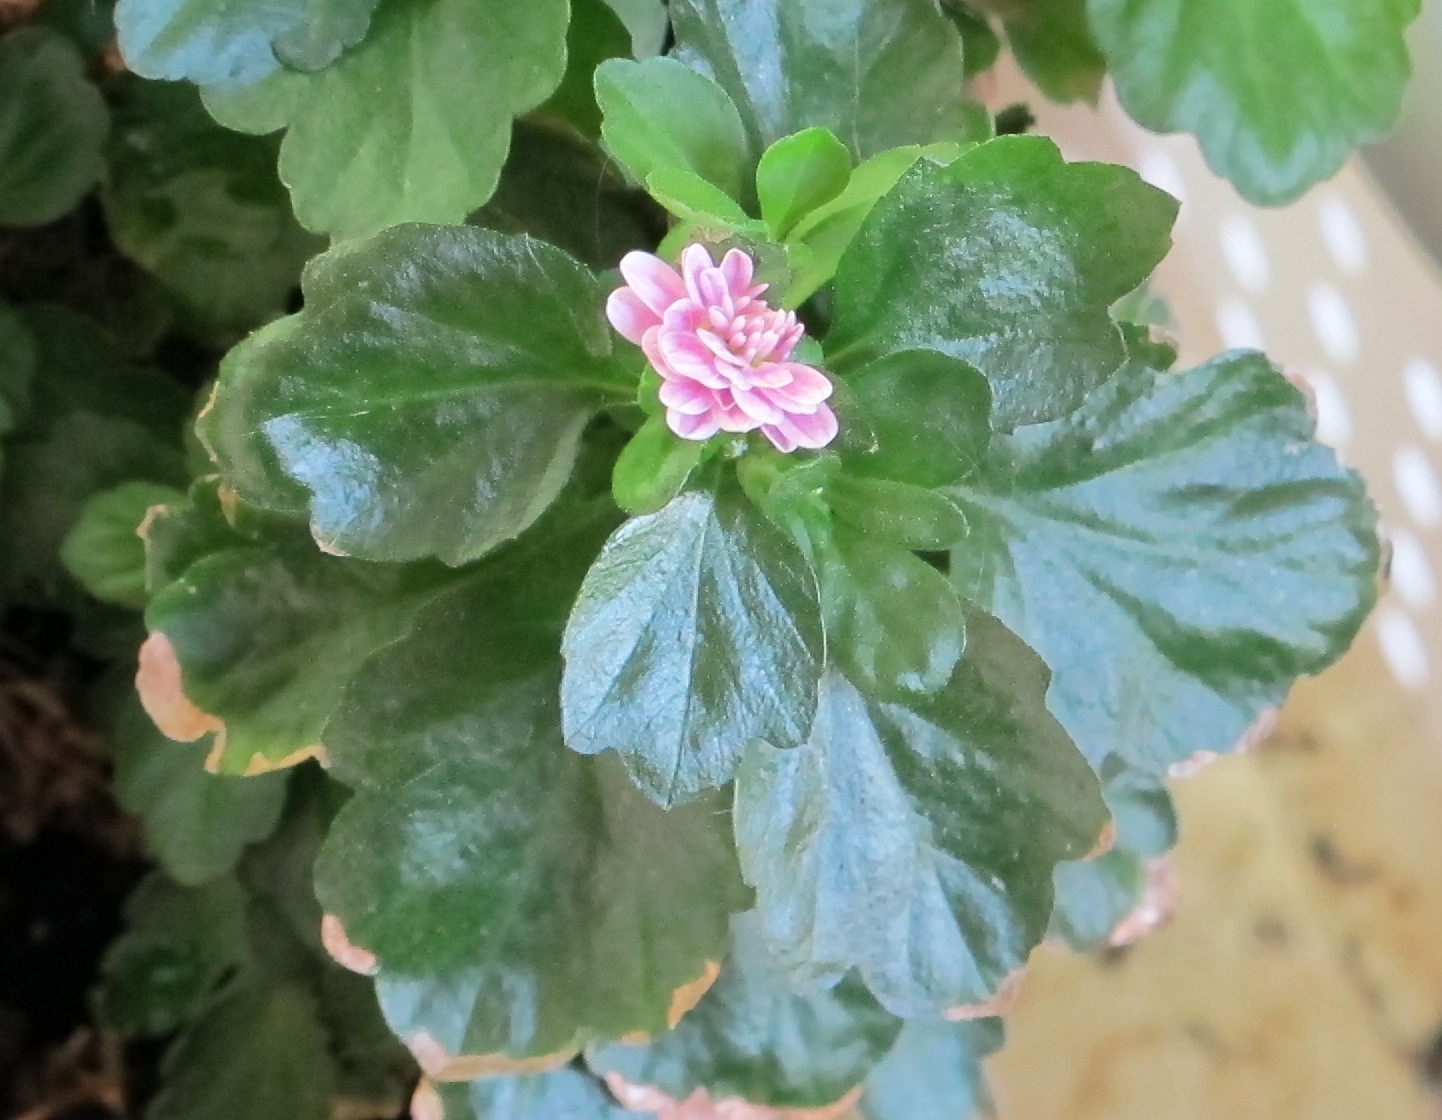
we babied our chrysanthemums through the winter indoors & were rewarded with a bloom in April!
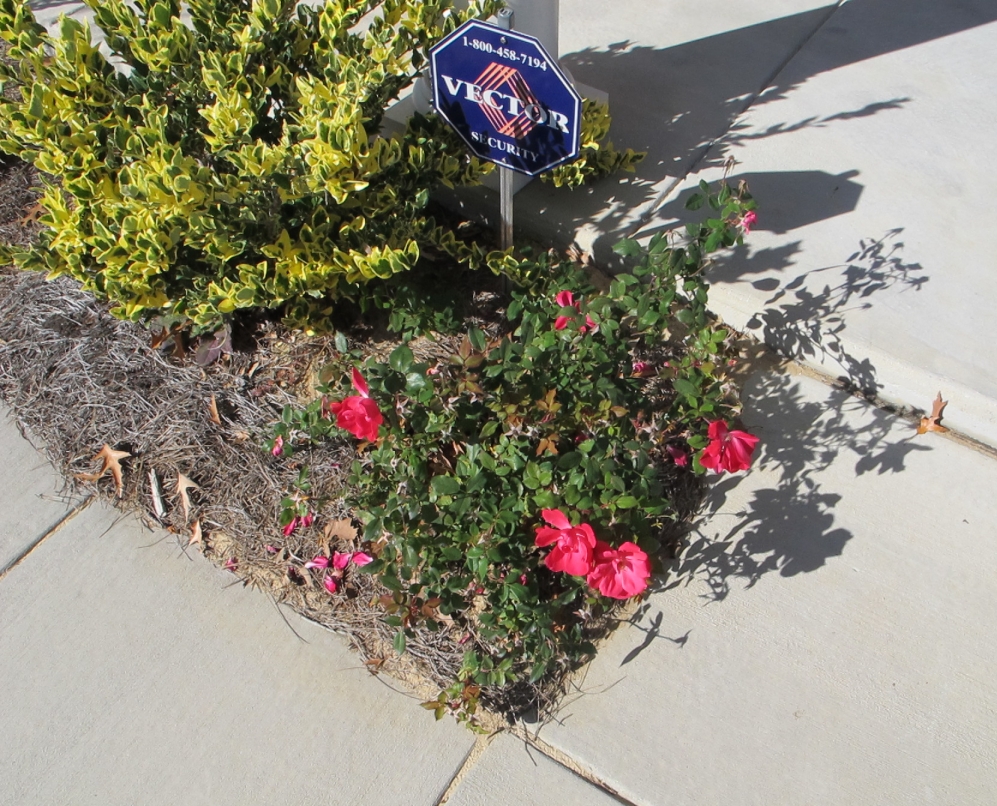
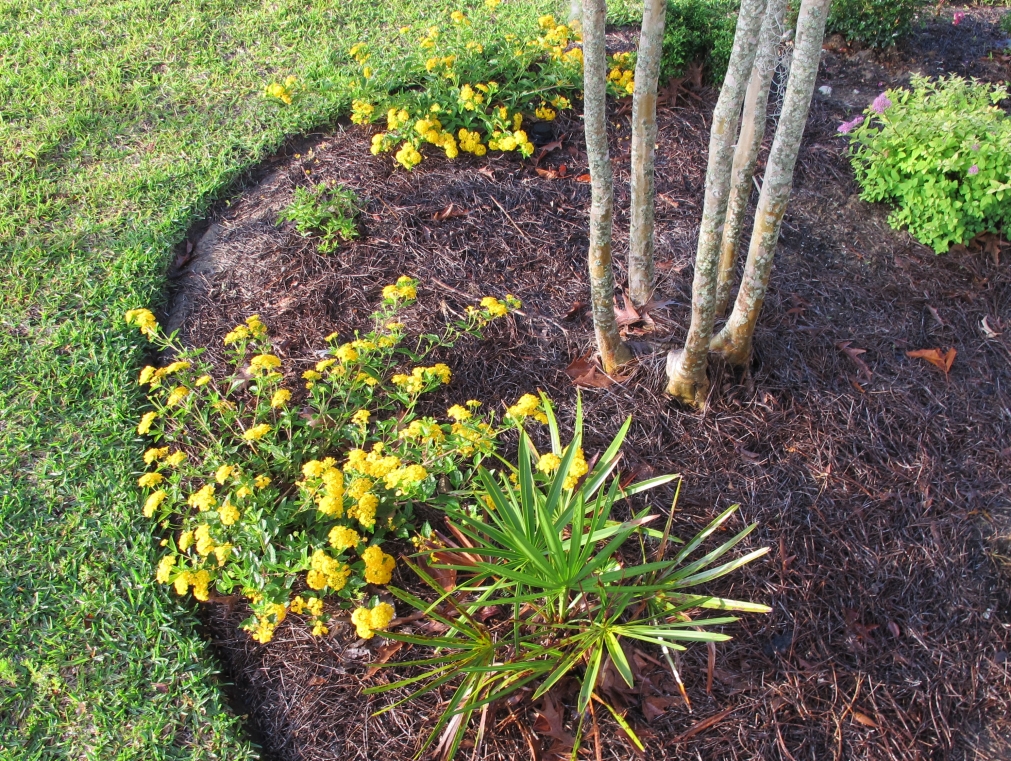
Newly planted this Spring:
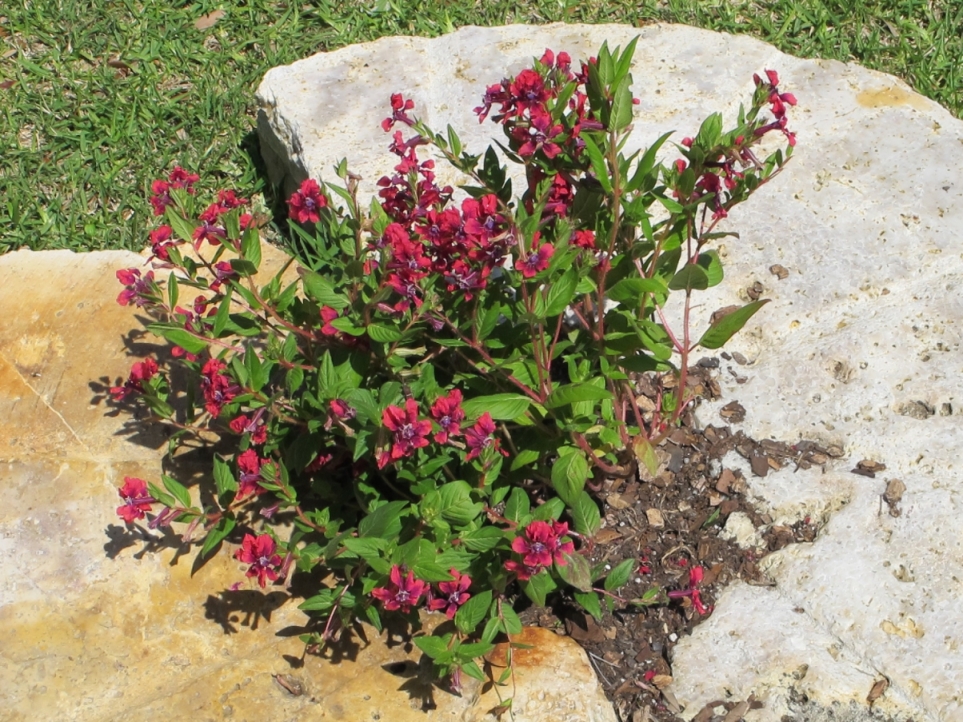
batface cuphea (in millstone) -
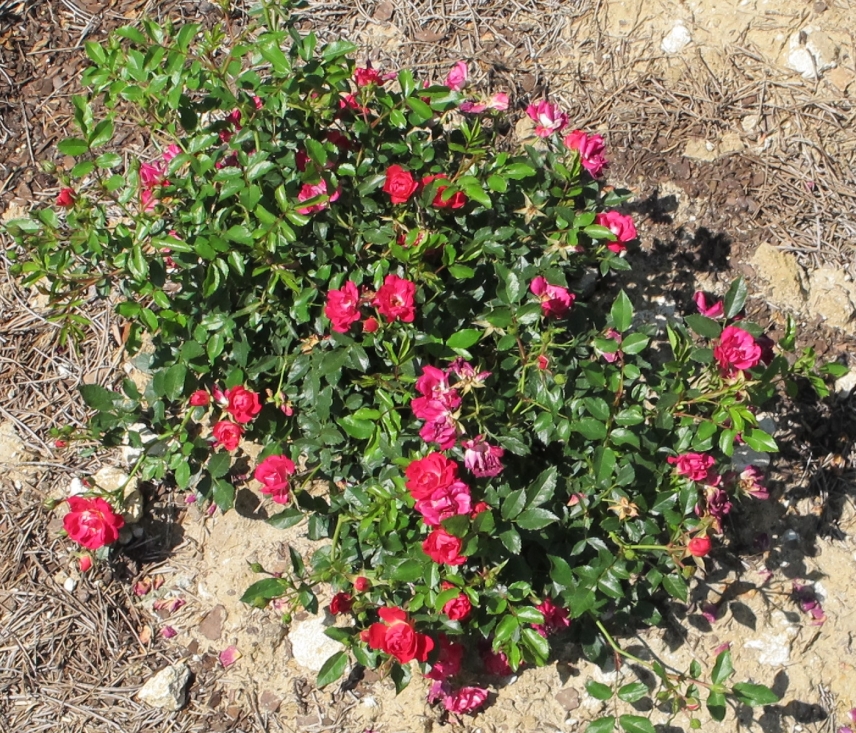
Red Drift roses -
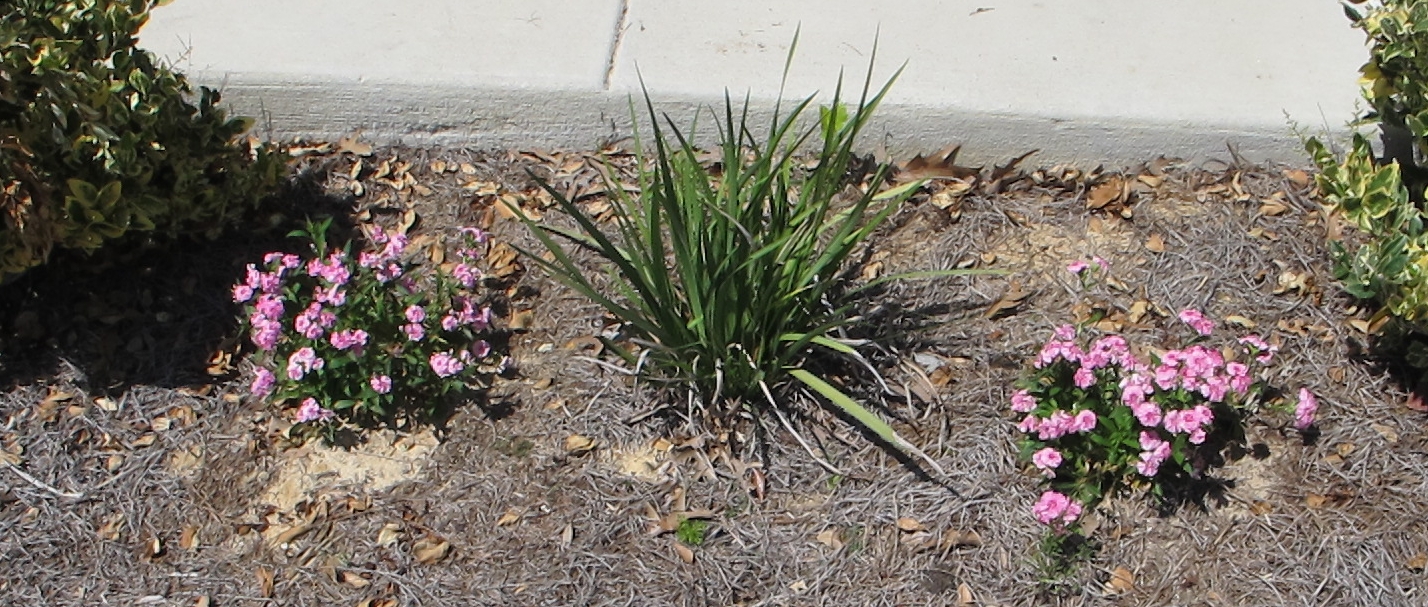
dianthus -
two more
Brought with us from NJ:
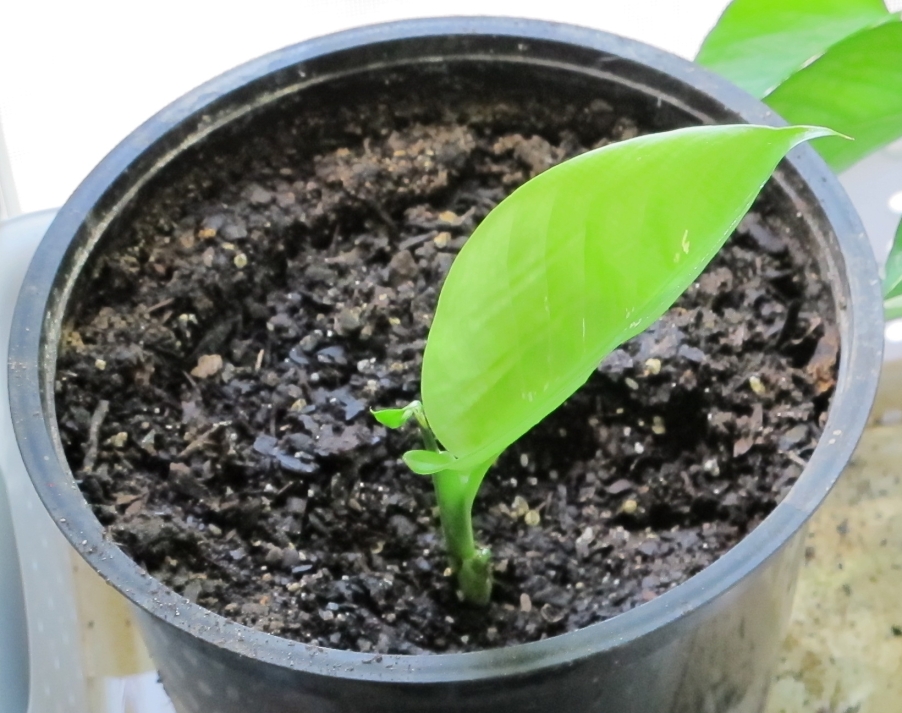
this shoot is from a plant we cut back in NJ, then brought to SC. For a long while, we really were wondering if it made it -
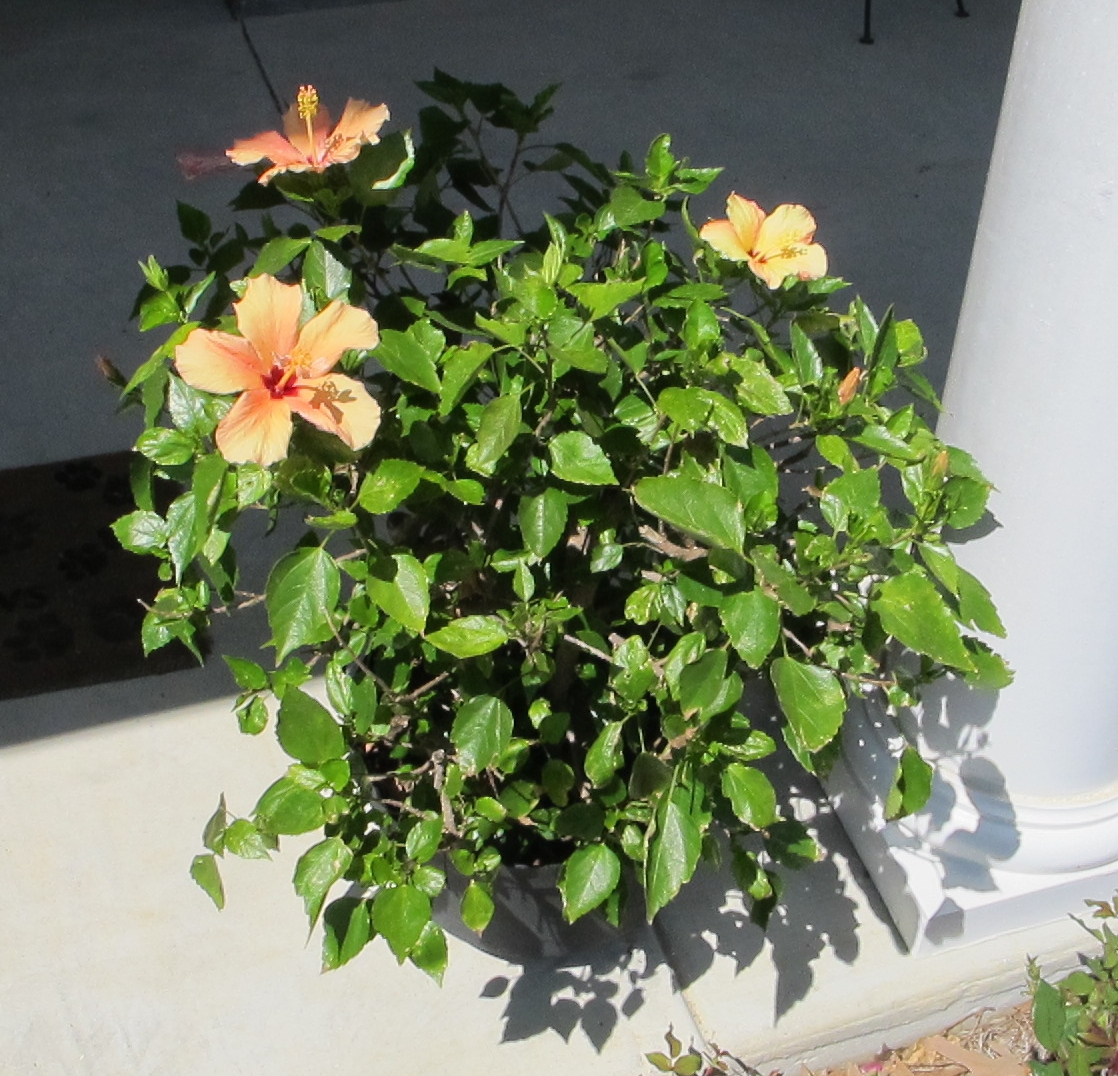
our hibiscus (from MO!) -
yellow bush daisies (in front, planted last year) and yellow lantana (rear; planted this year) -
Photos taken May 9, 2012:
Our spring flower collection (continued). All these were planted last year:
? name: big white flowers on big woody stem -
closeup -
privet? -
yellow lantana, palmetto, spirea, and the bottom of a crapemyrtle tree -
closeup of the spirea
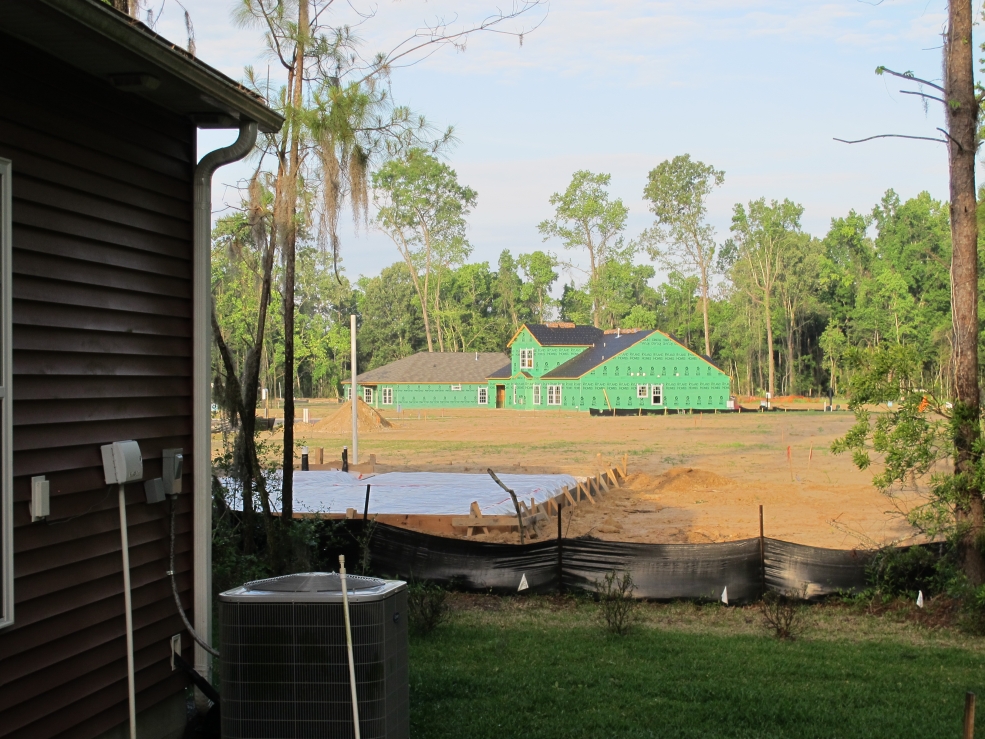
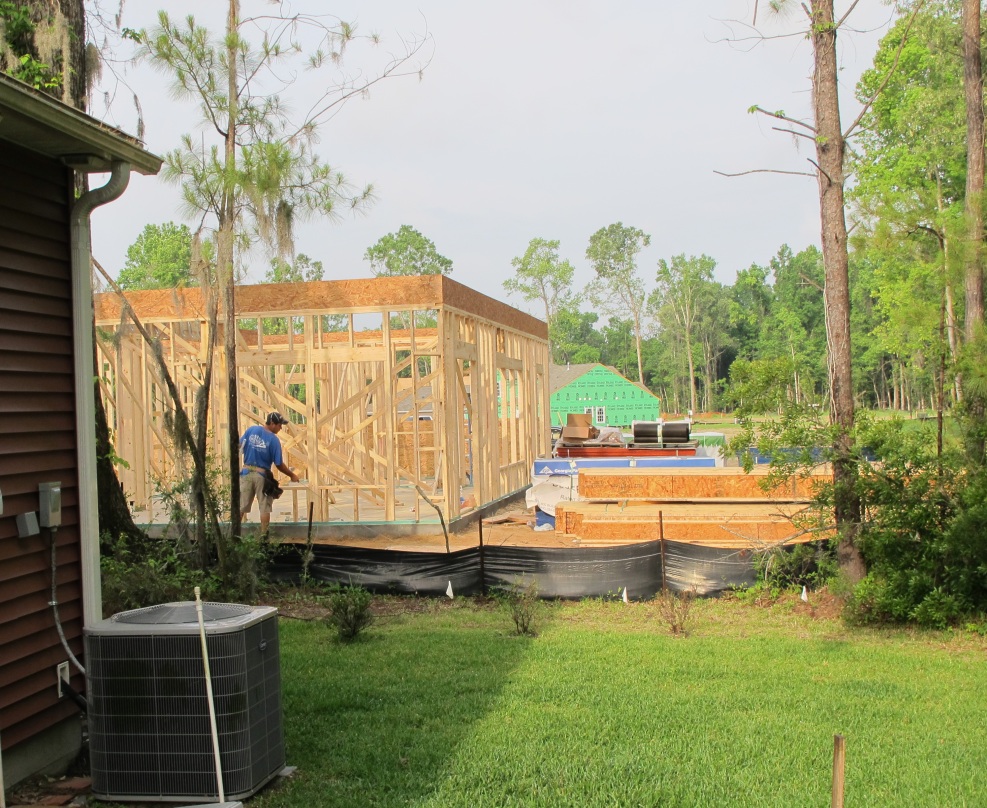
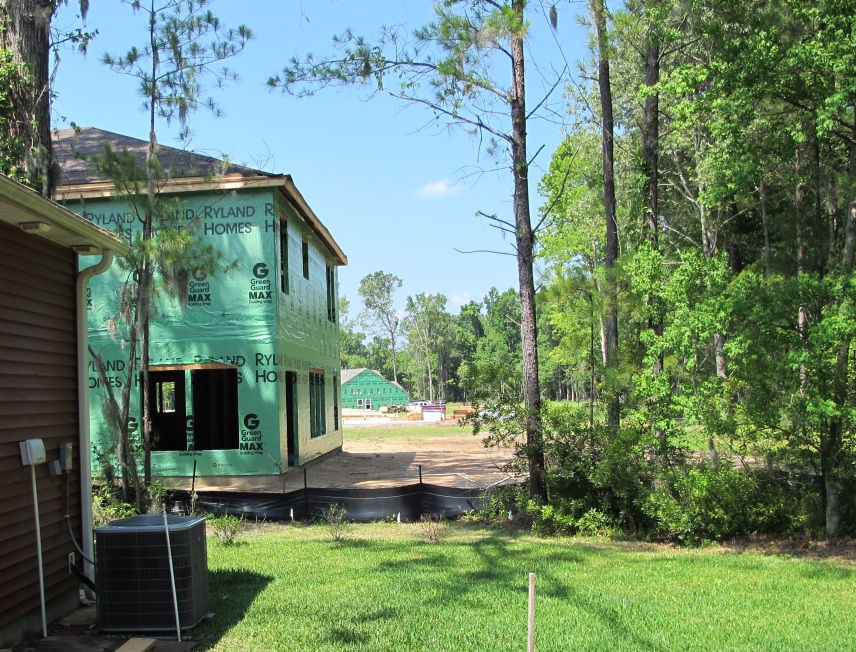
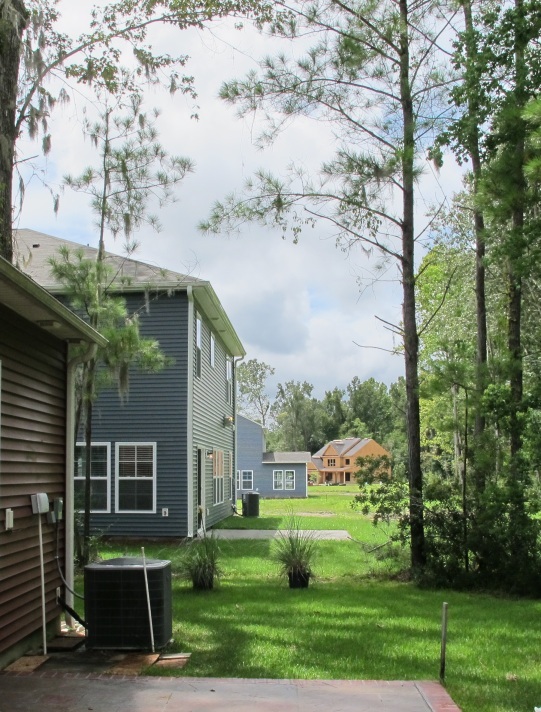
Views of the house next door and the new Phase III neighborhood (photos taken from our backyard)::
May foundation only -
May one floor -
May two floors -
June with siding -
August with patio -- and another new house in the background!
Return to the top of this page.